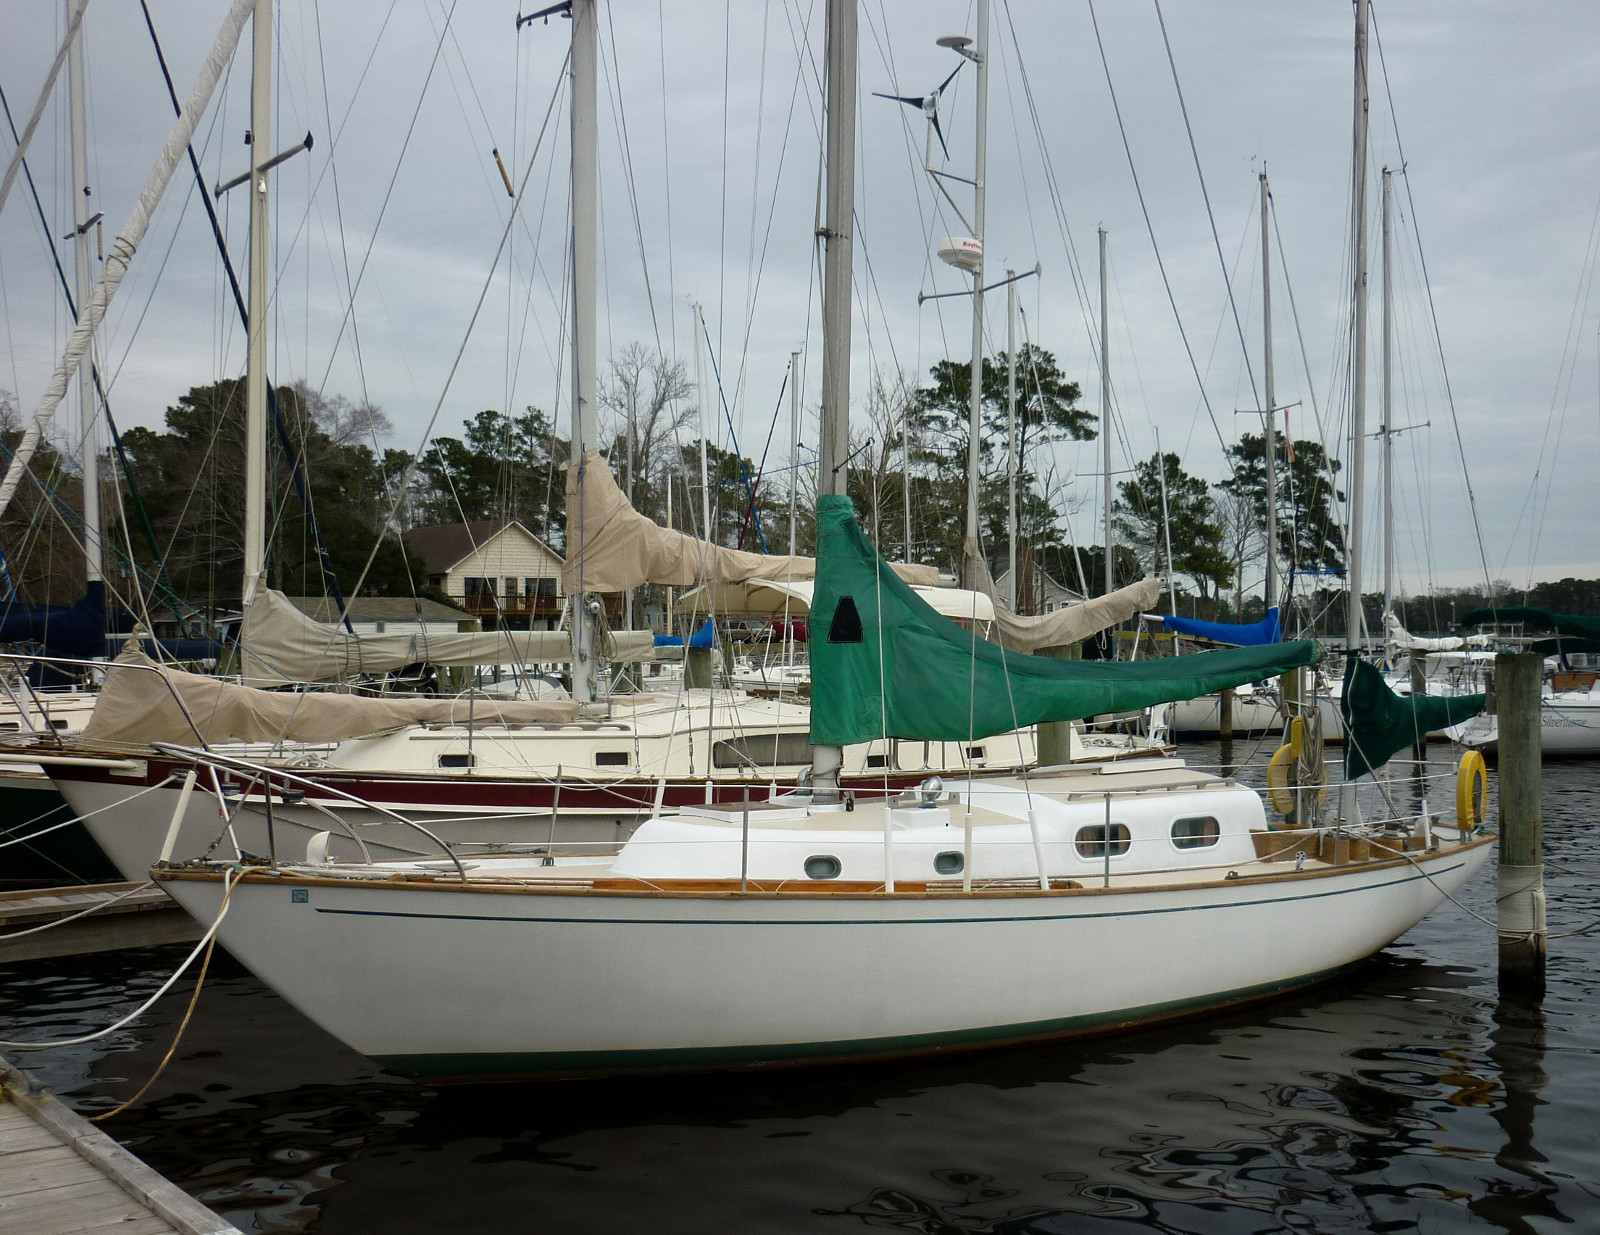
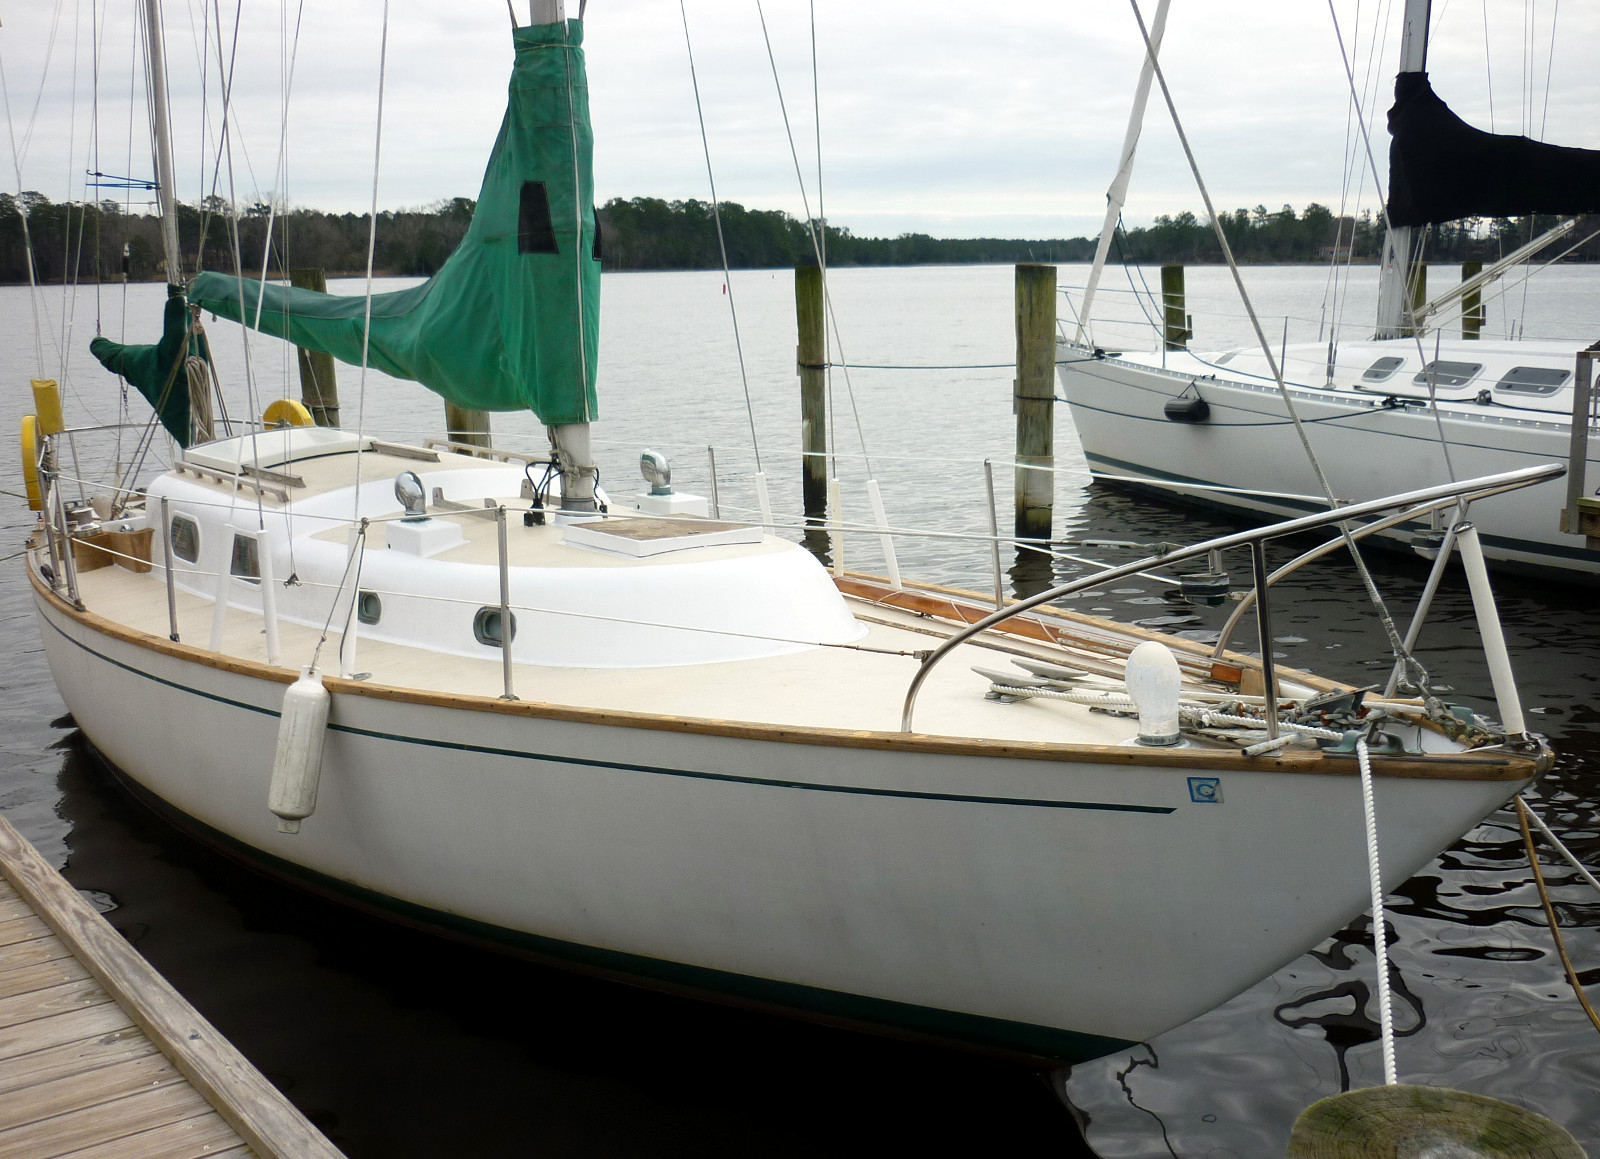
 | This is how the boat looked when I bought her. |
 | Open foredeck and decent width to the side decks for easy sail handling. |
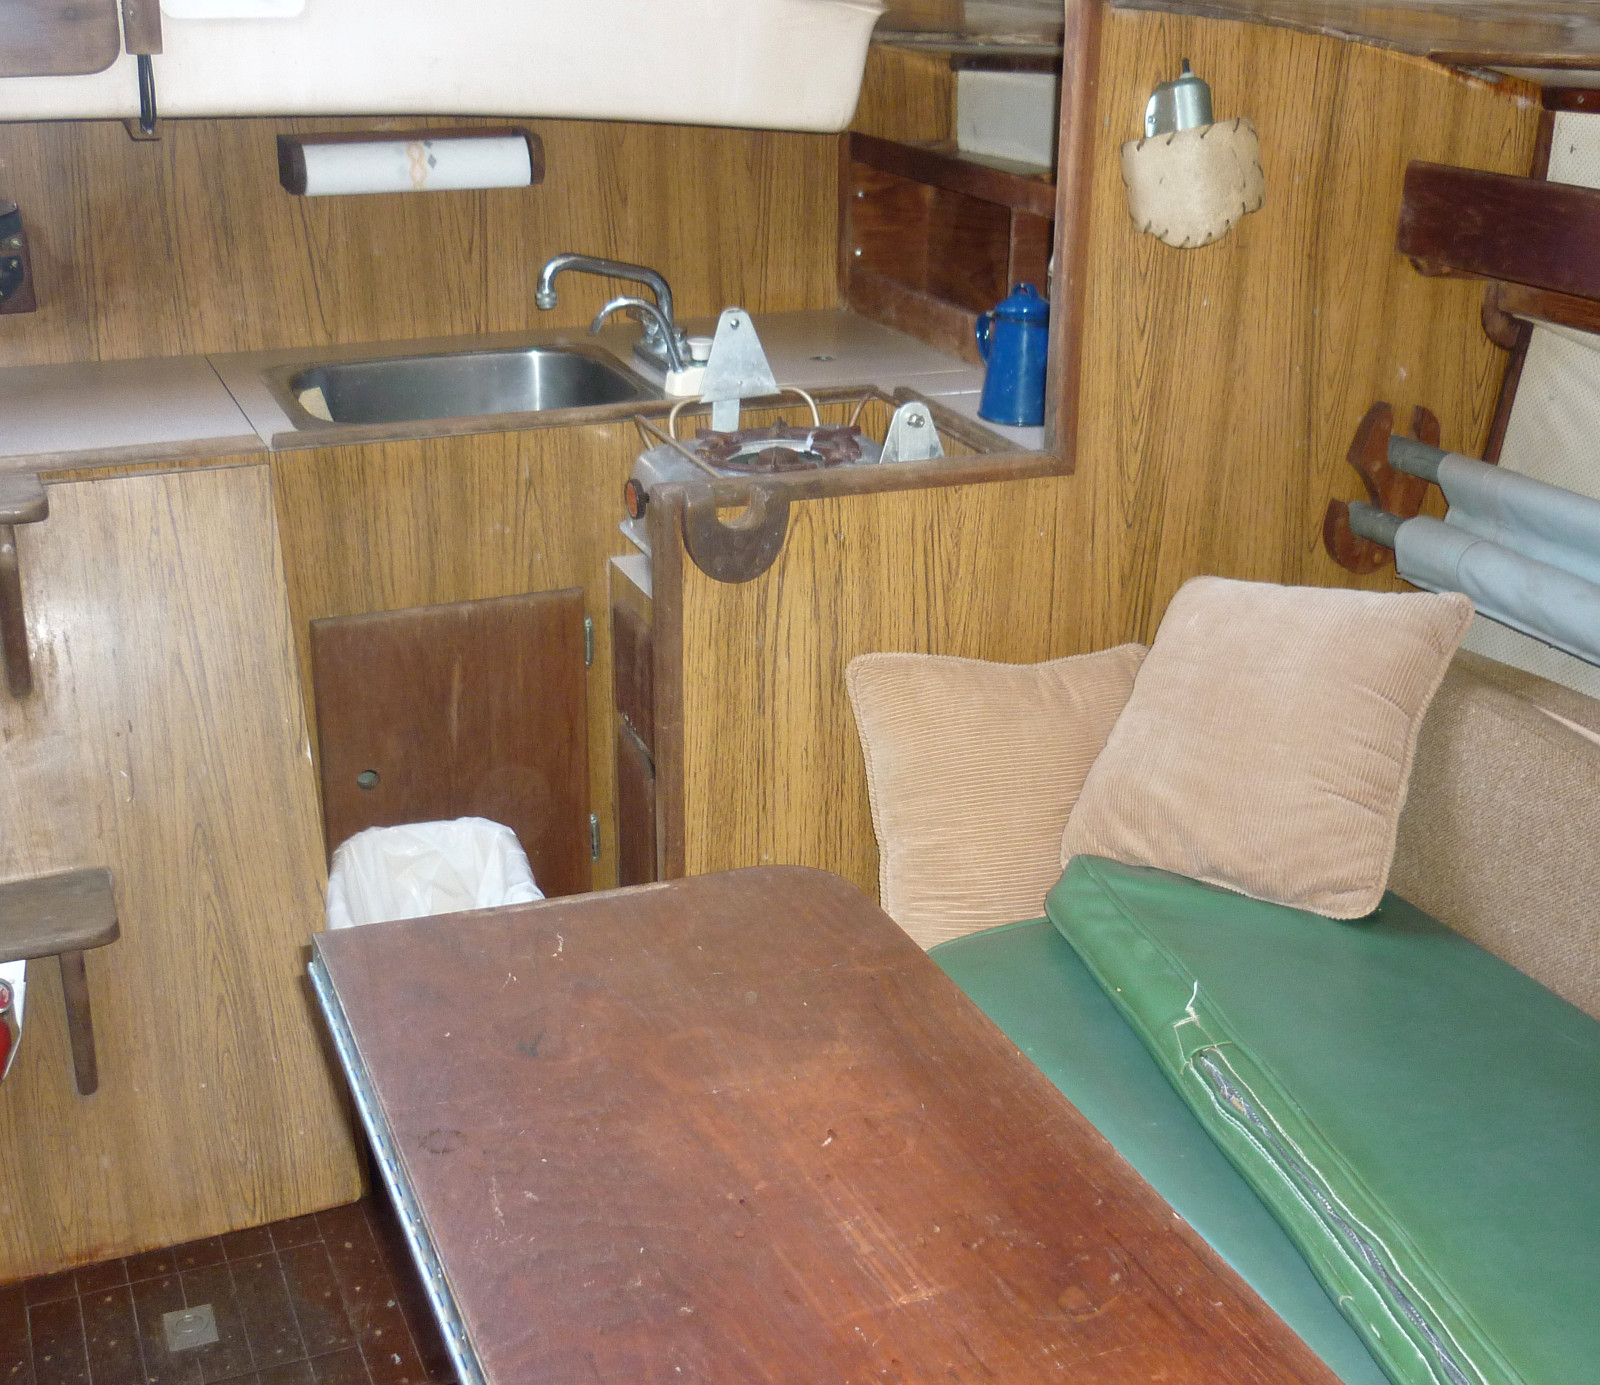 | Below deck, small galley to port. |
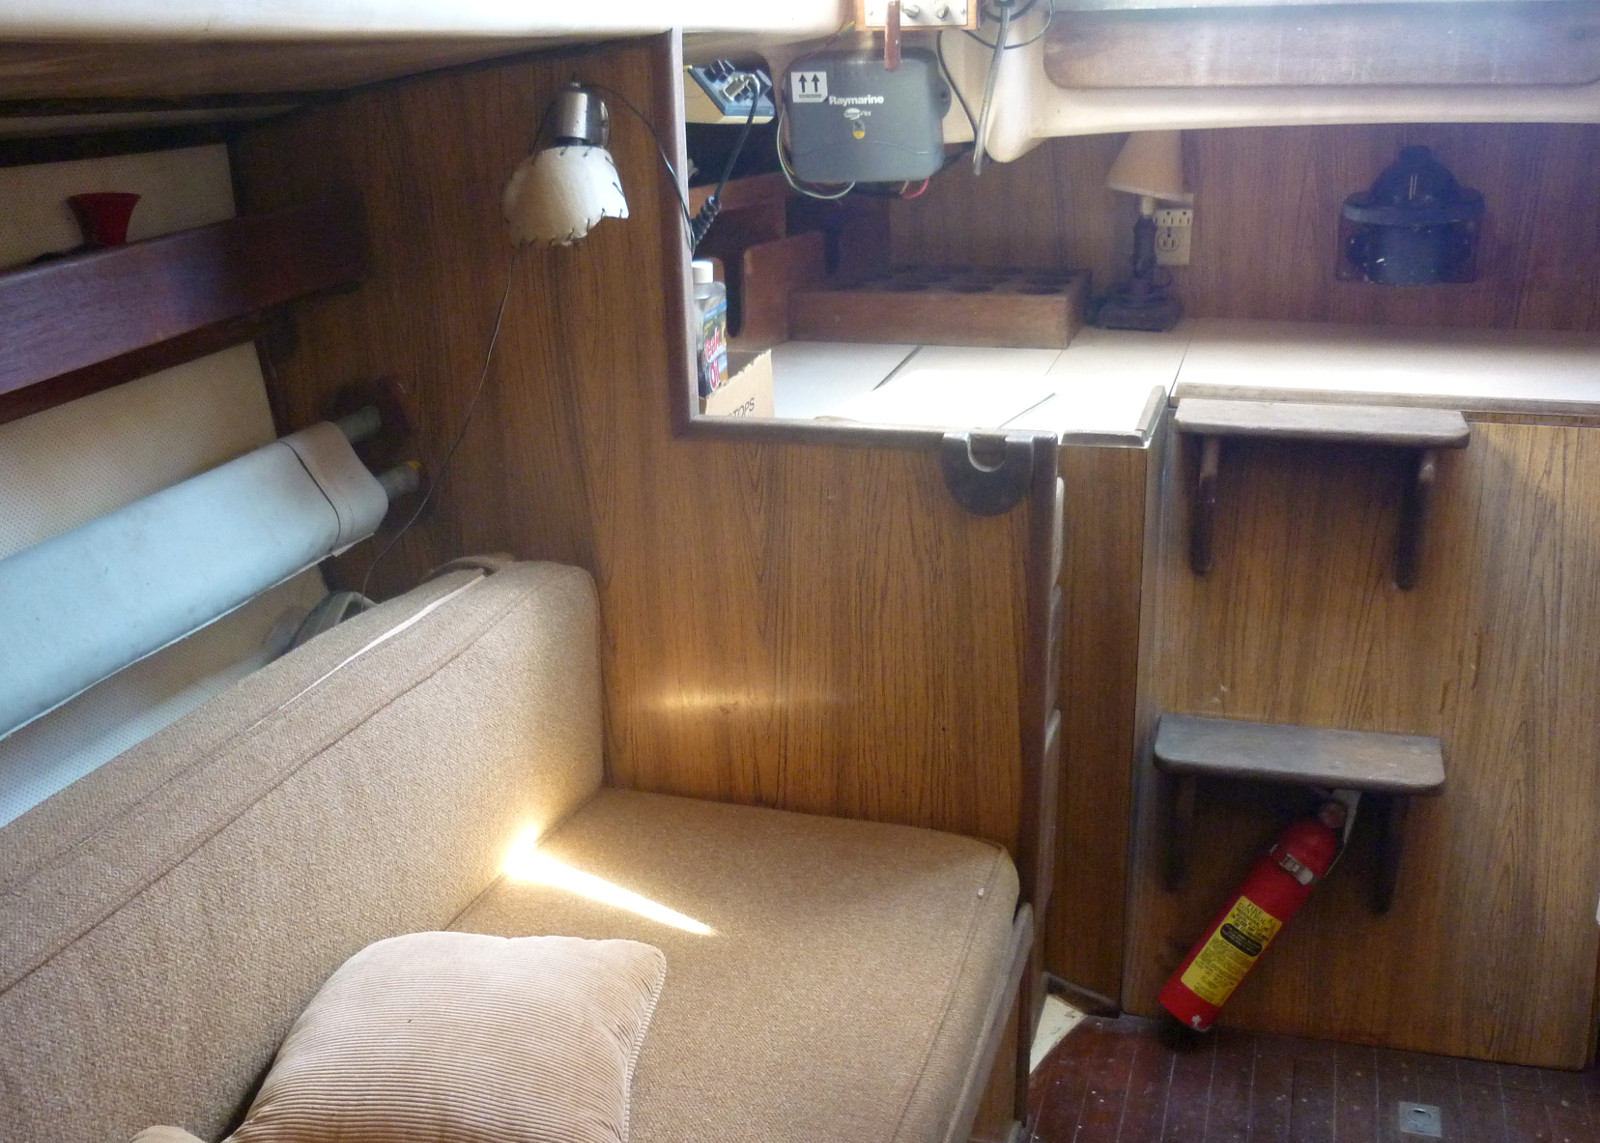 | Nav station to starboard. |
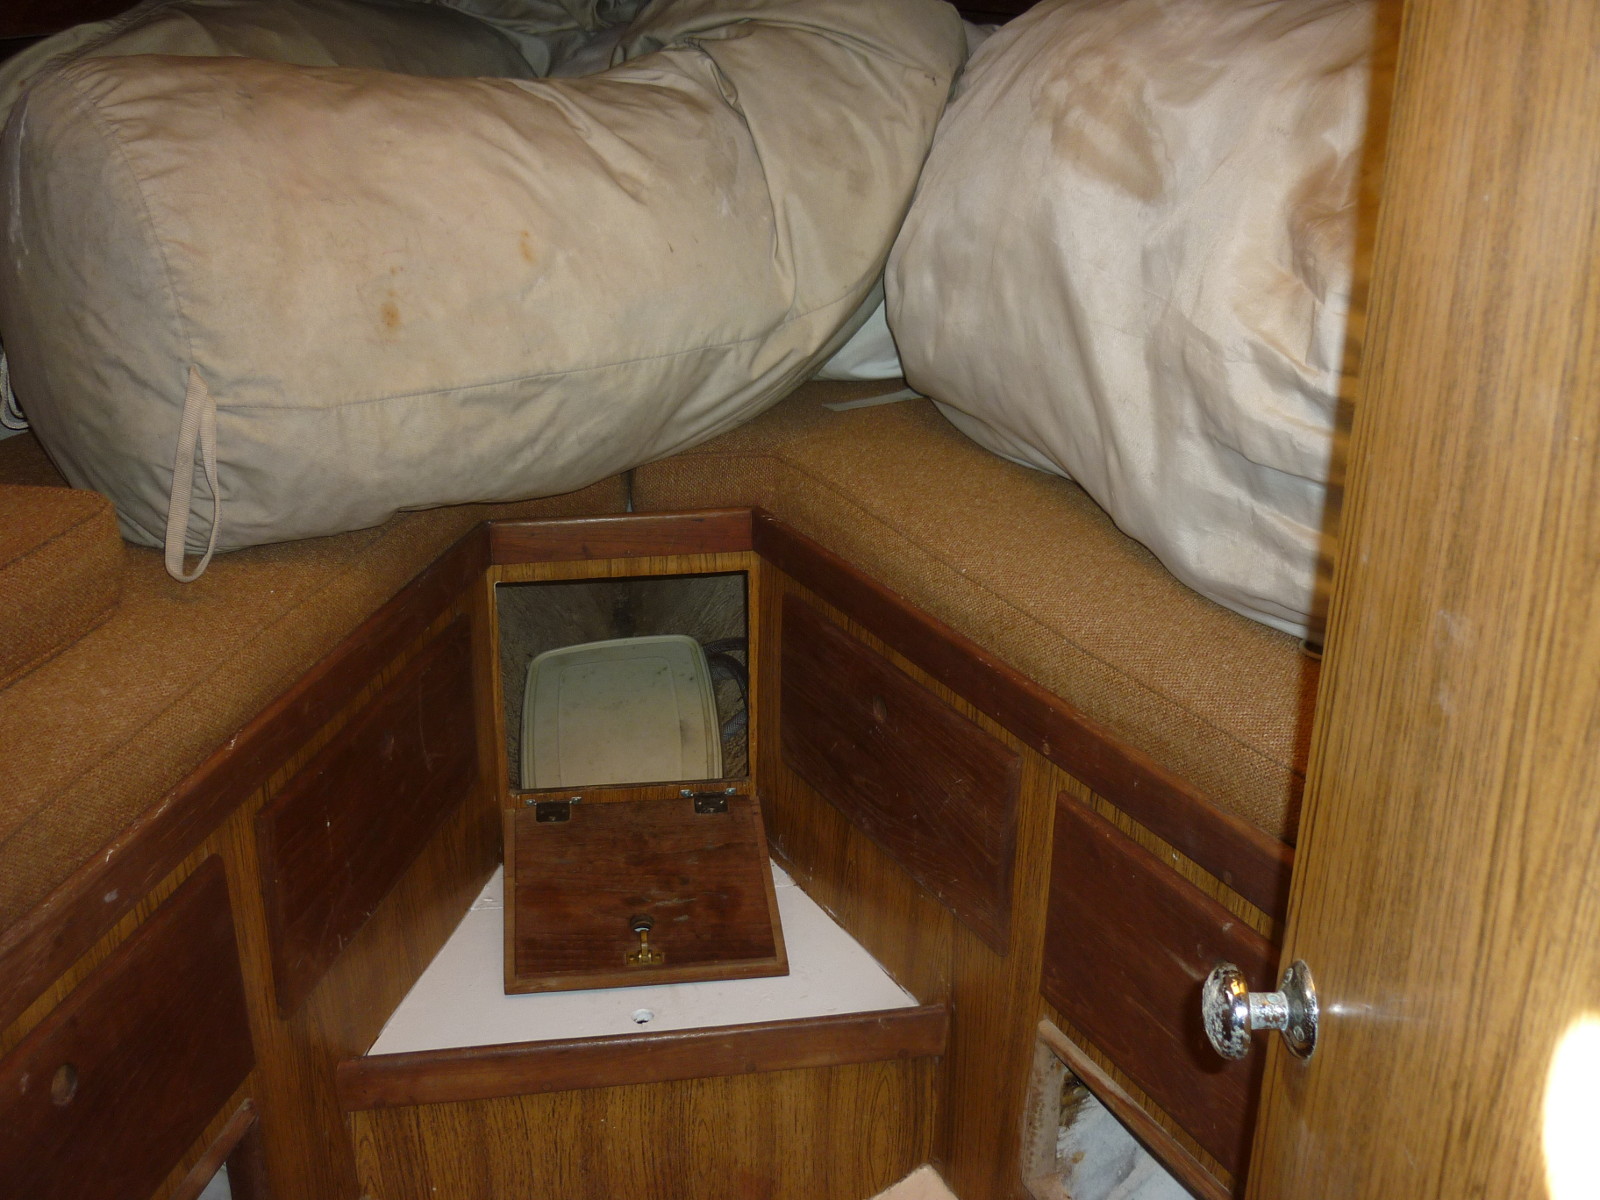
 | Settees and pole berths port and starboard, fold-down and out table amidships. |
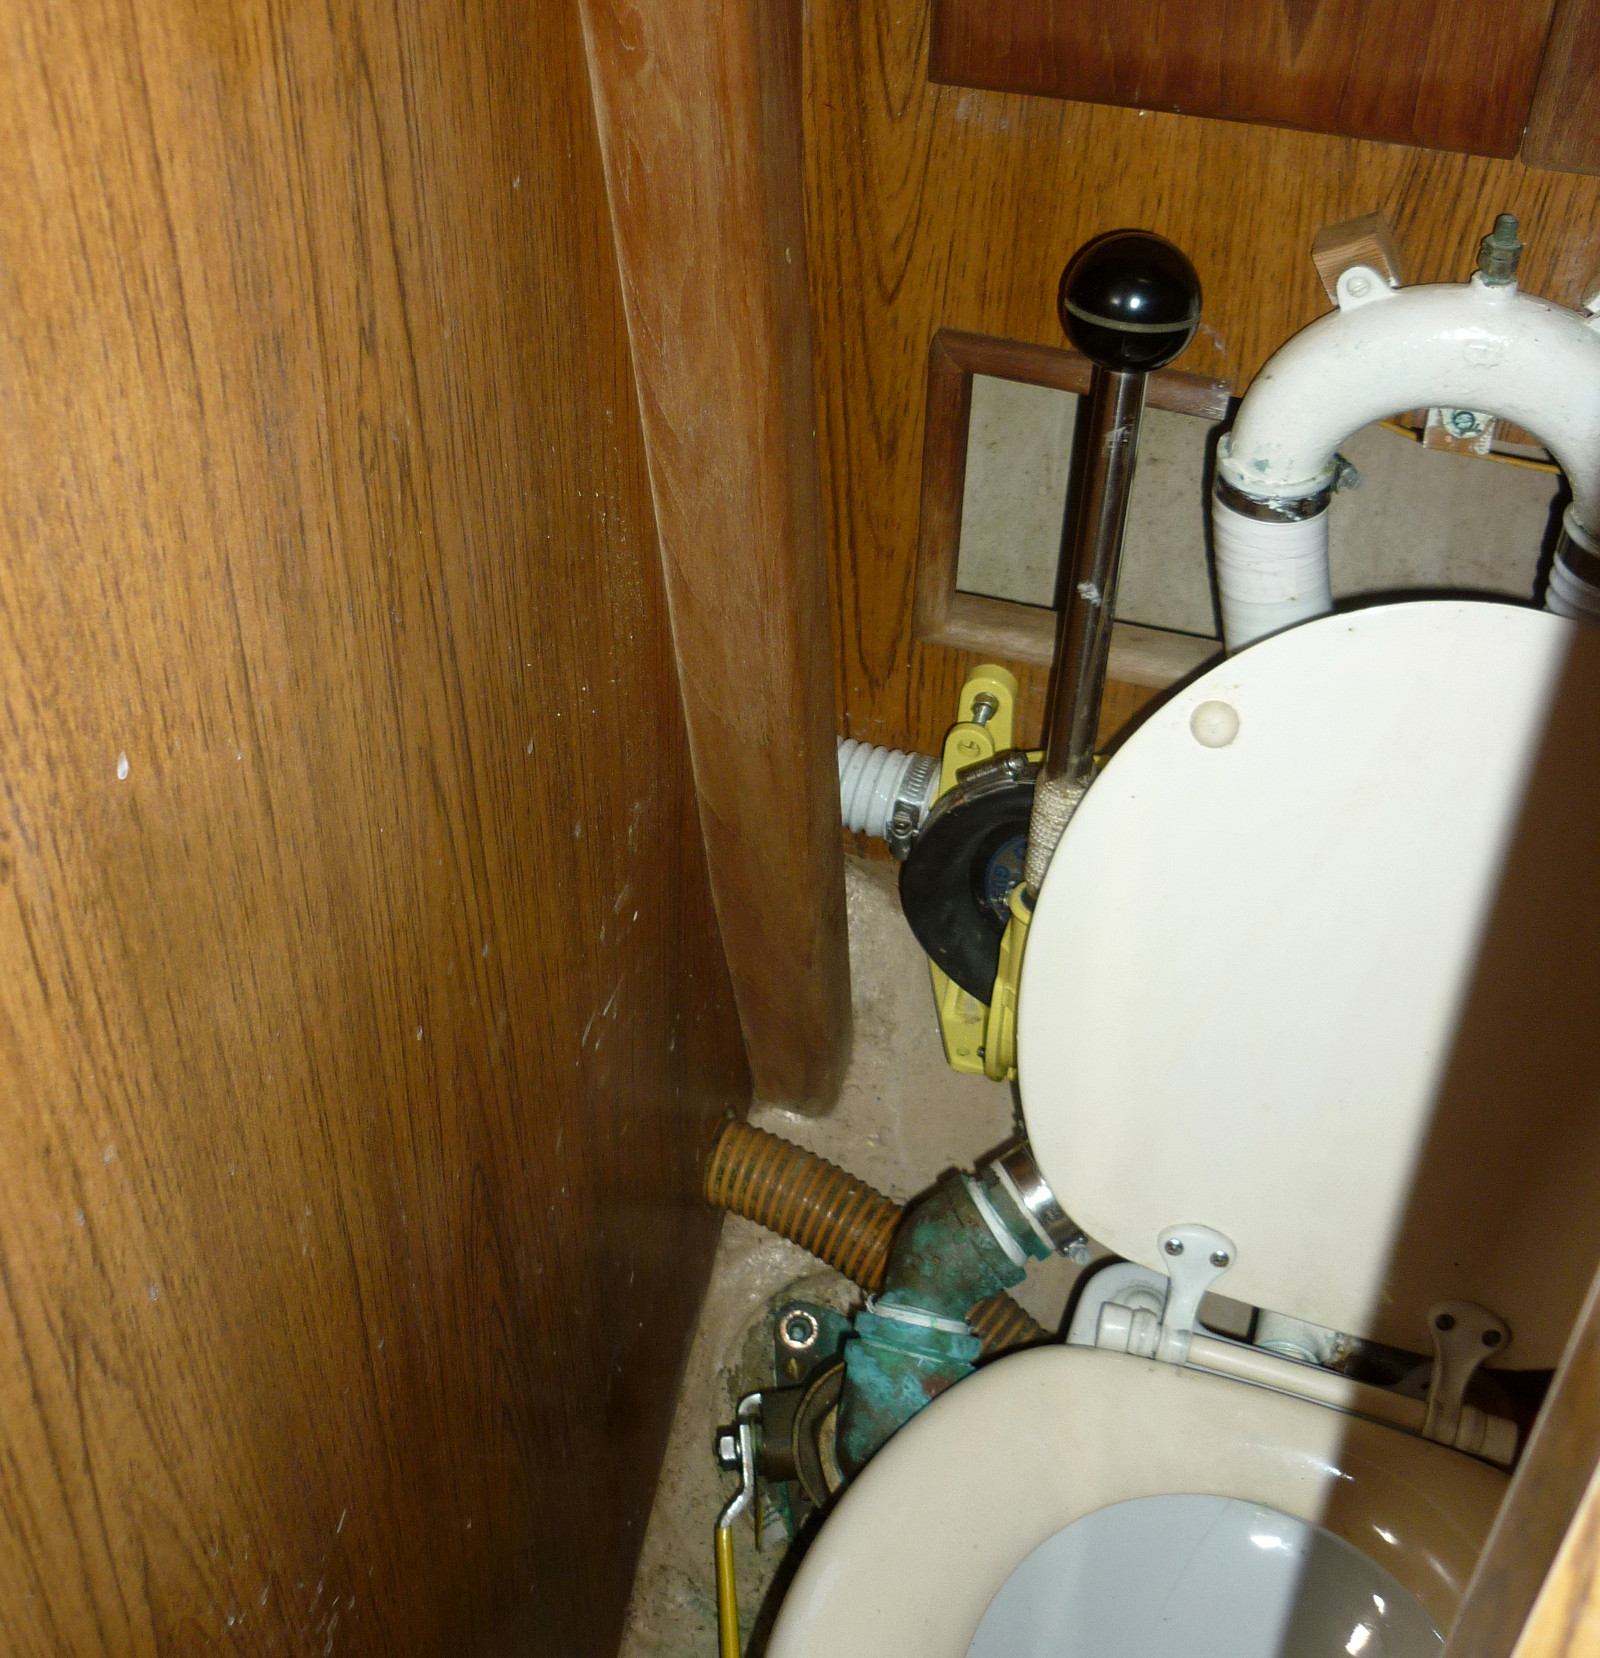 | Head to starboard. |
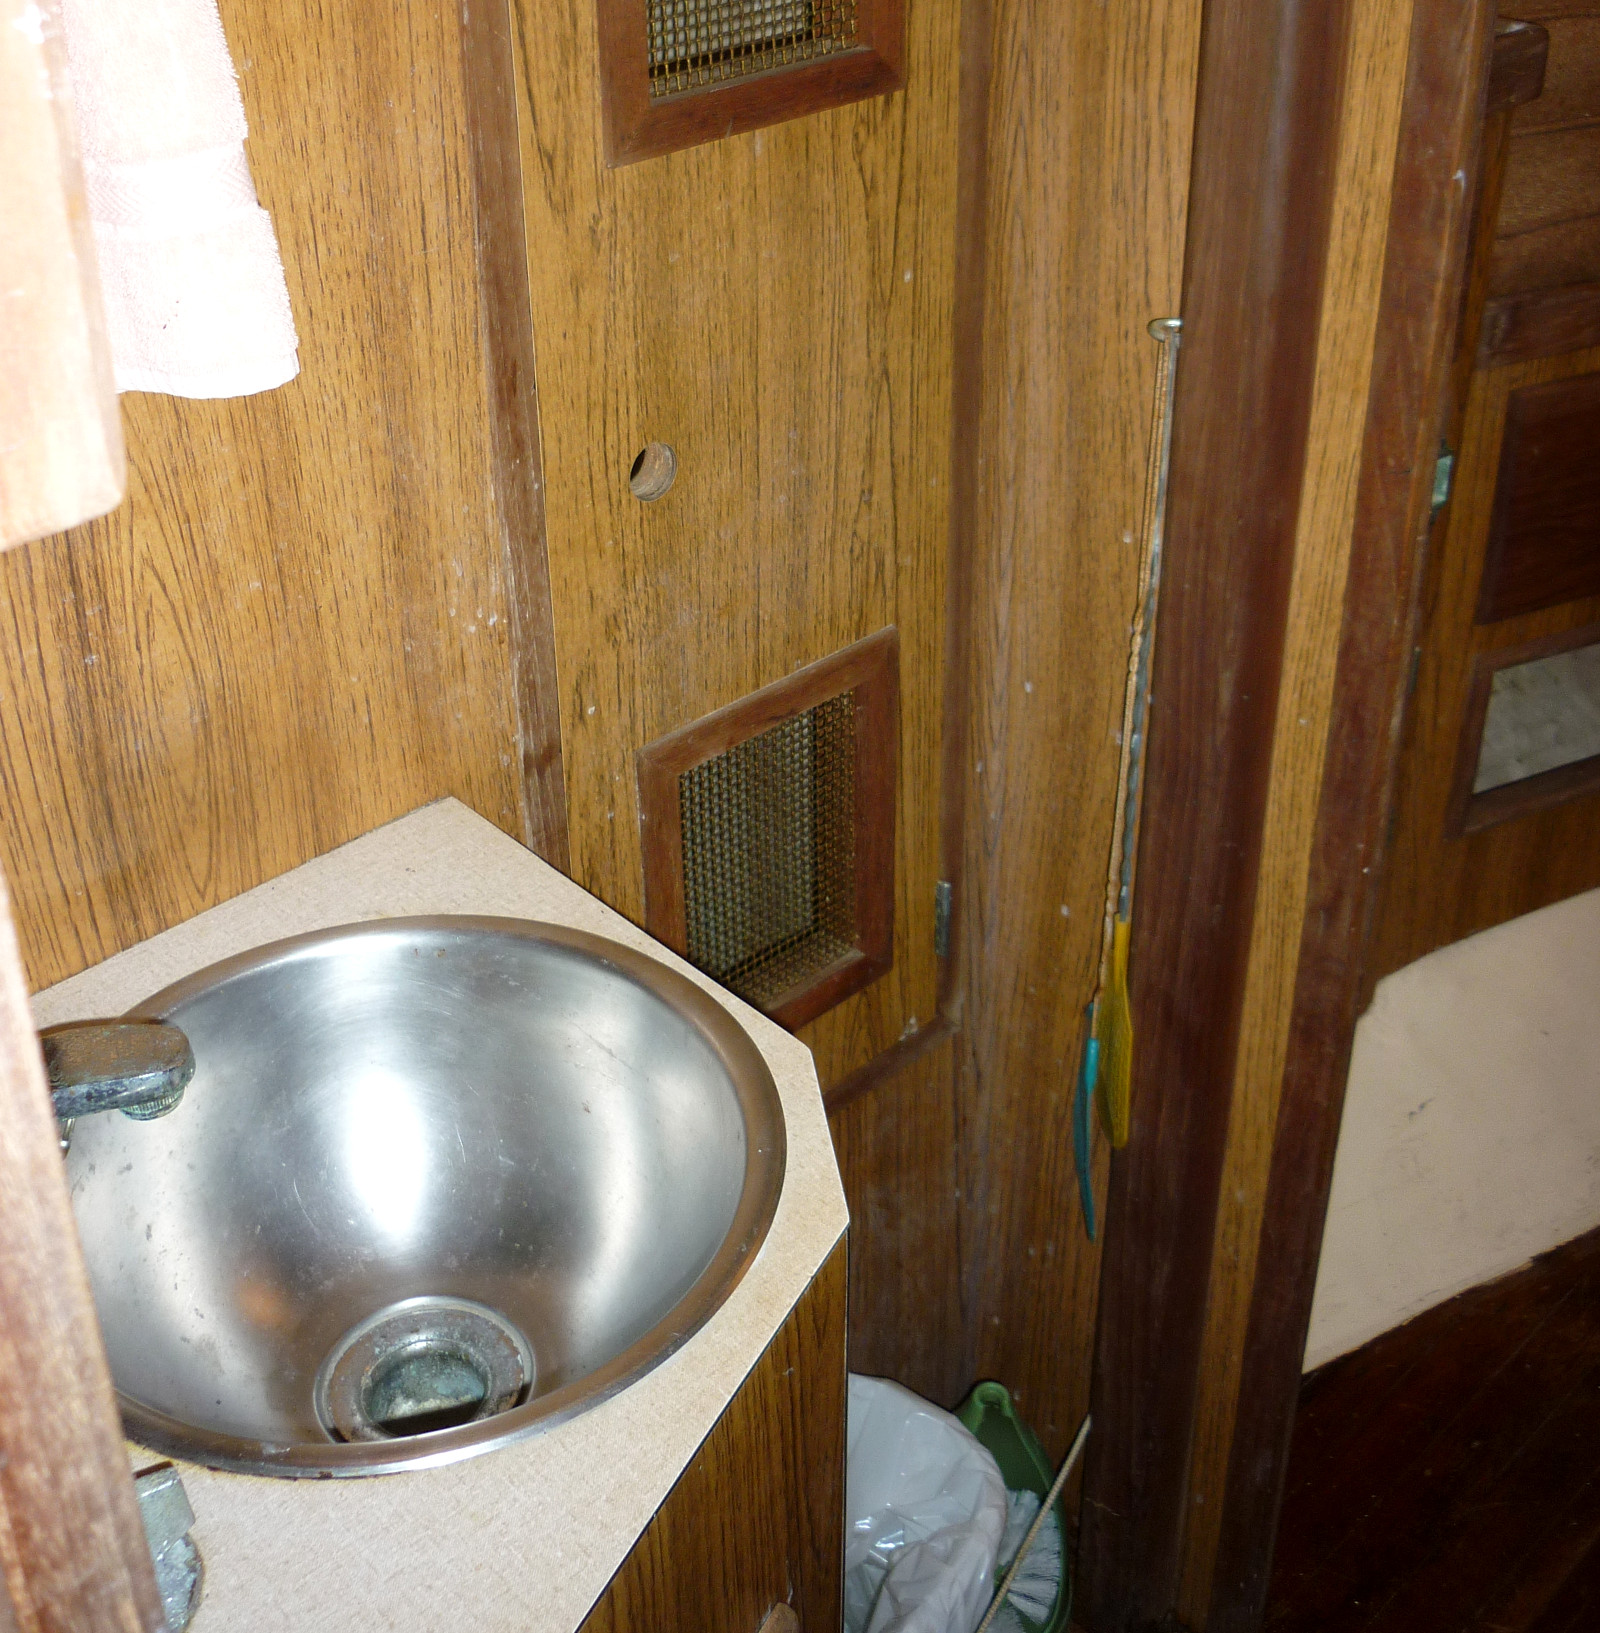 | Sink and hanging locker to port. Shower amidships, between sink and head. |
 | Big forepeak for sail storage and chain locker. |
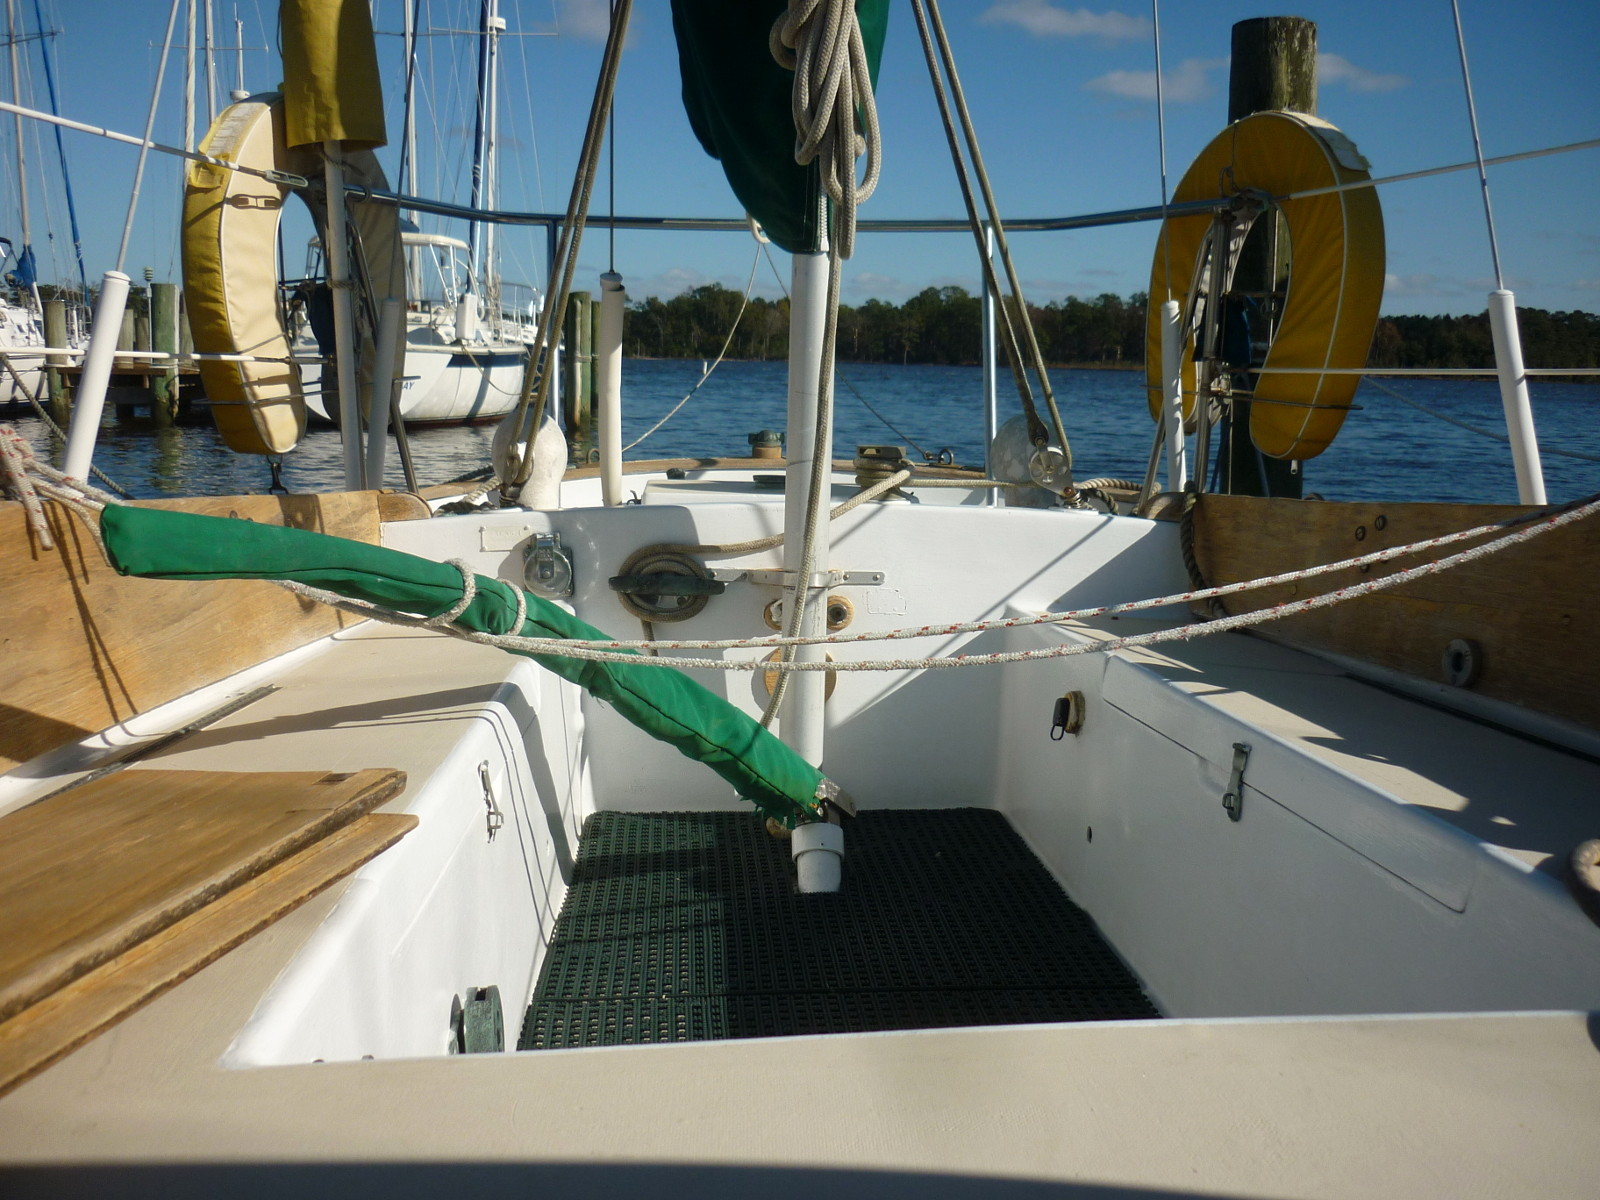 | Long, narrow cockpit, tiller steering, mizzen mast, main sheet. |
That's a quick tour of the boat. I'll post pictures below to go along with the posts on the refit.
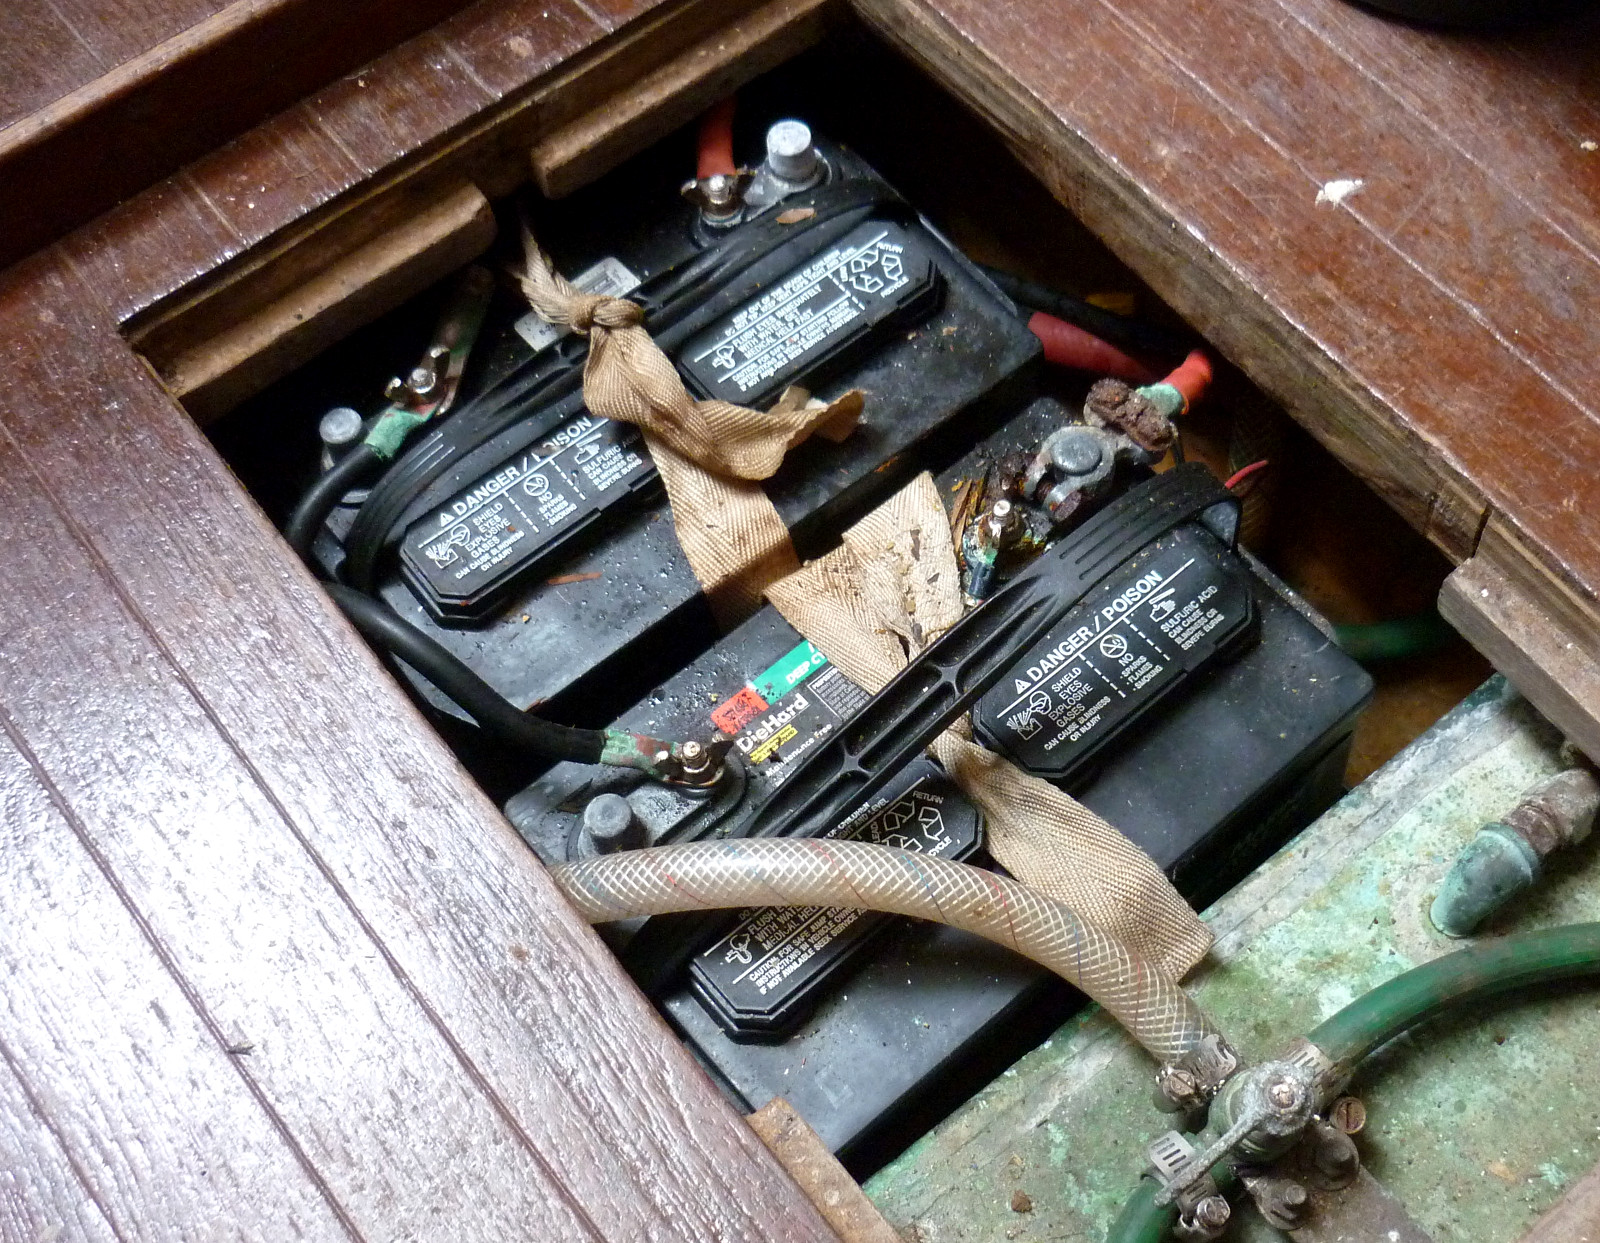 | Batteries in the bilge. Could be worse. |
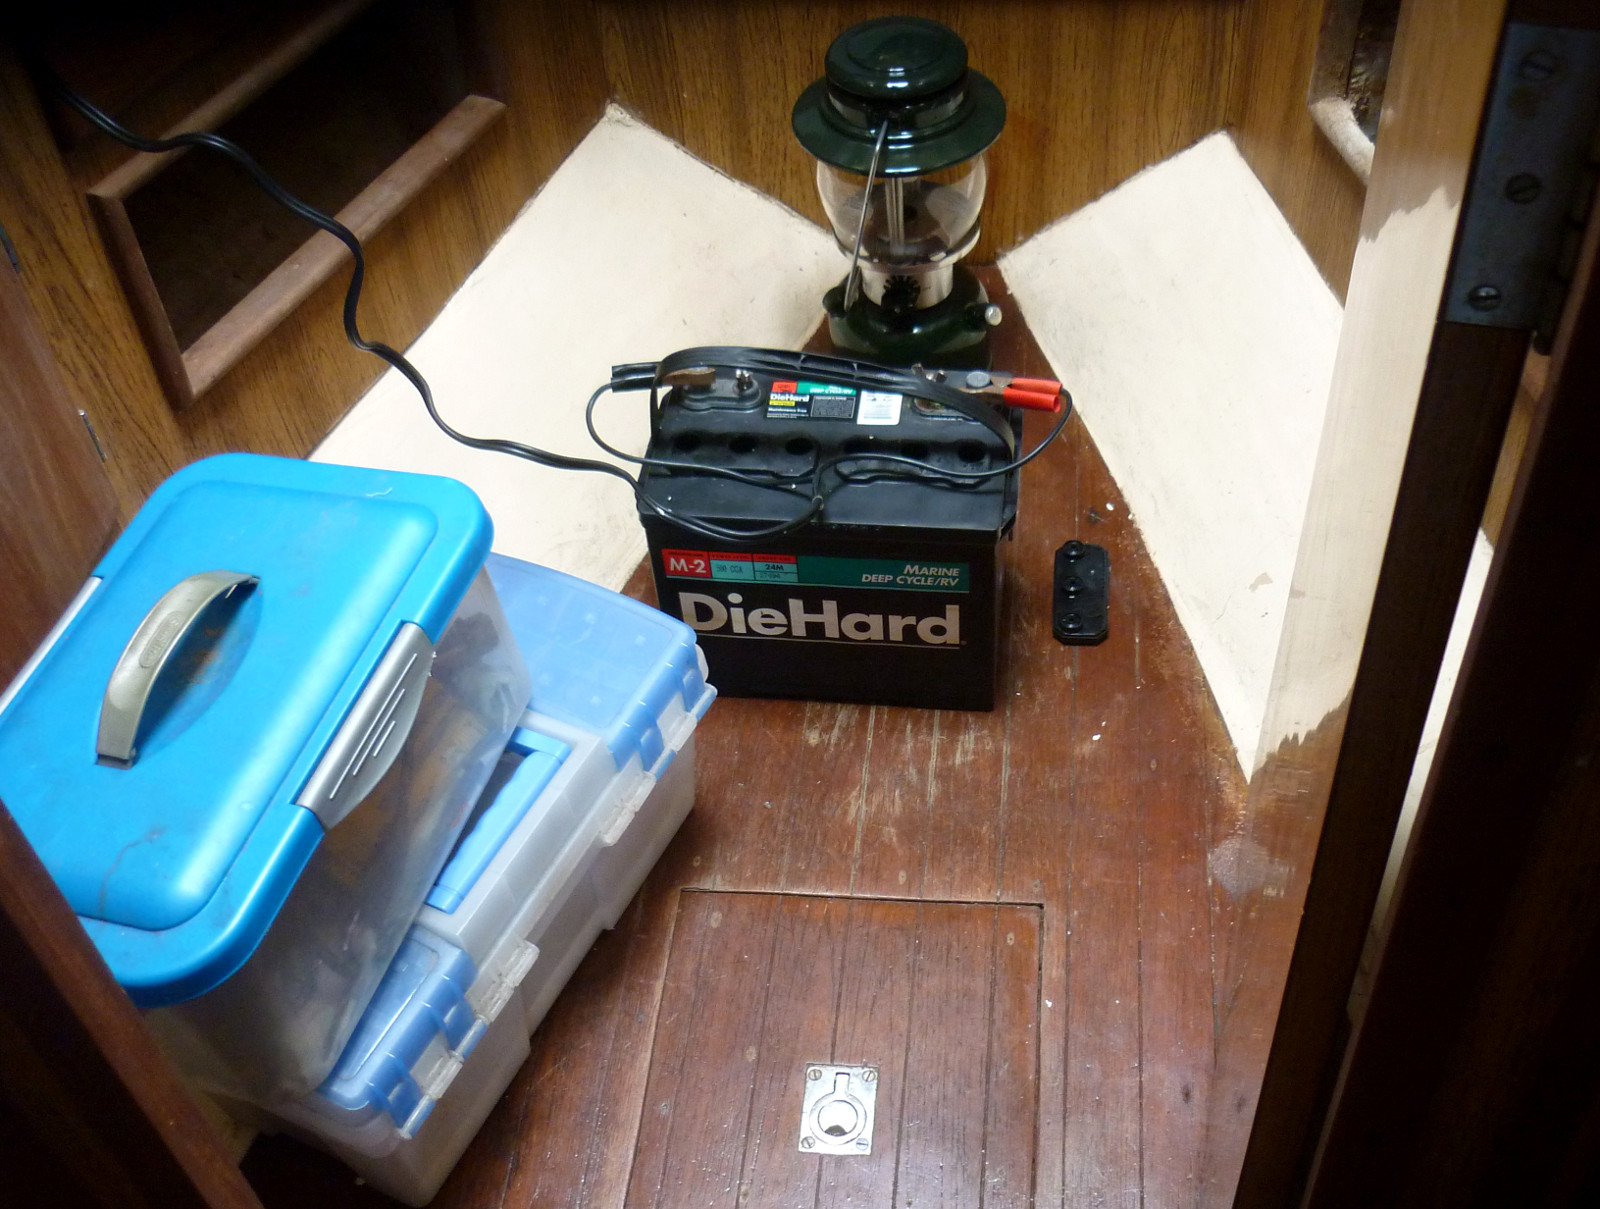 | A battery in the forepeak on the charger. |
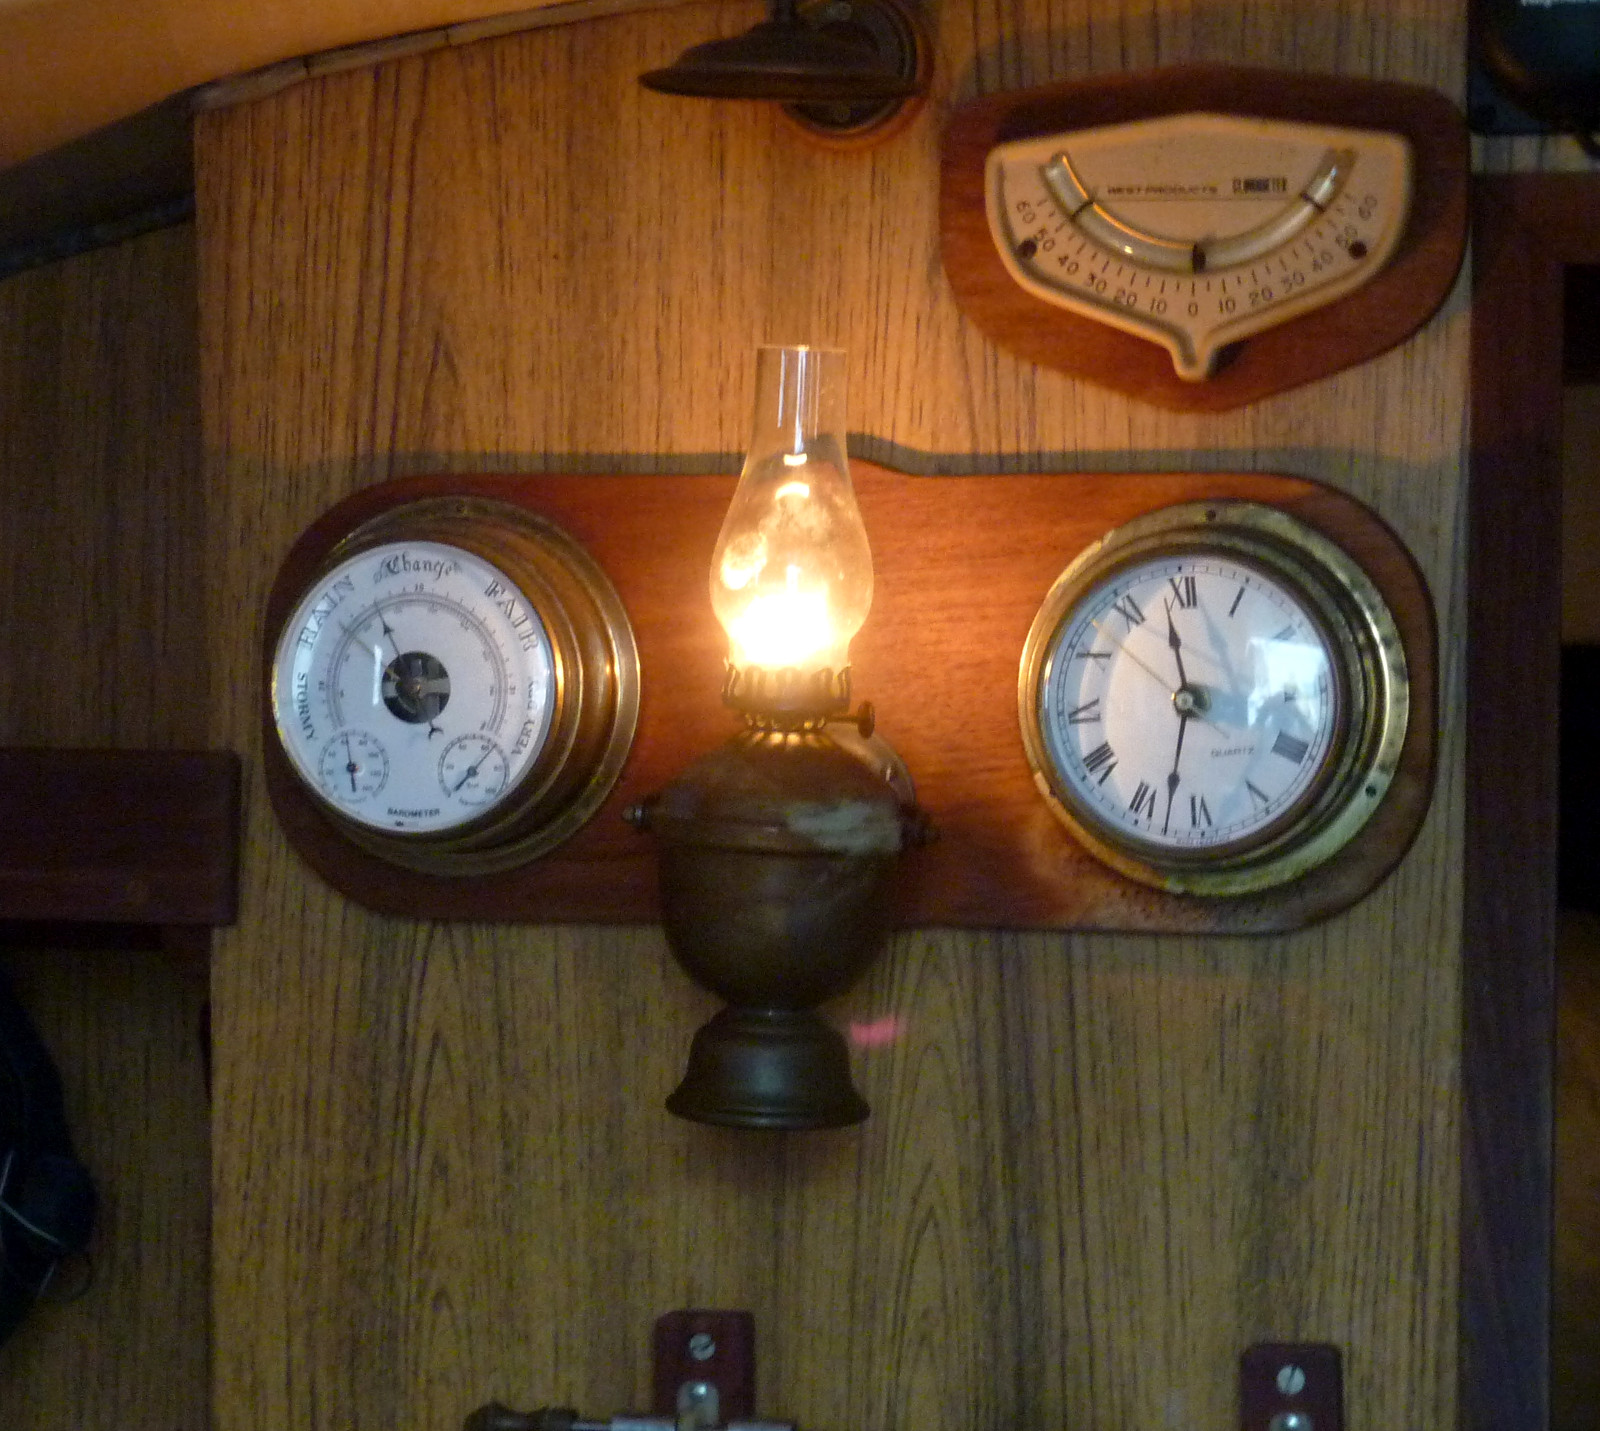 | Oil lamp works. |
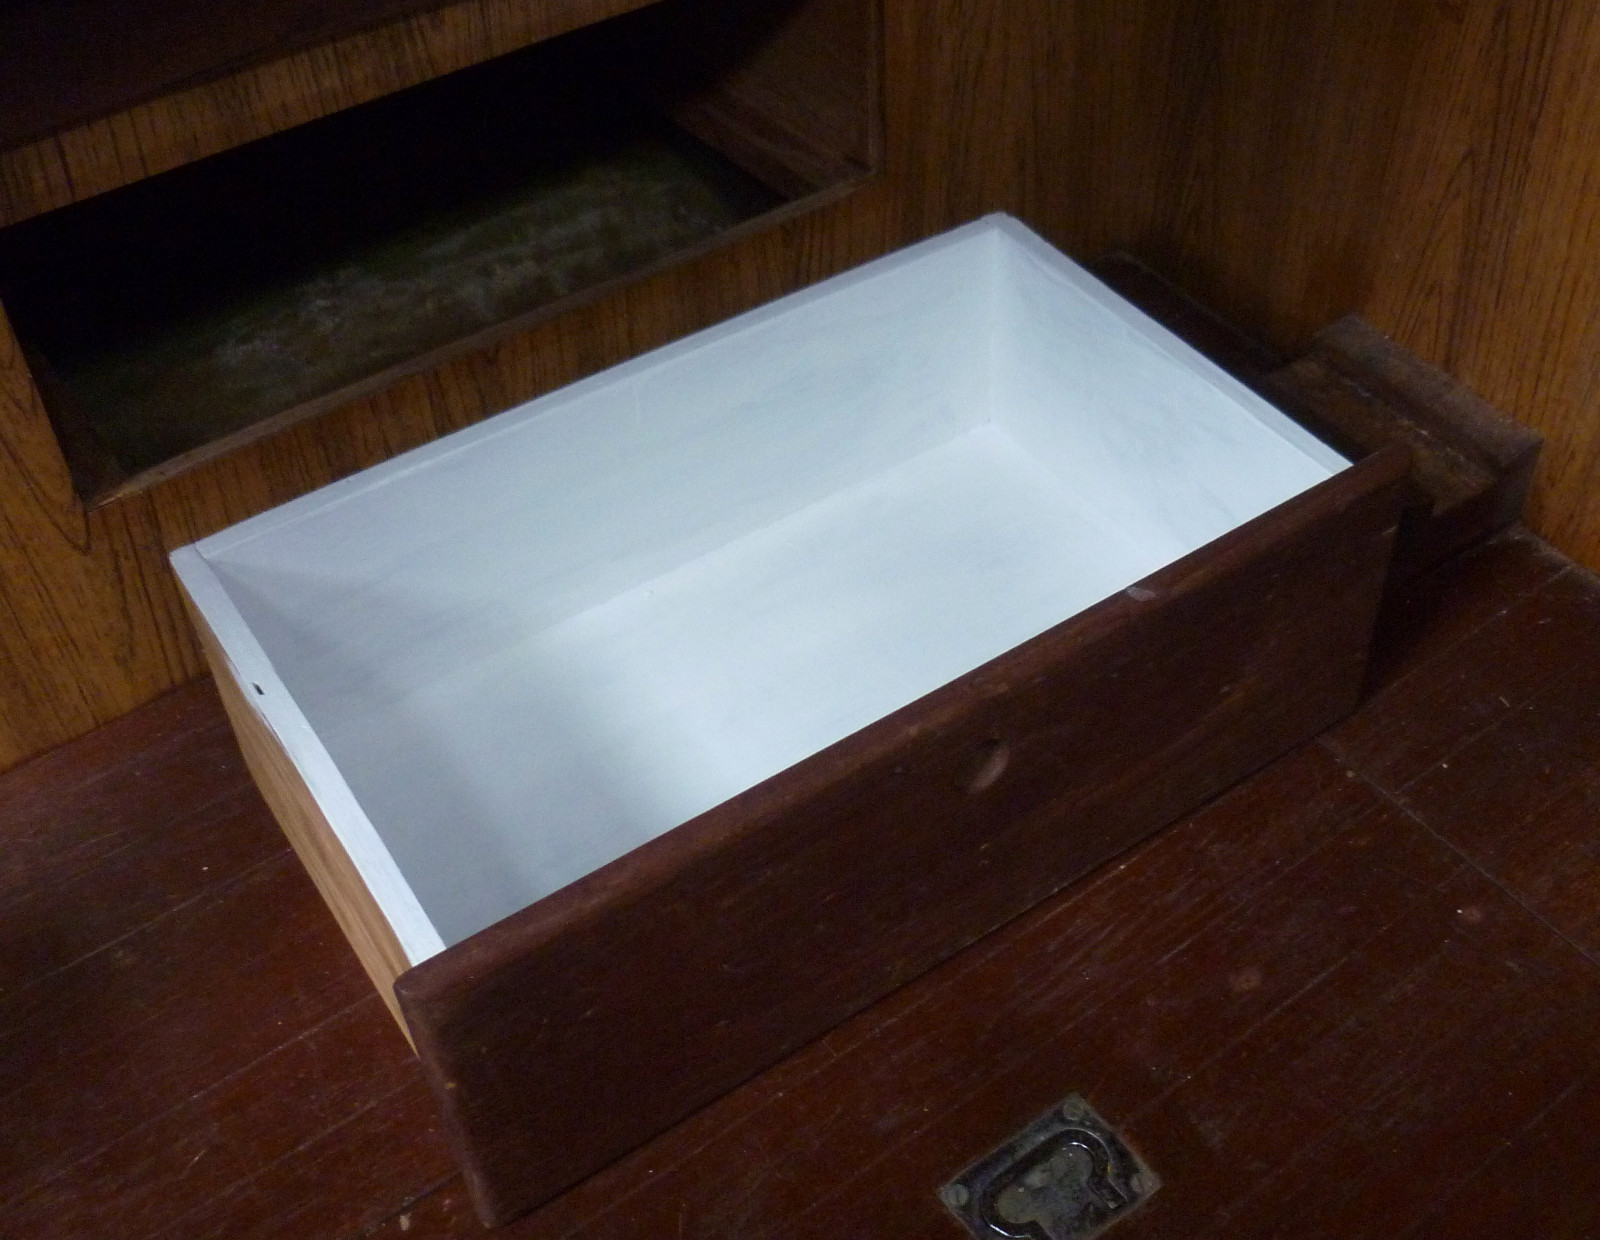 | Drawer looks a lot better with the inside painted white. |
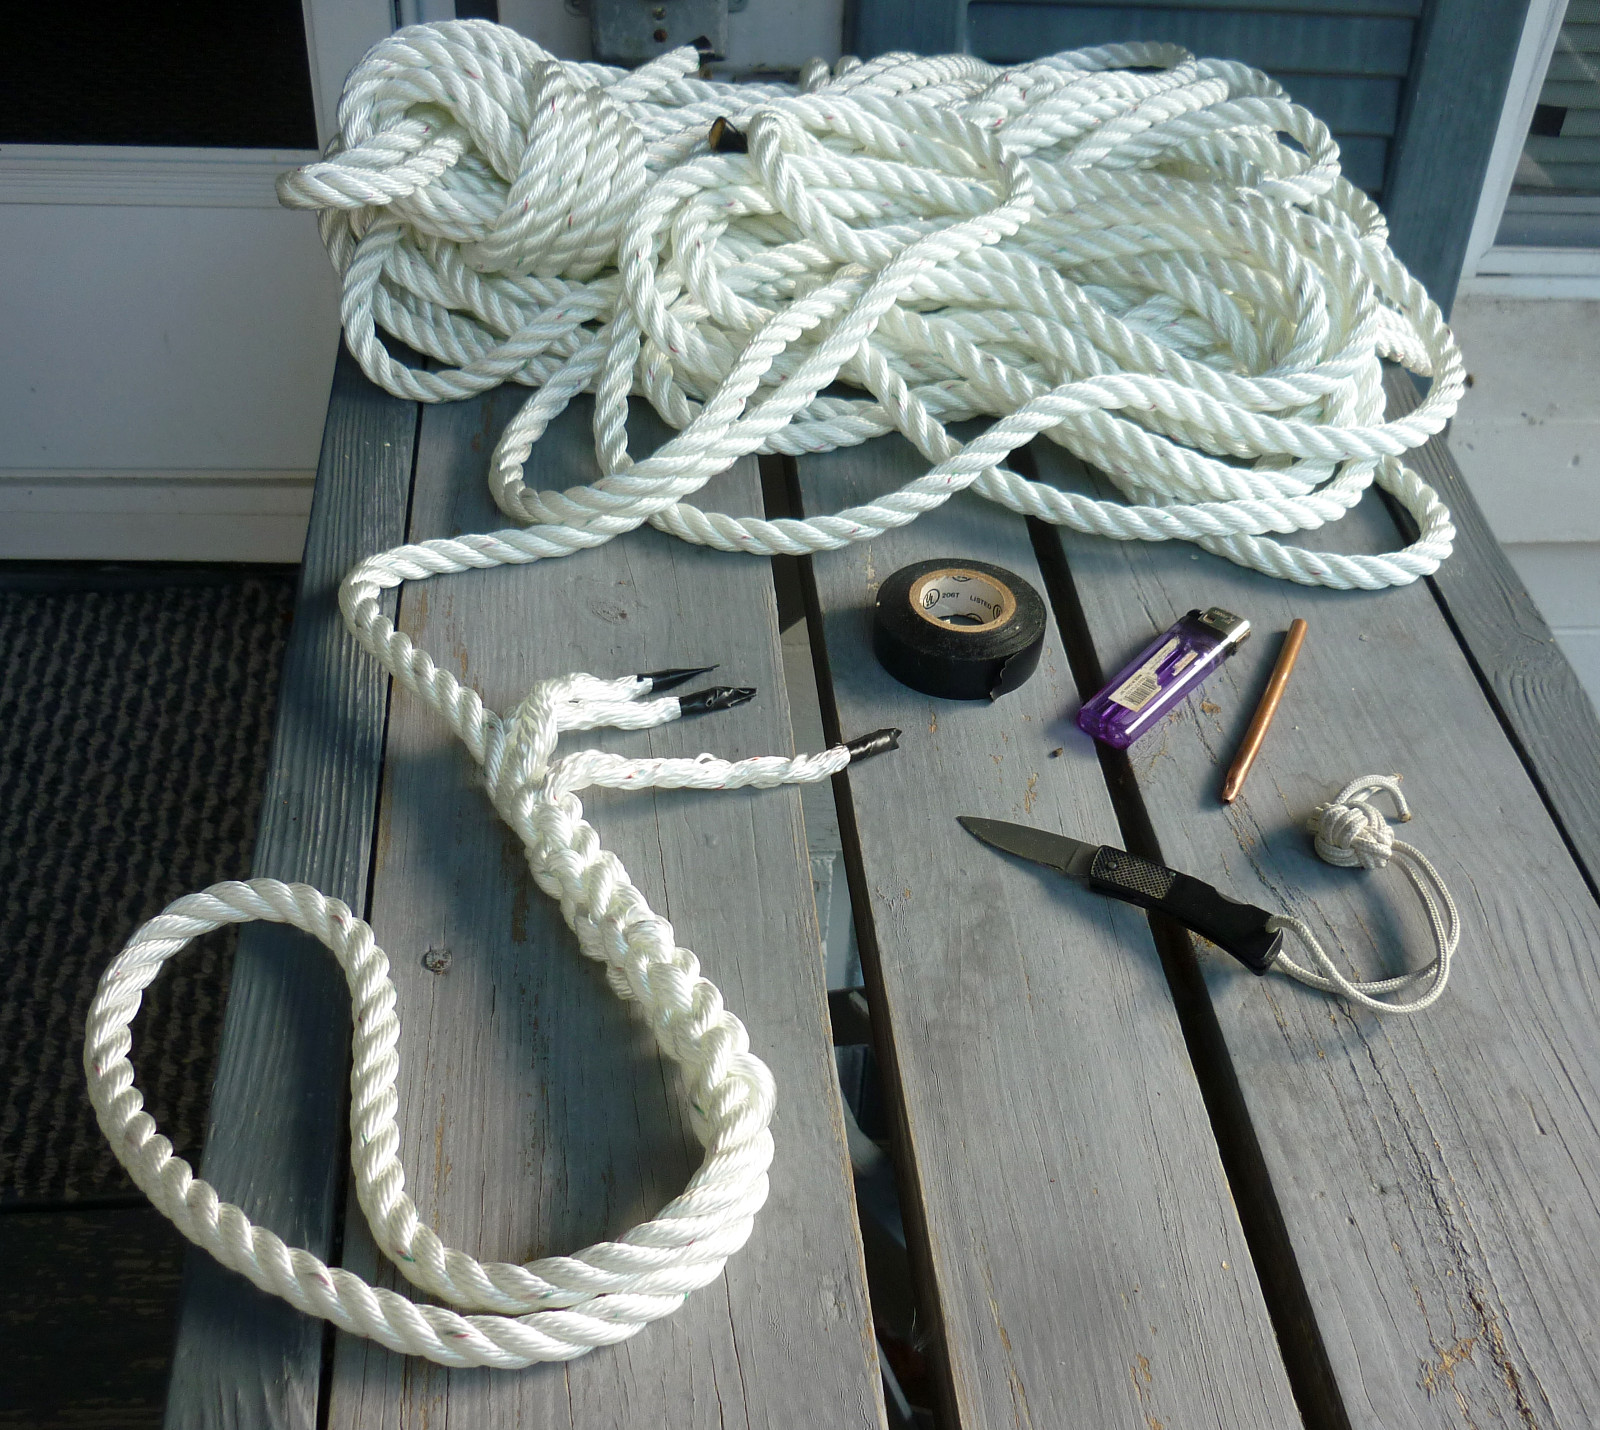 | New docklines. The last one just needs the tags cut off and melted for the eyes to be finished on all four. I'll do the bit ends when I get home. |
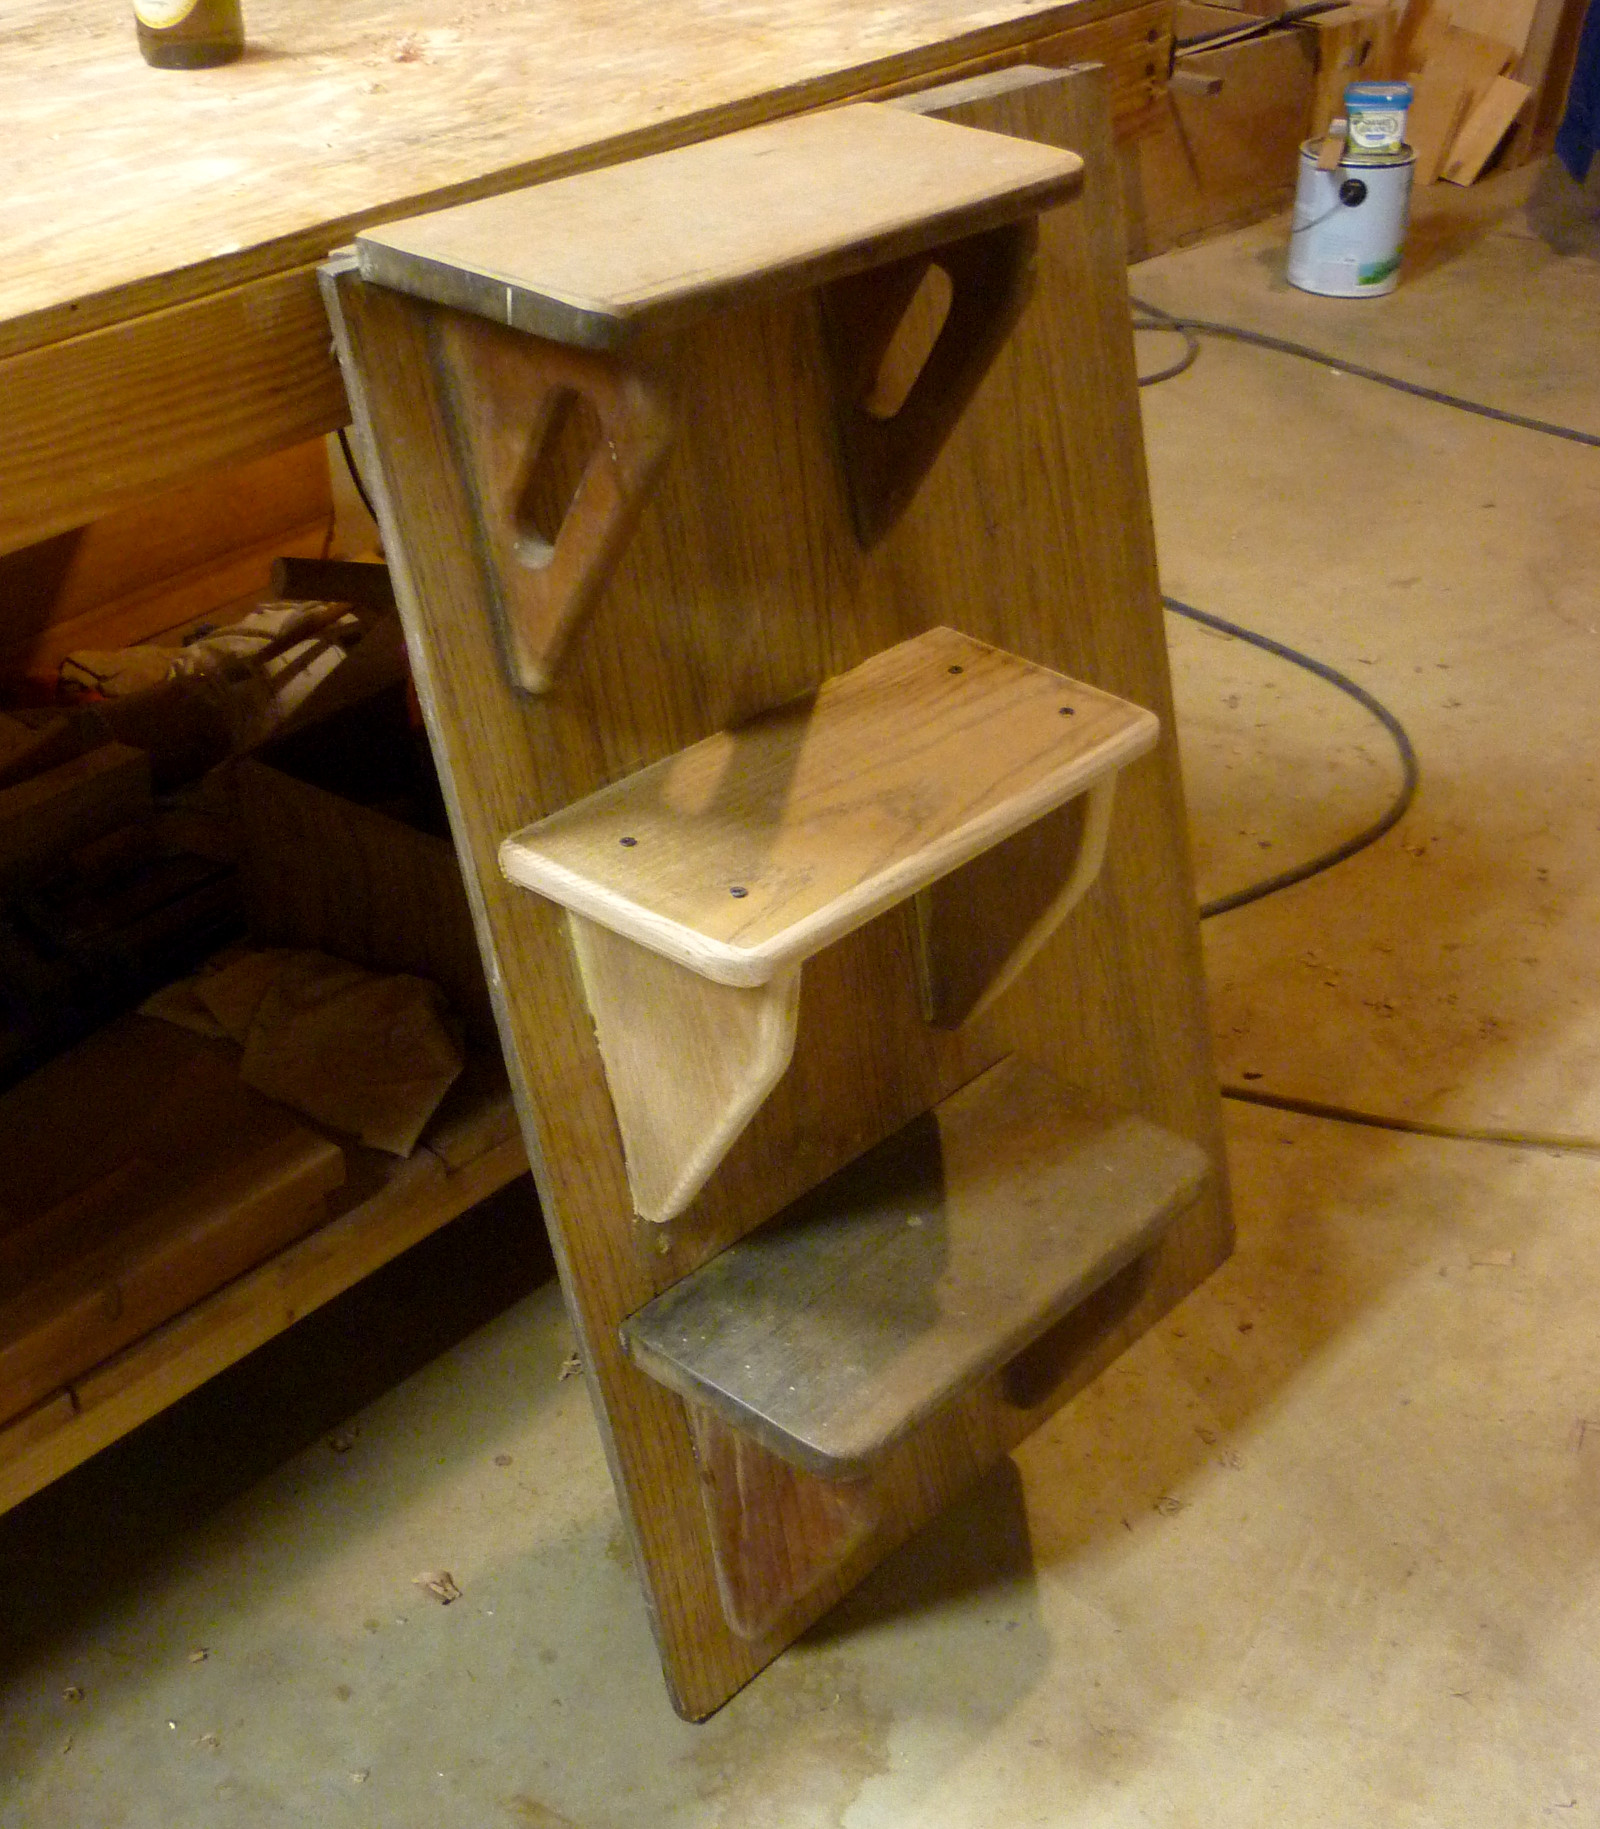 | The companionway ladder had 16 inch gaps between the steps, so we rebuilt it with a third step at my friend Joe's shop. |
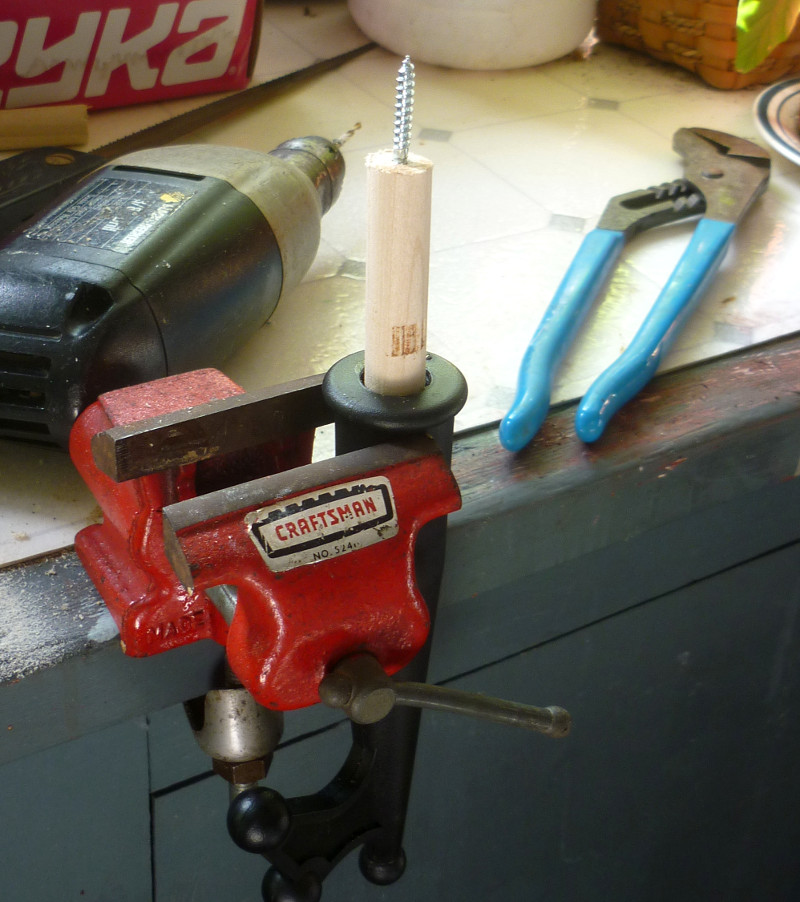 | First steps in making a boathook are to thread a length of dowel into the boathook end and insert a hanger screw to attach to the larger-diameter dowel that will be the main core of the boathook. |
 | Drill and screw the main core dowel onto the screw hanger. Then wrap the section of dowel that is threaded into the hook end with duct tape to bring it up to the diameter of the main core. |
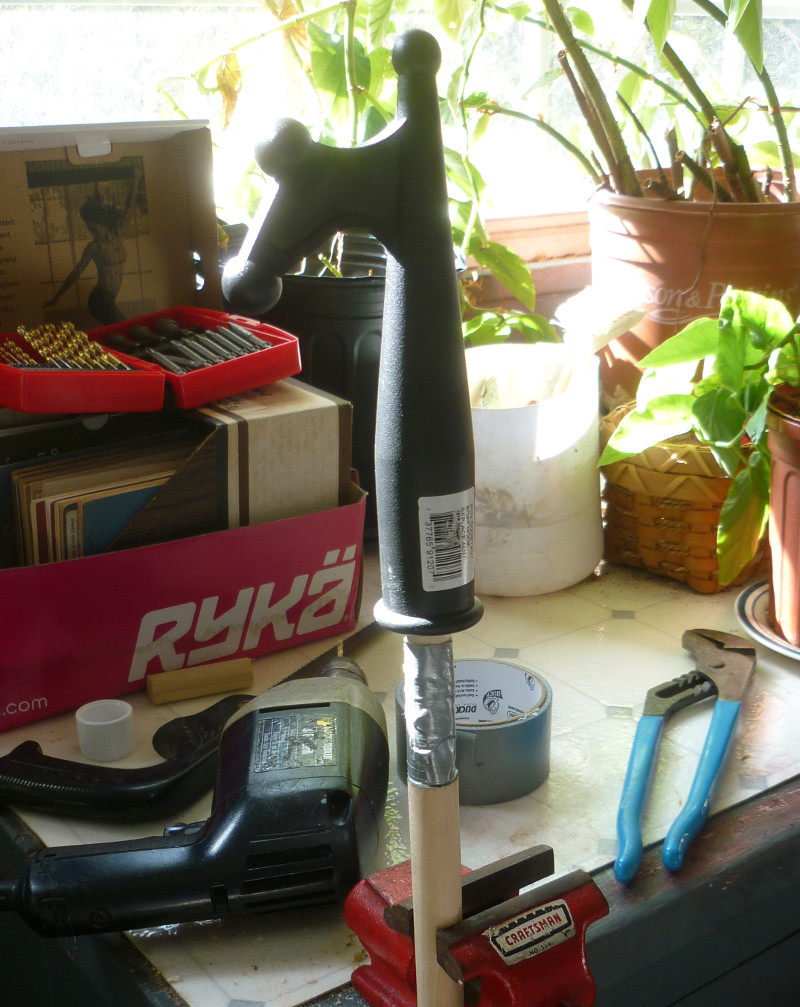
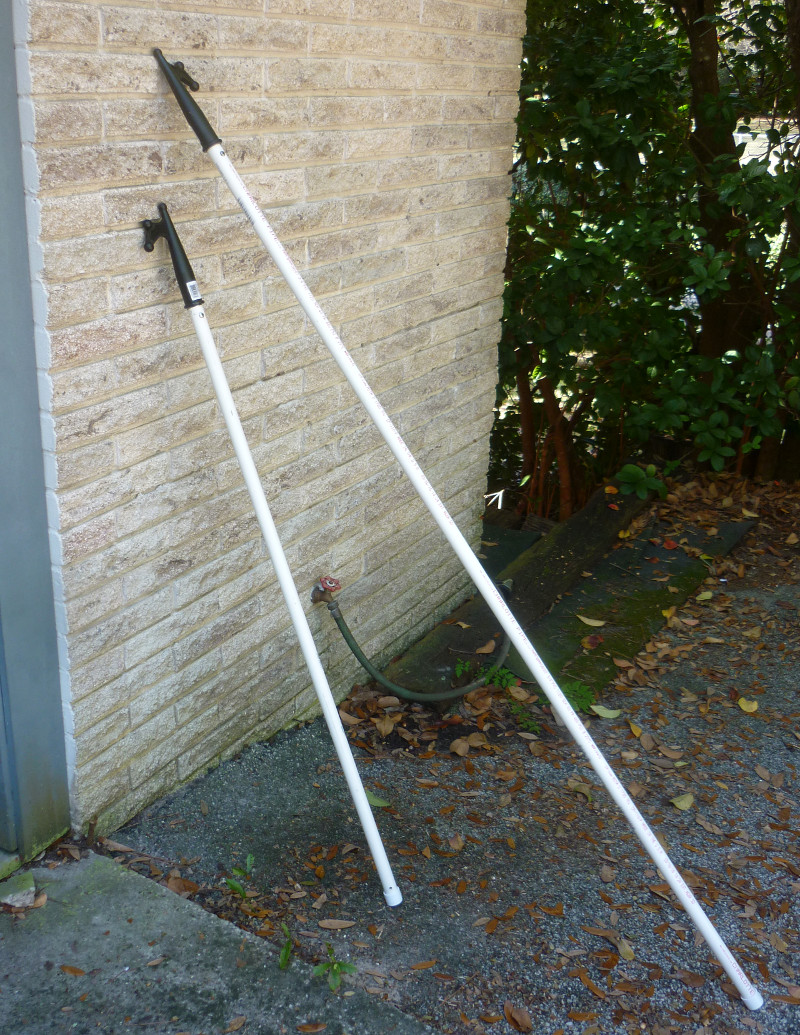 | Slide the length of pvc pipe over the core and up to the boat hook end. Drill into the pipe and dowel that is inserted in the hook end and insert a set screw to hold the pipe to the end. Cut the core off to length at the boat end of the hook, or add more length of core to get to the end. Cap off the open end of the pvc pipe and drill a lanyard hole if you want one. That's all there is to it - takes about 15 minutes. |
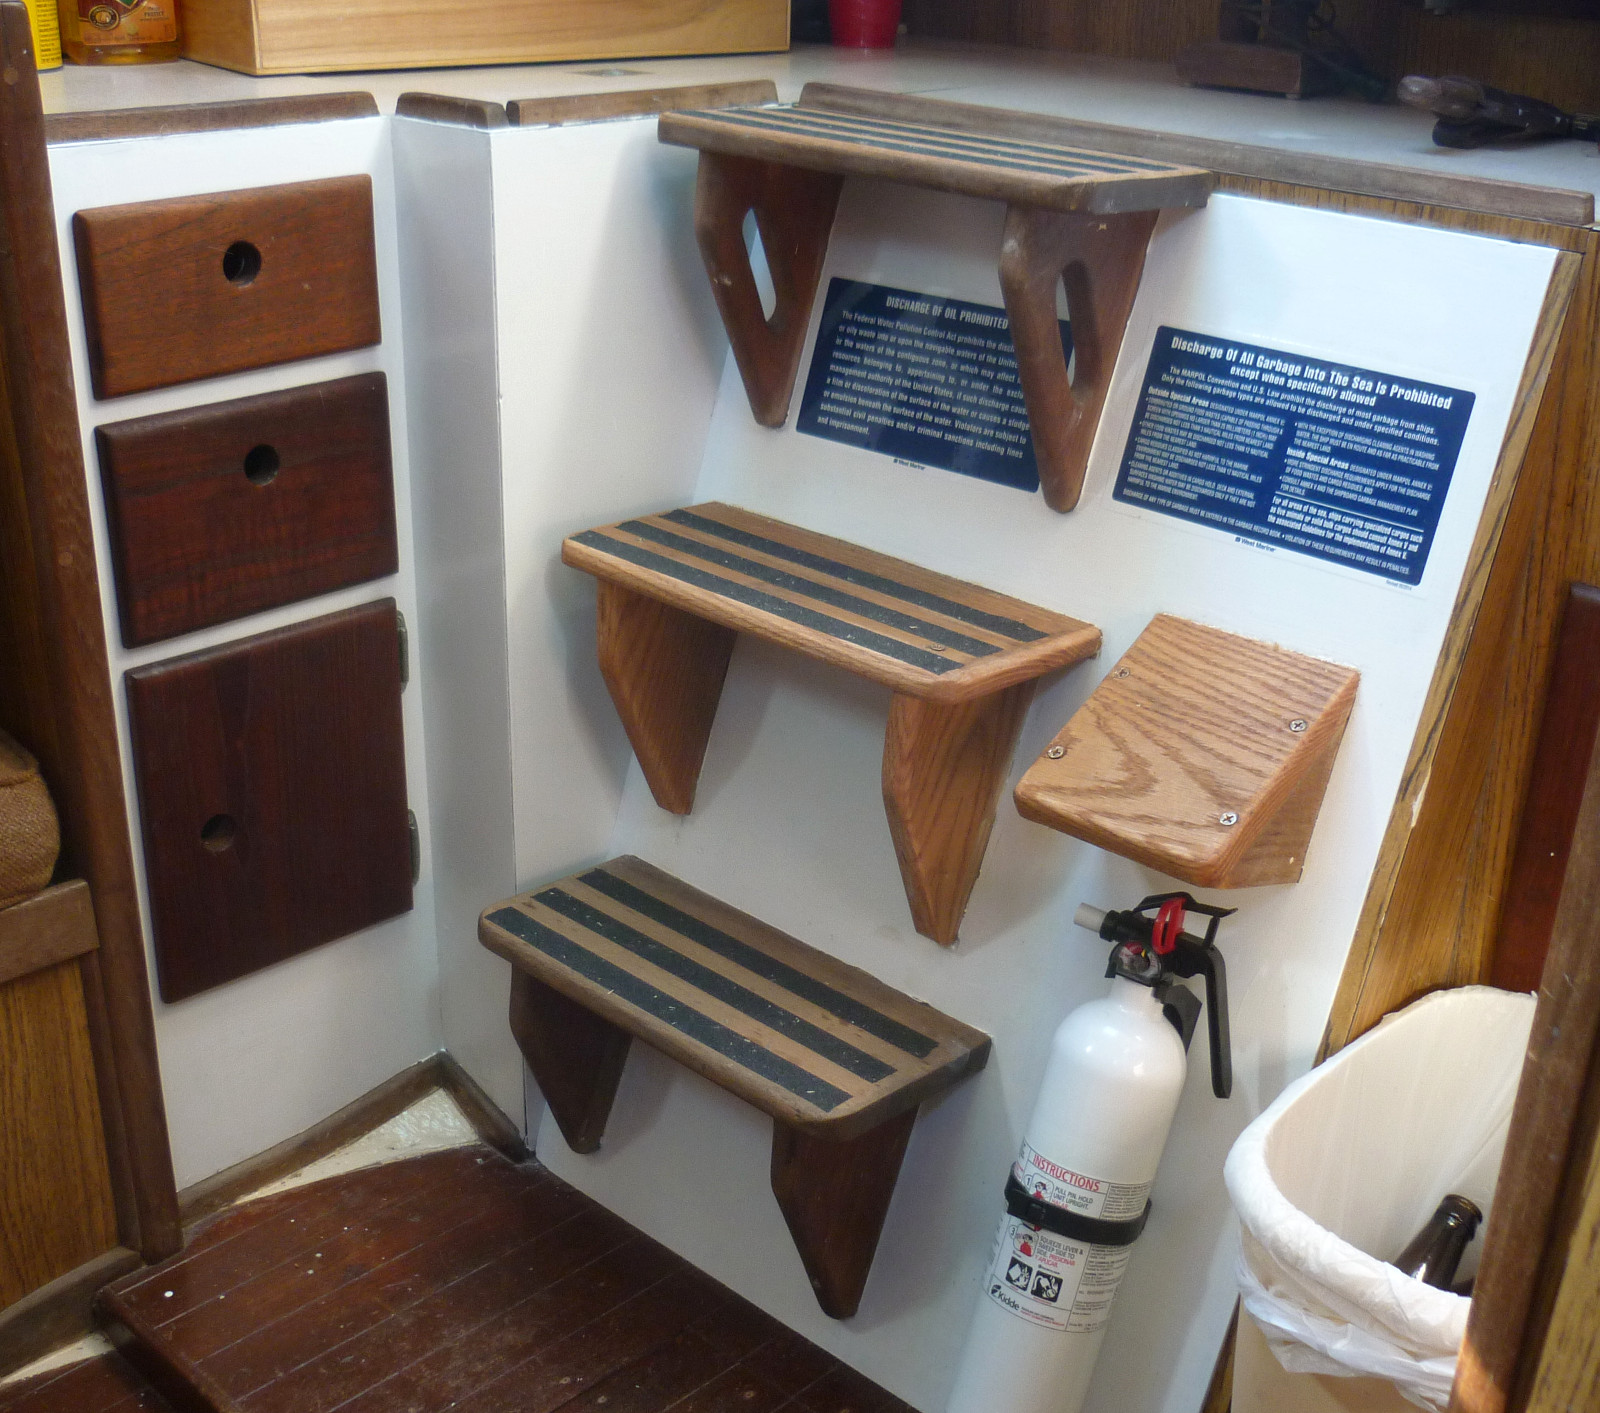 | Companionway steps and vicinity painted and placarded. This gives an idea of how the boat is going to look with Herreshoff style white paneling. The non-skid on the steps is cheap, easily available at any hardware store, and a snap to apply. |
 | Overdrill holes for through-deck fittings. If the core is already wet or rotted, try to scrape it out all around inside the hole with a bent nail or wire. Then tape them from below and fill with epoxy. Once the epoxy sets up, redrill the holes the right size for the fittings. Compass Marine has an article on a more elaborate technique for sealing holes for deck fittings which is "best practice". I would suggest reading the article before trying to core holes in a deck, just to see how the professionals do it. |
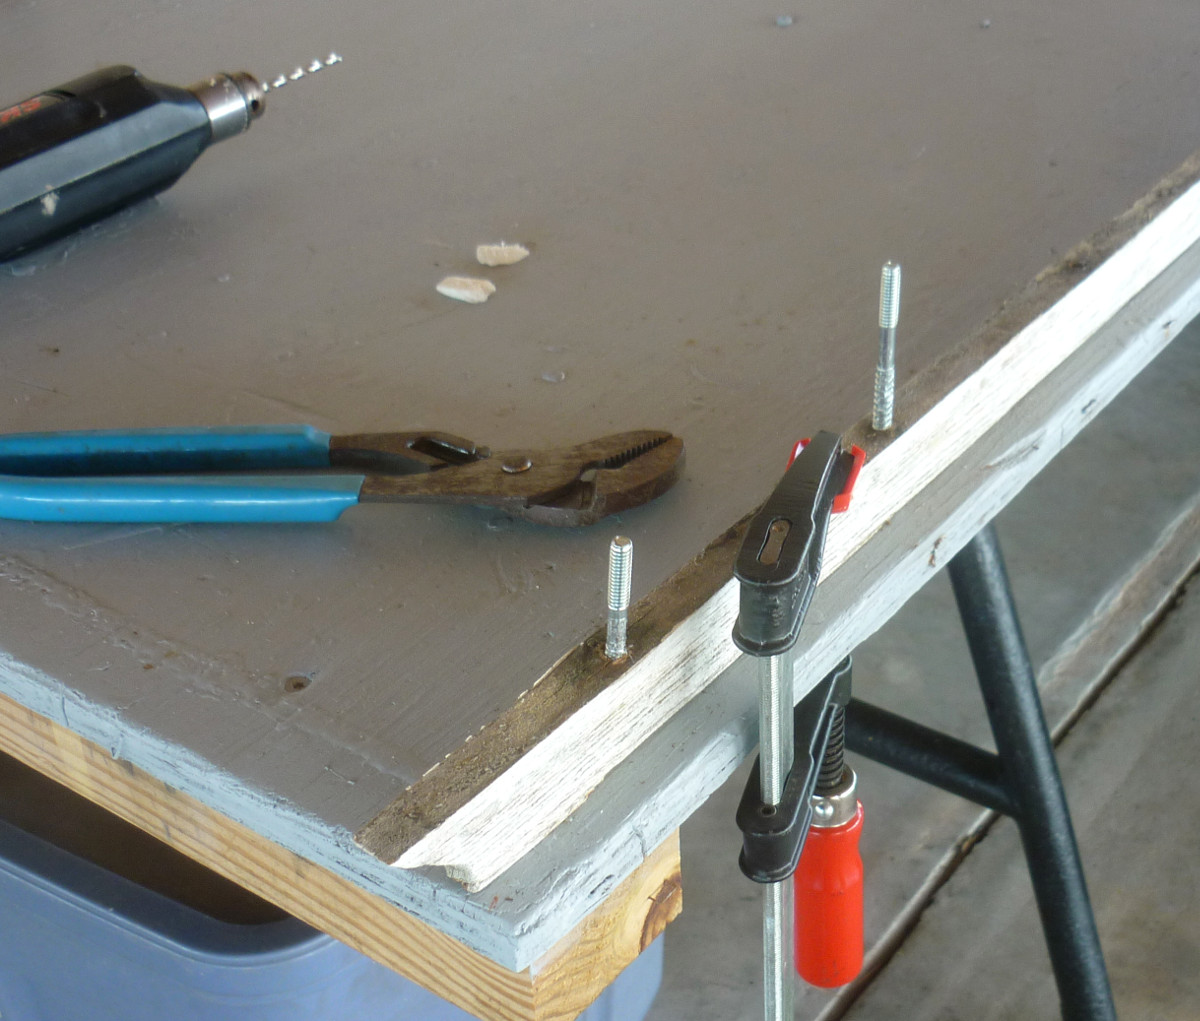 | Installing the hanger bolts in the wooden slats that hold the metal strips that the companionway cover slides on. The hanger bolts allow me to bed the slats single-handed, since I can pull them down from below deck by running up the nuts. Otherwise someone has to hold the slats in place on the deck while screws are run in from below. |
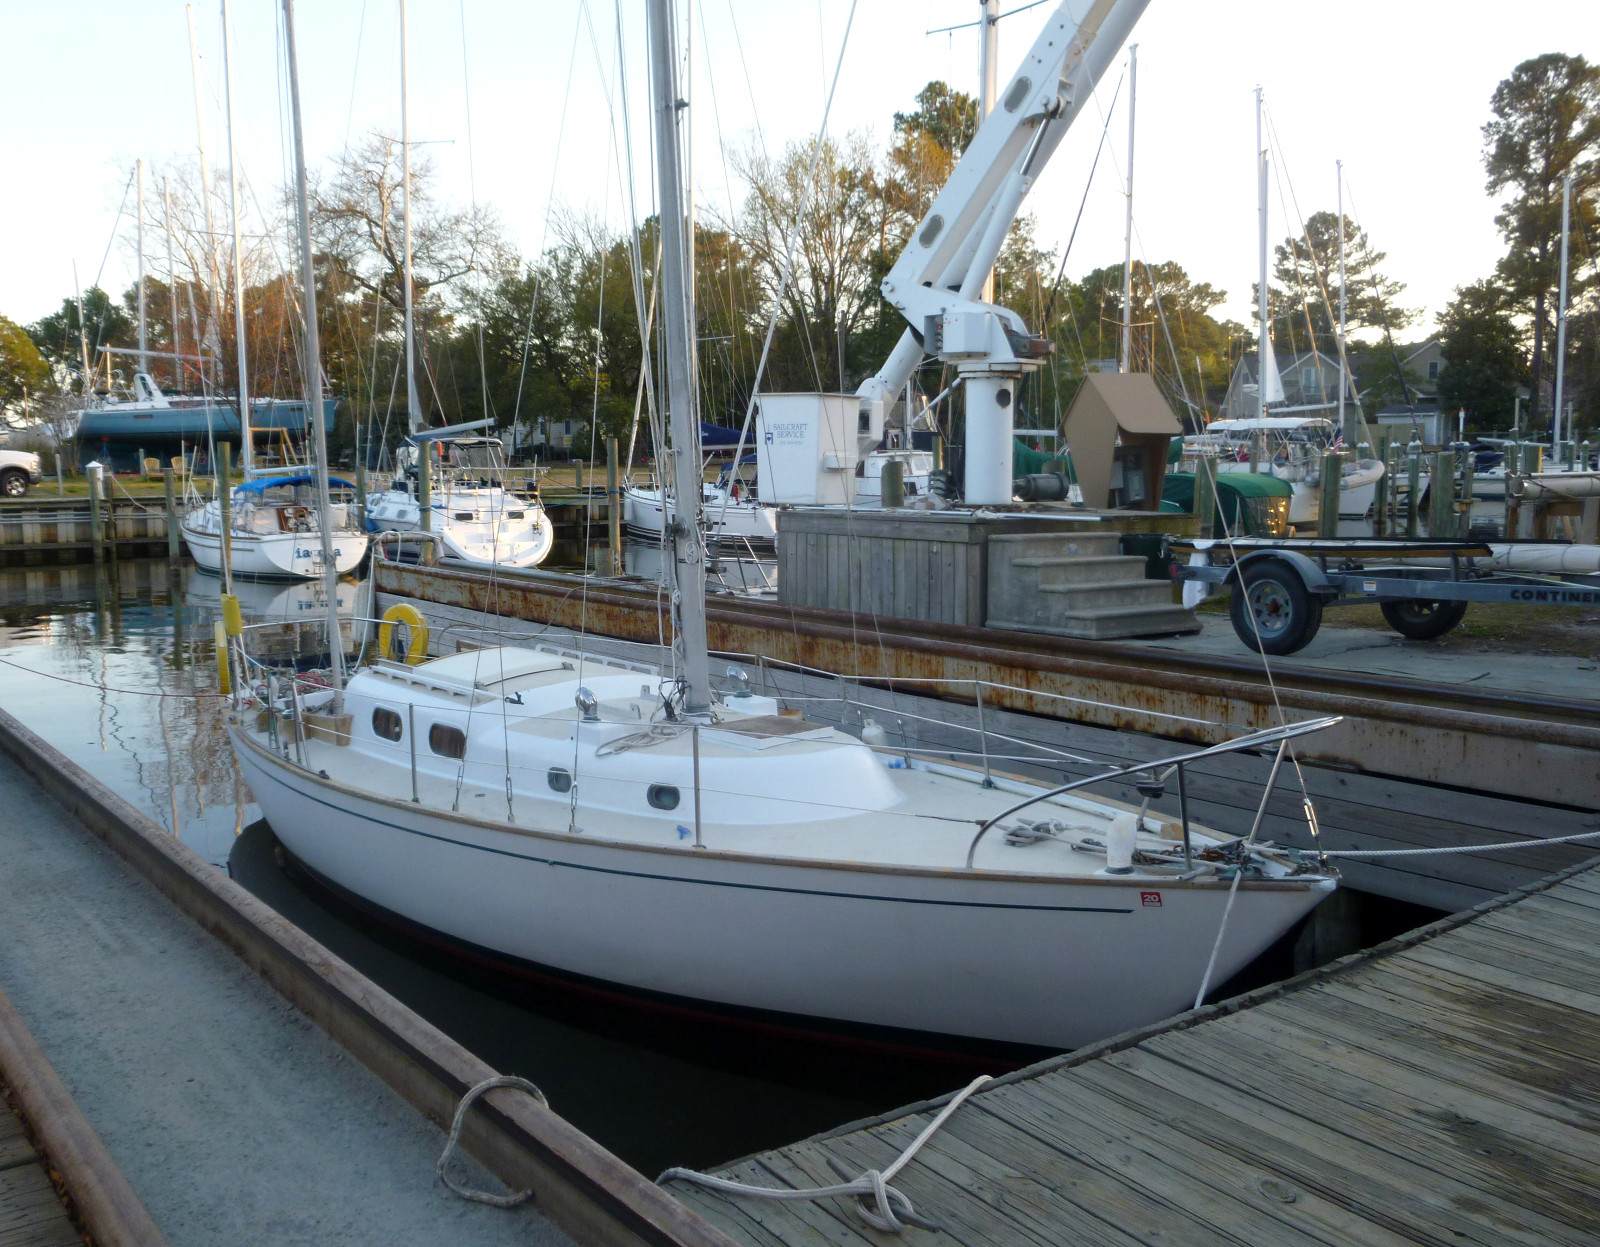
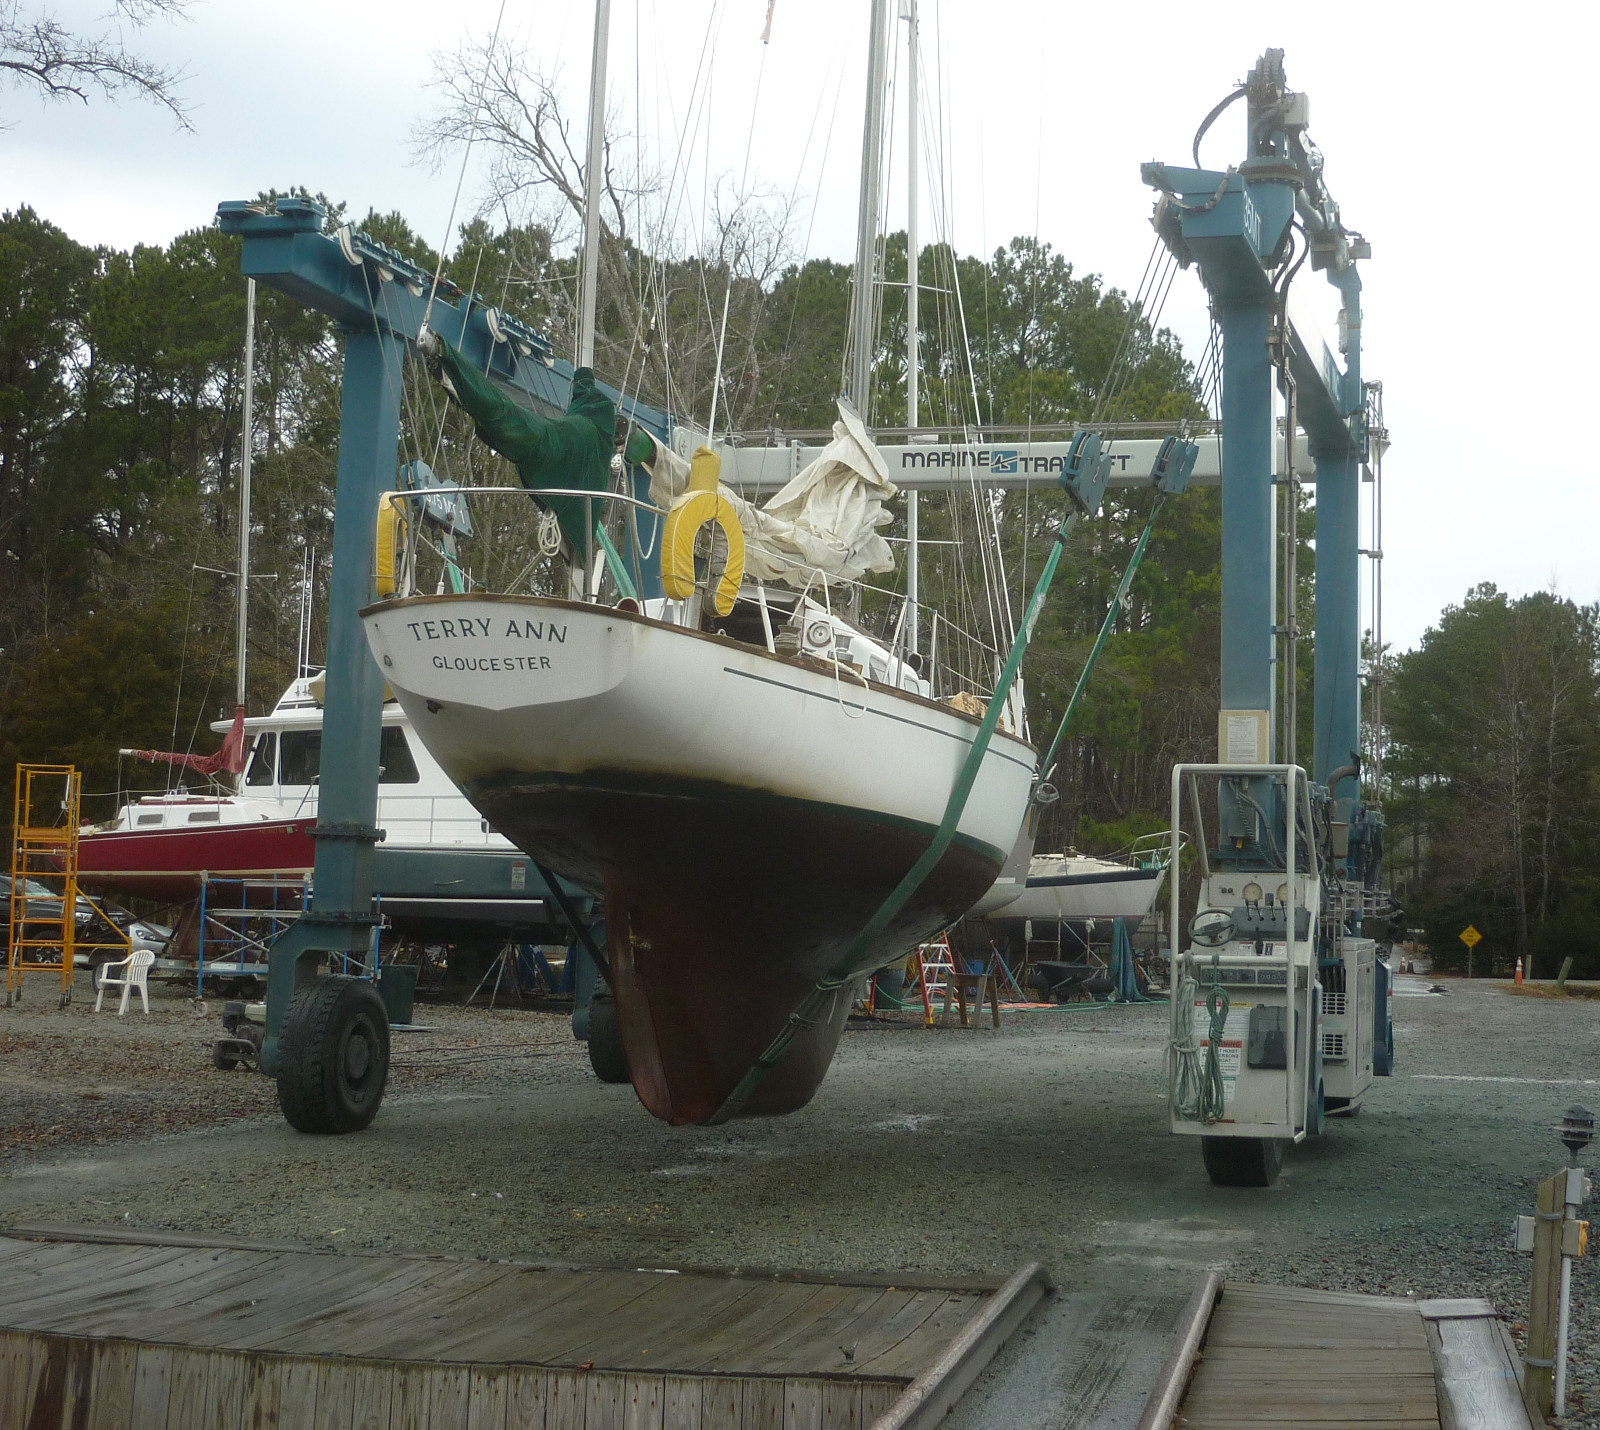 | In the slings at Sailcraft Service. |
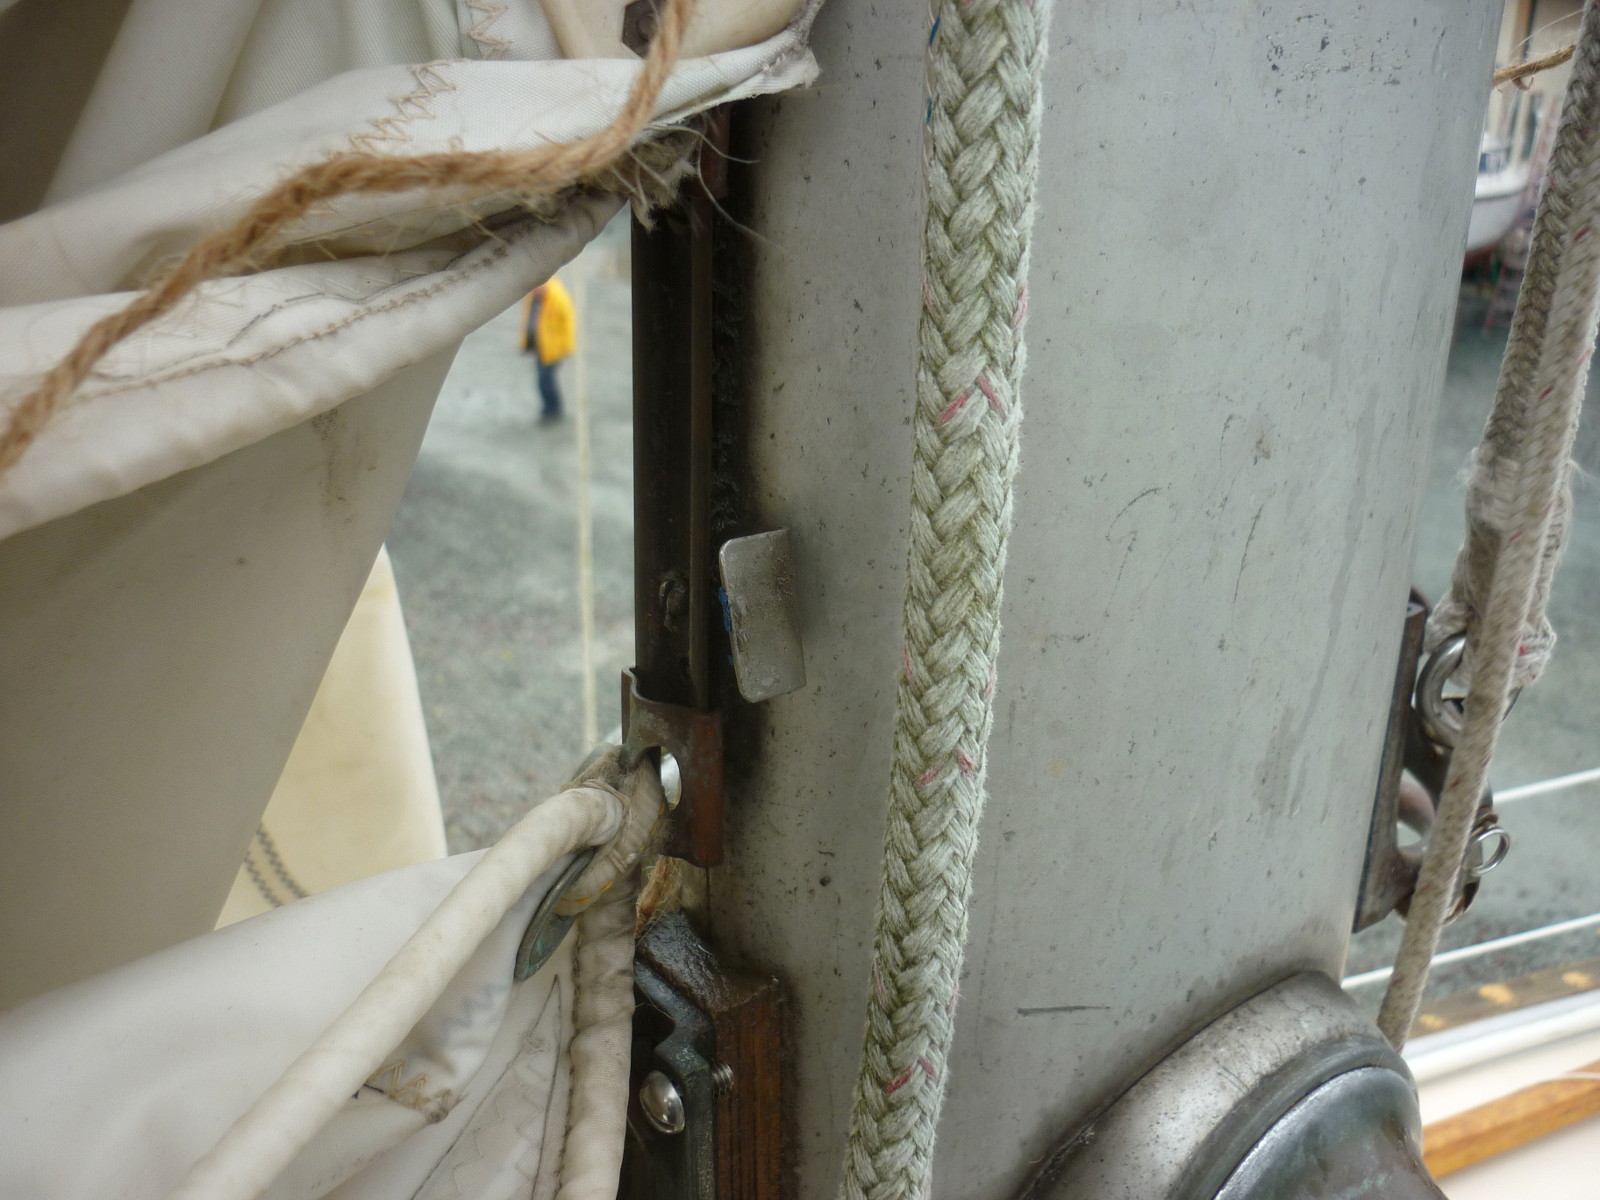 | Back off the screw, swing the gate to the side and the main slugs should come down out of the mast track. |
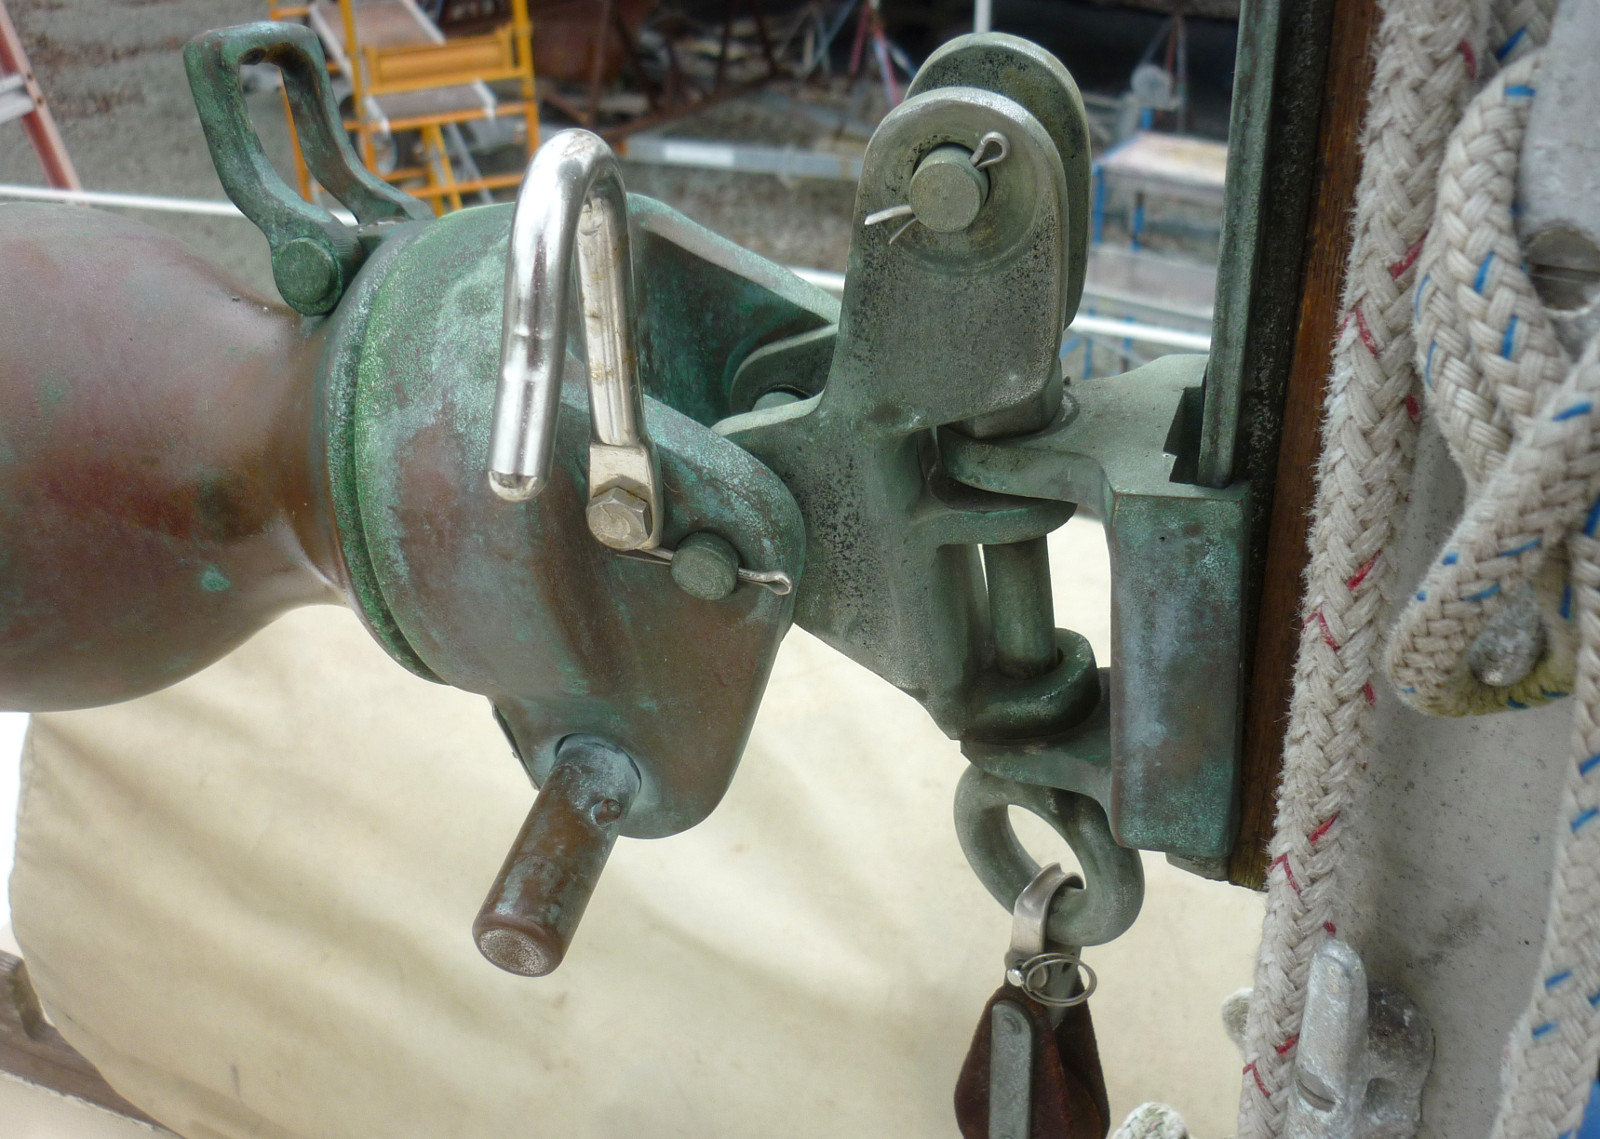 | Sail off, ready to pull the cotter pin, drift out the clevis and the main boom will be free. |
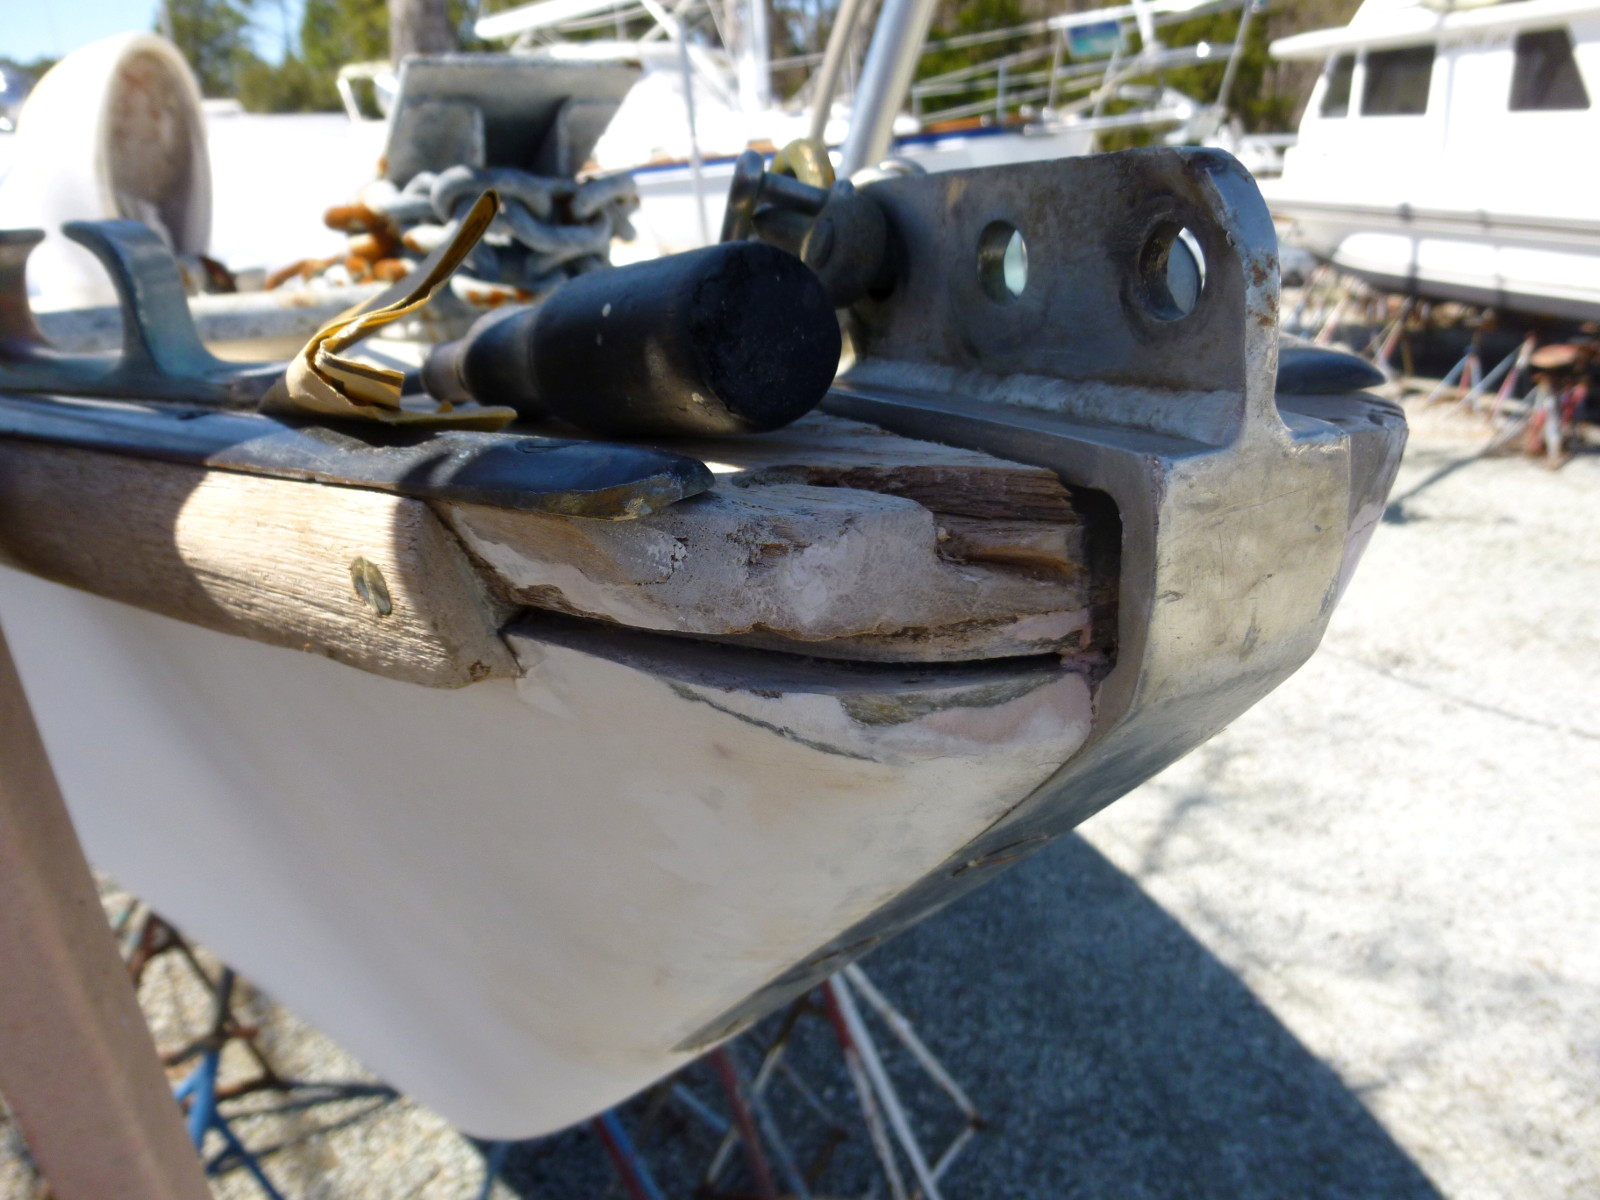
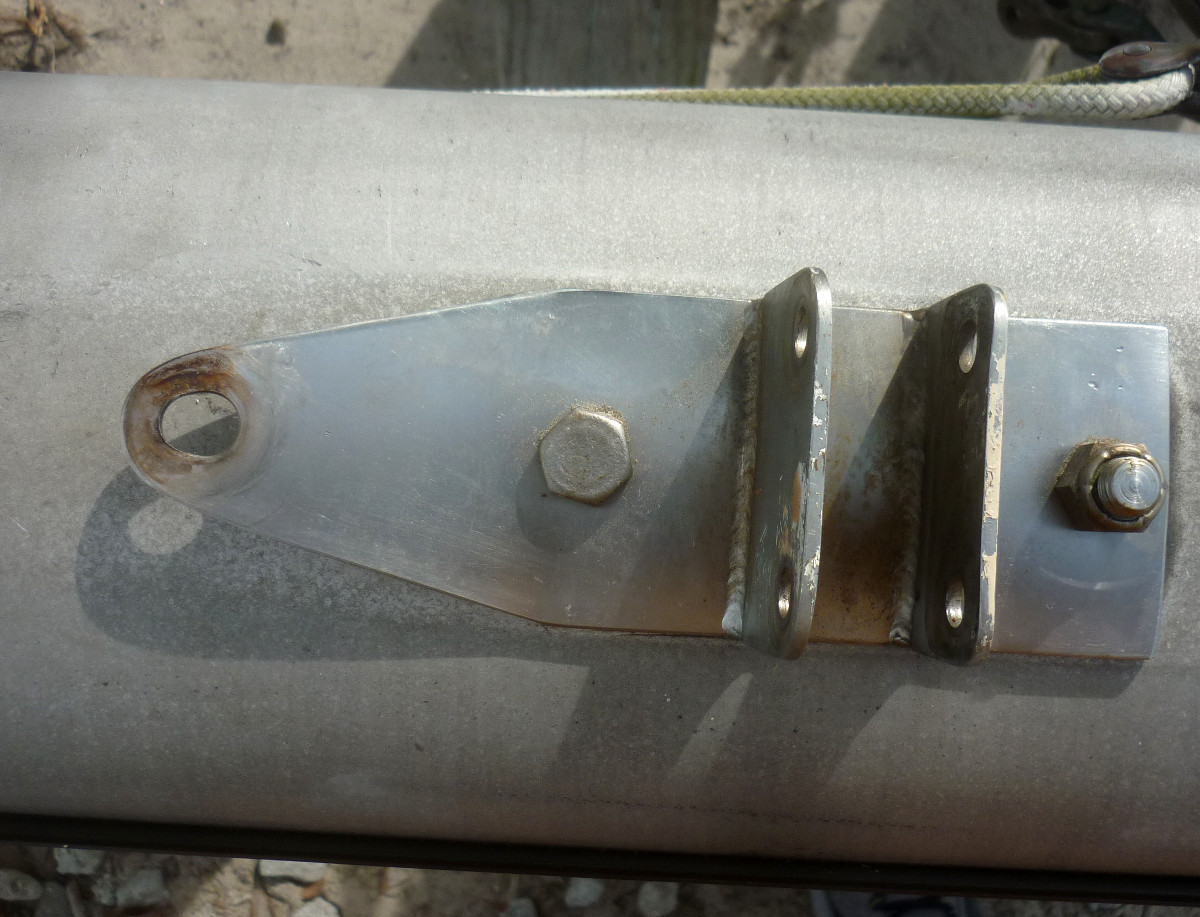 | The elongated hole in this bracket means it's time to scrap the whole thing and have a new one fabricated. |
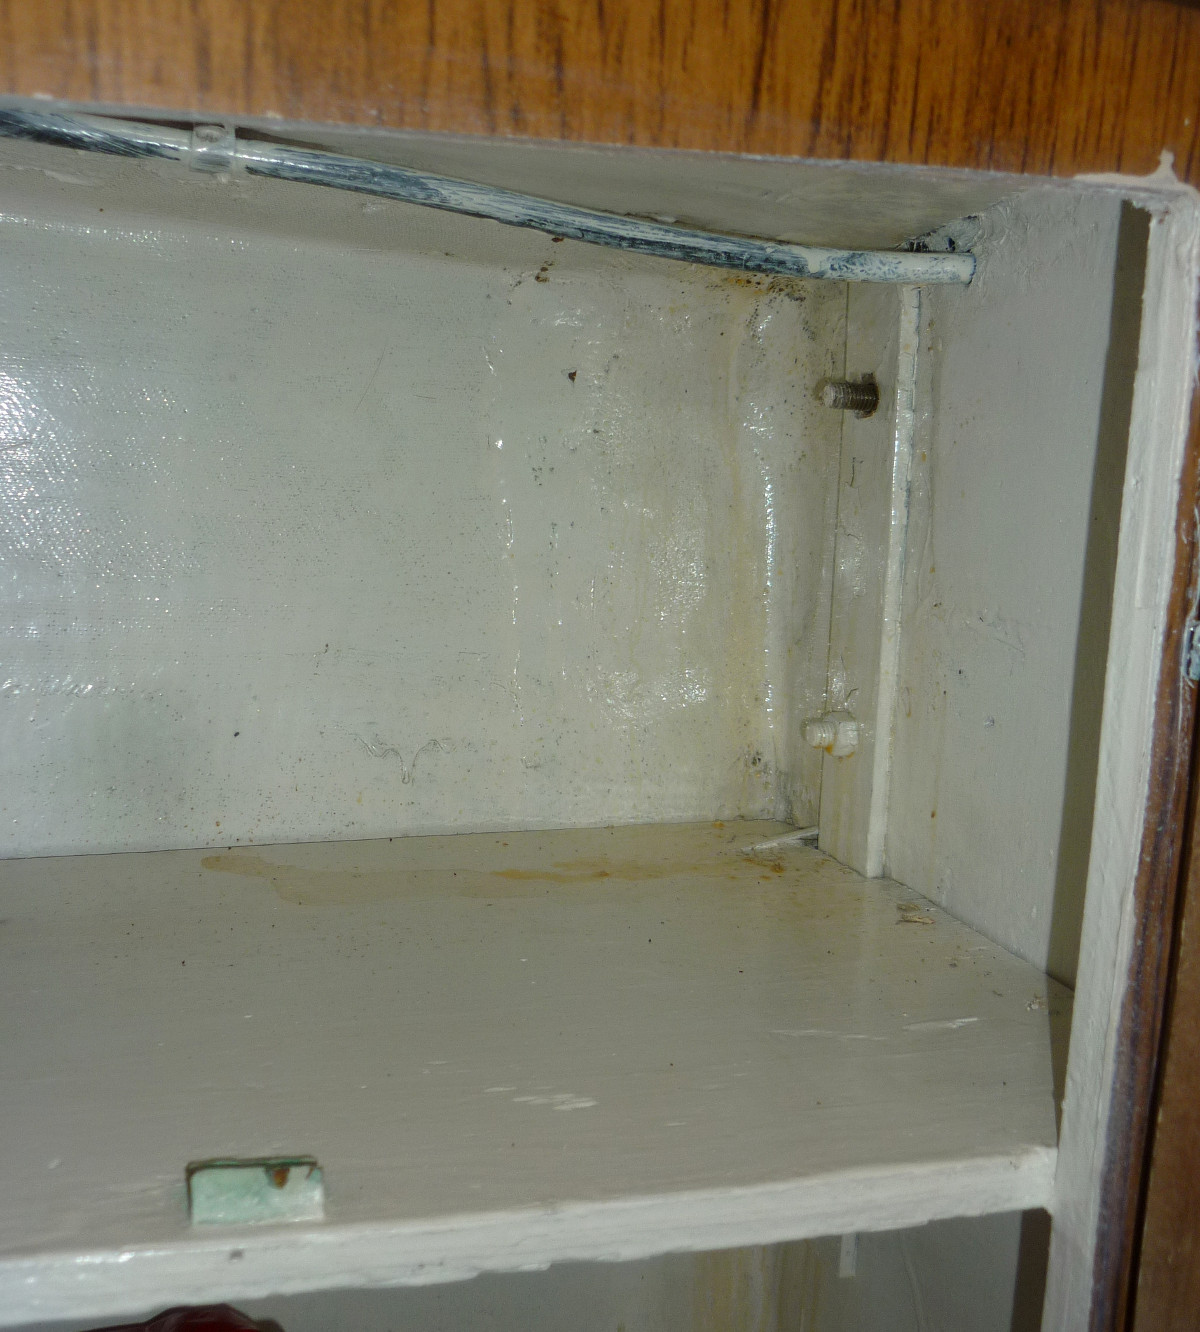 | Chainplate for the starboard aft lower in the cabinet at the back of the head. I put a combination wrench on the bolt head on the other side of the bulkhead and jammed it against the cabin wall, shot a little PB Blaster on the nuts and then easily removed them with a socket and driver. |
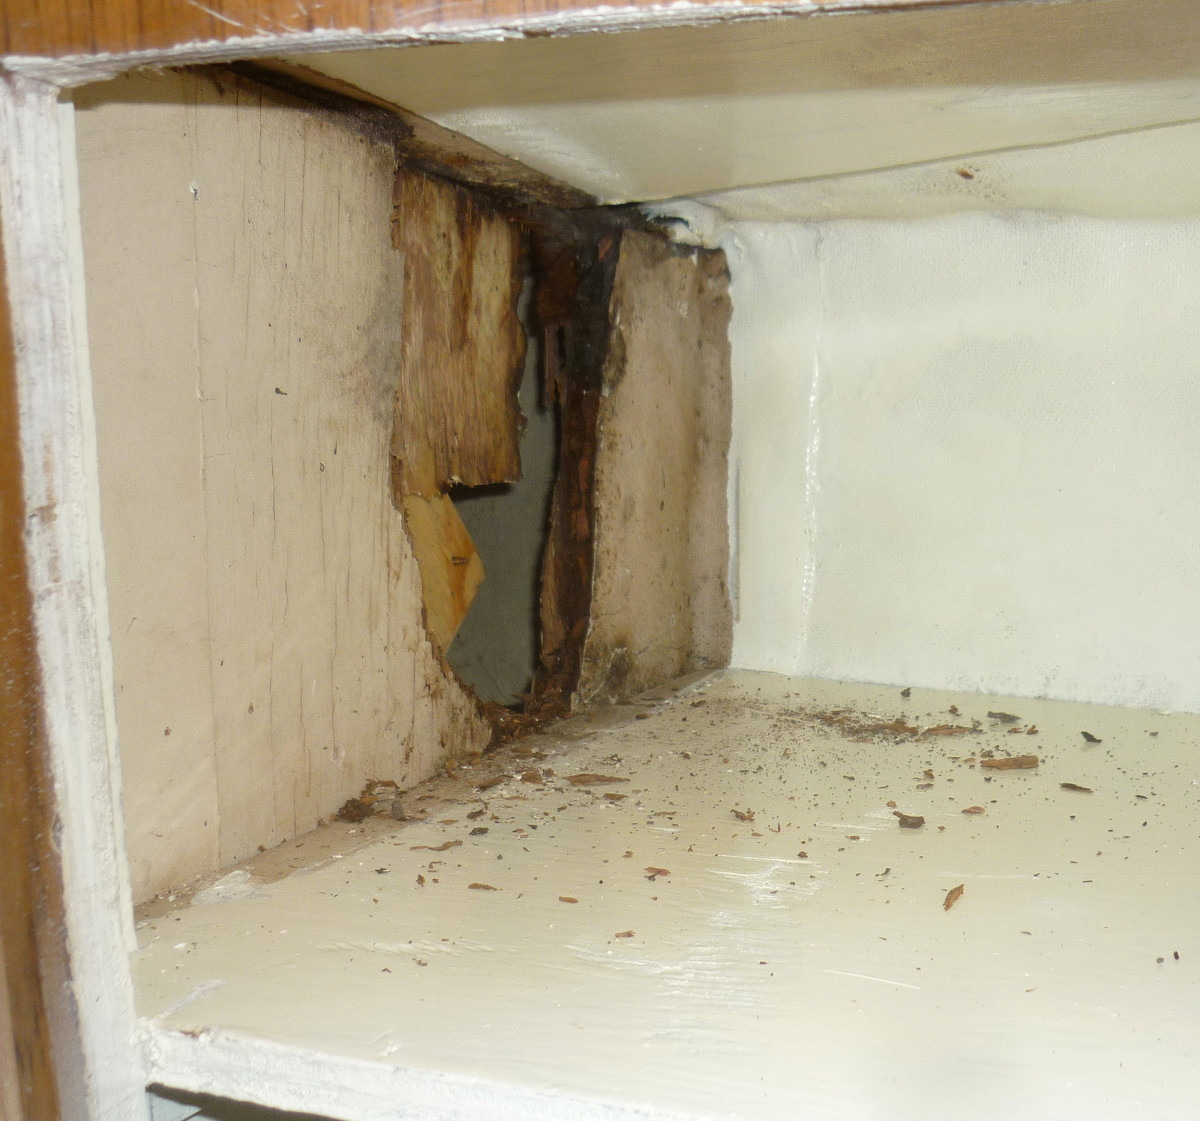 | Here's the rotten bulkhead. It's beyond my ability to repair, so the yard will take care of it. They will cut out all the rot and tab a new plywood bulkhead in place. |
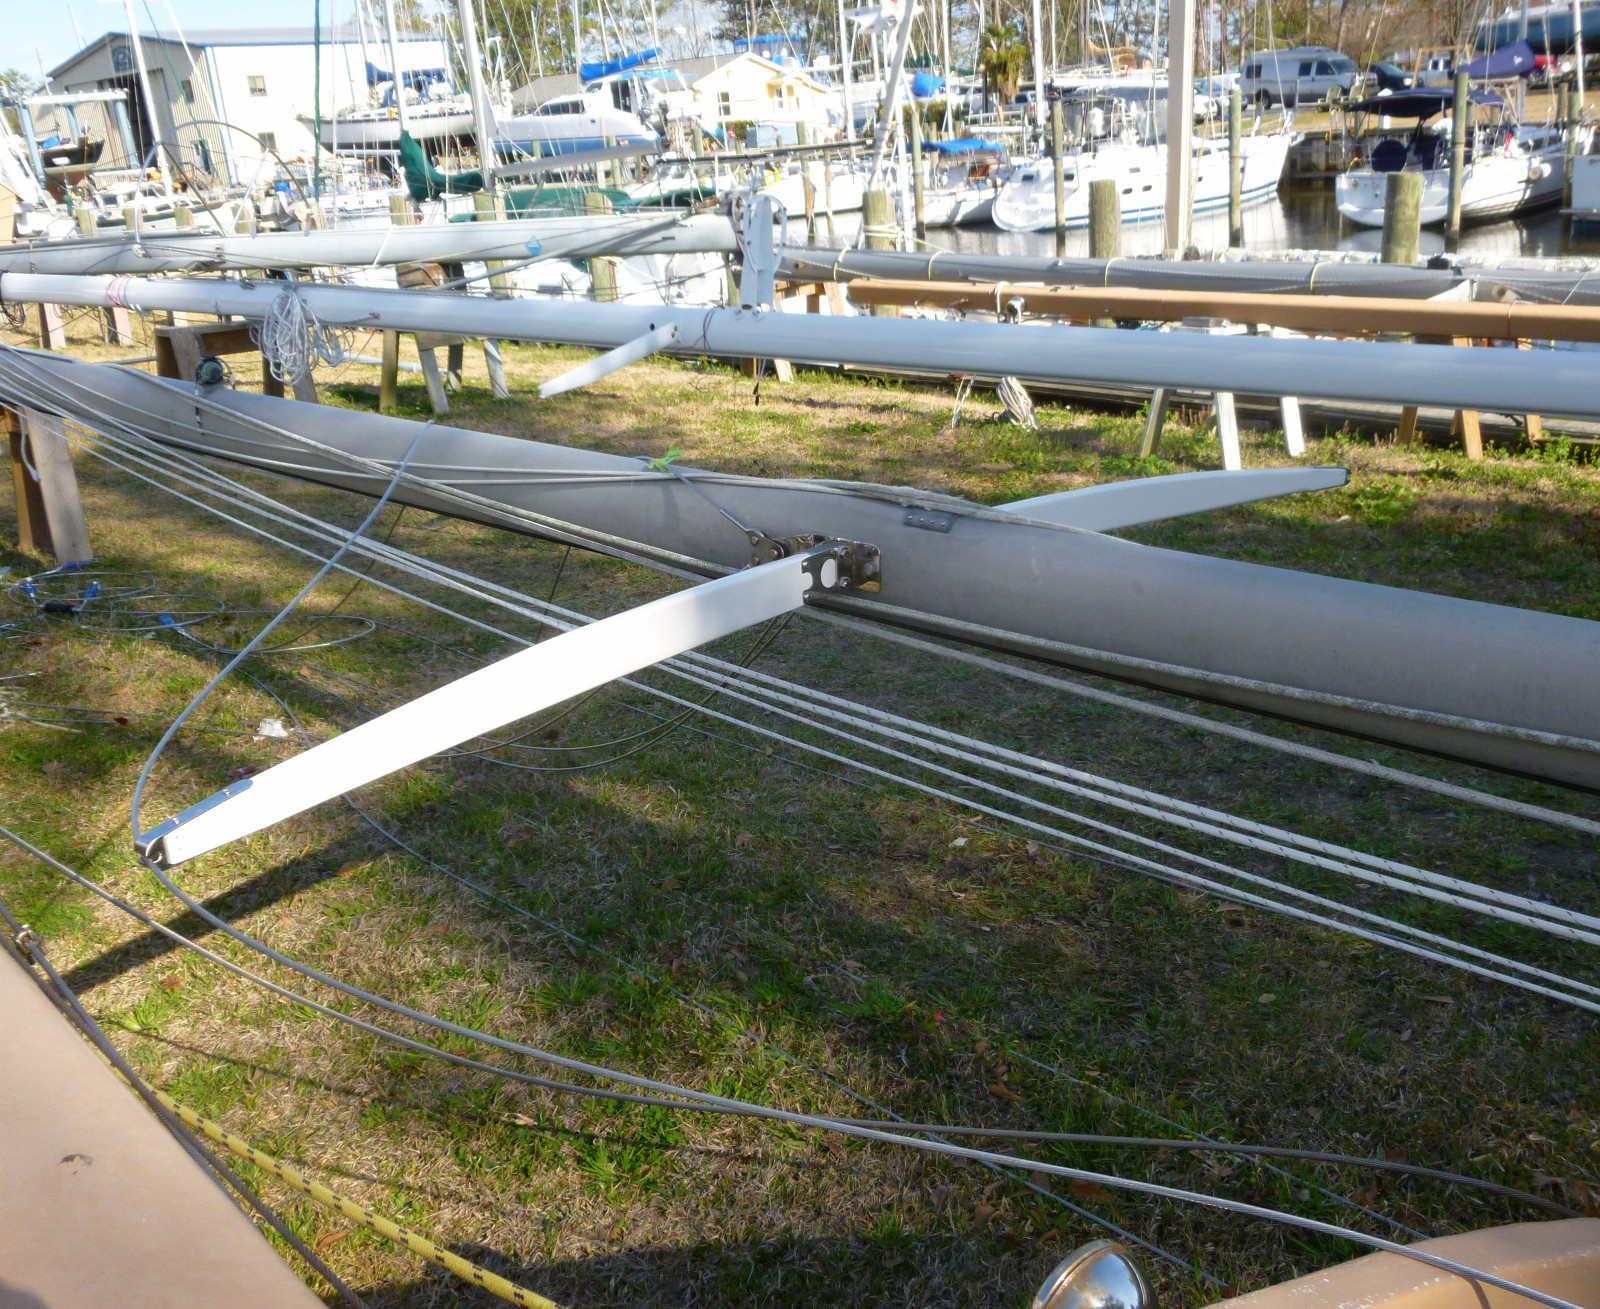
 | We used the old spreader as a pattern to cut the new one. |
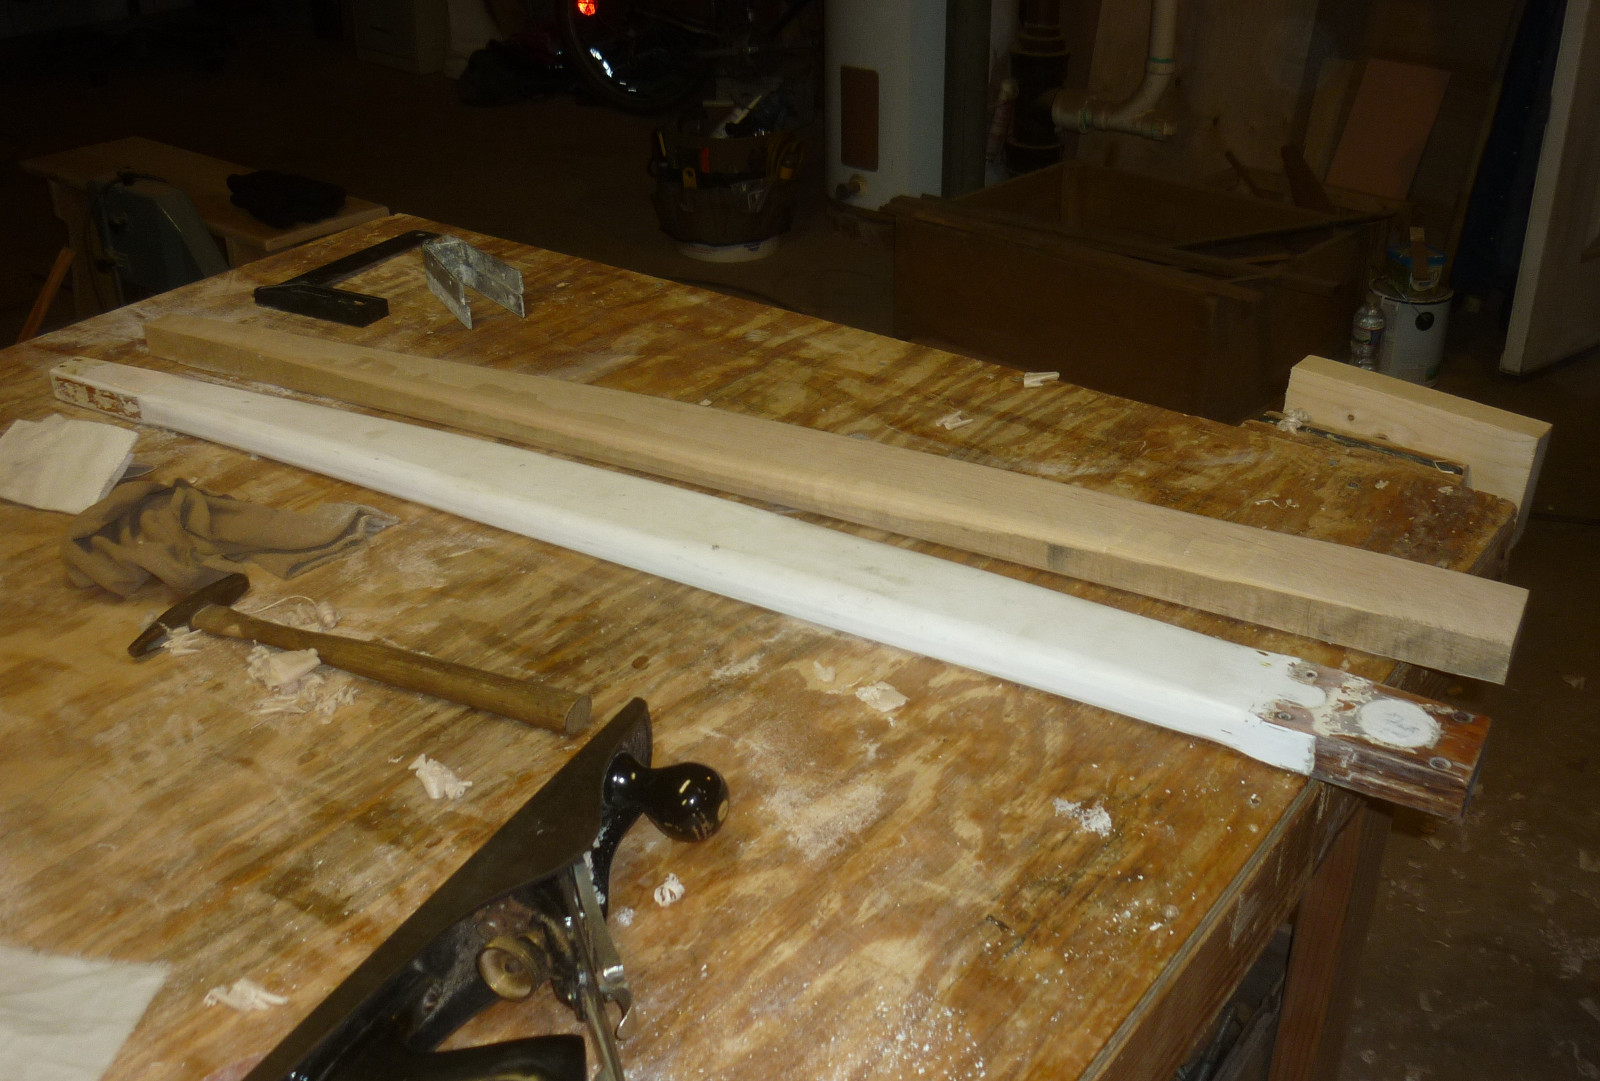
 | Back home in Winston, Joe and I started refinishing the boom at his shop. |
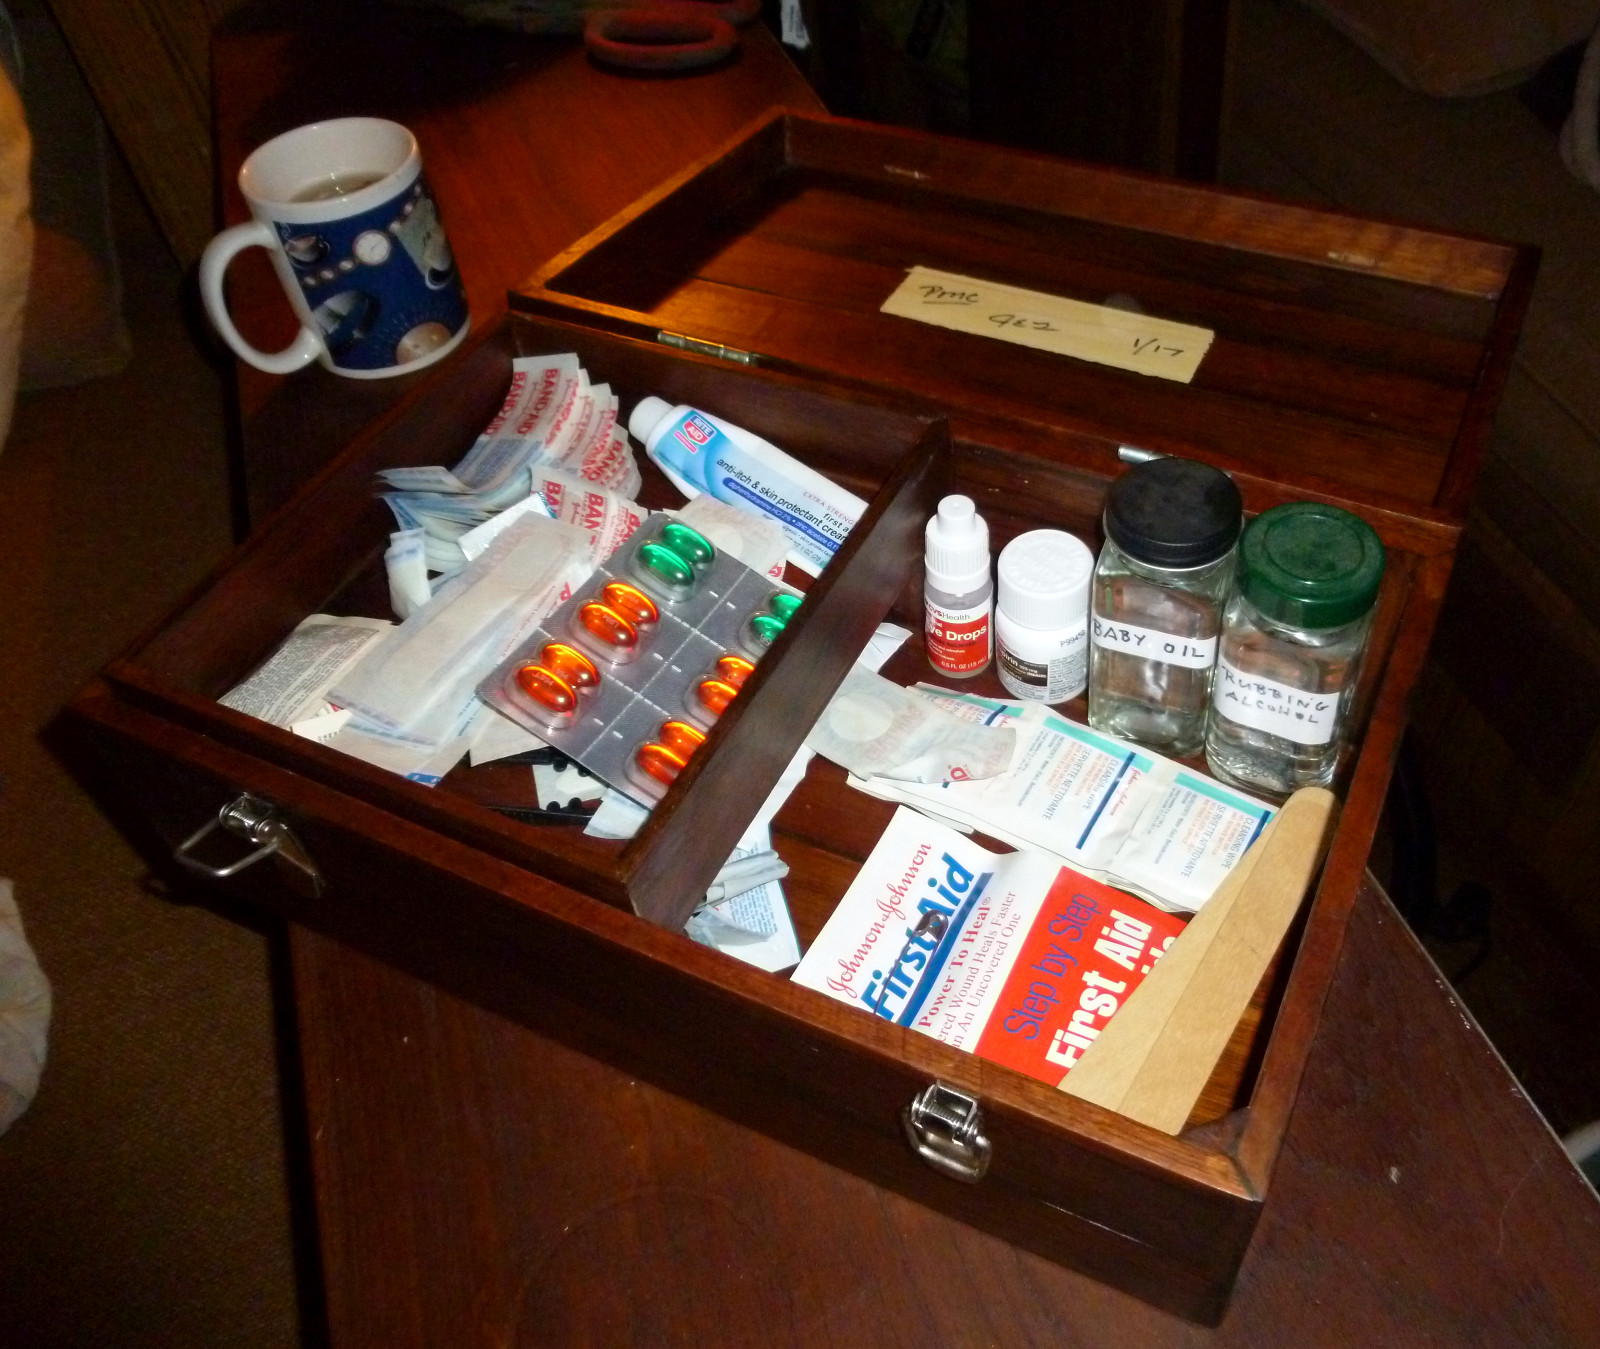 | First aid kit built out of salvage teak. I have just started stocking it. I'm sure I will fill it up. |
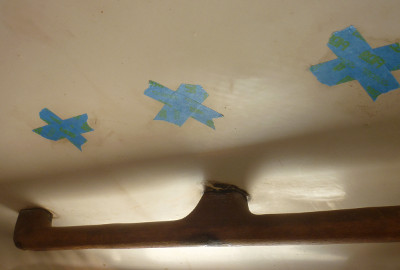
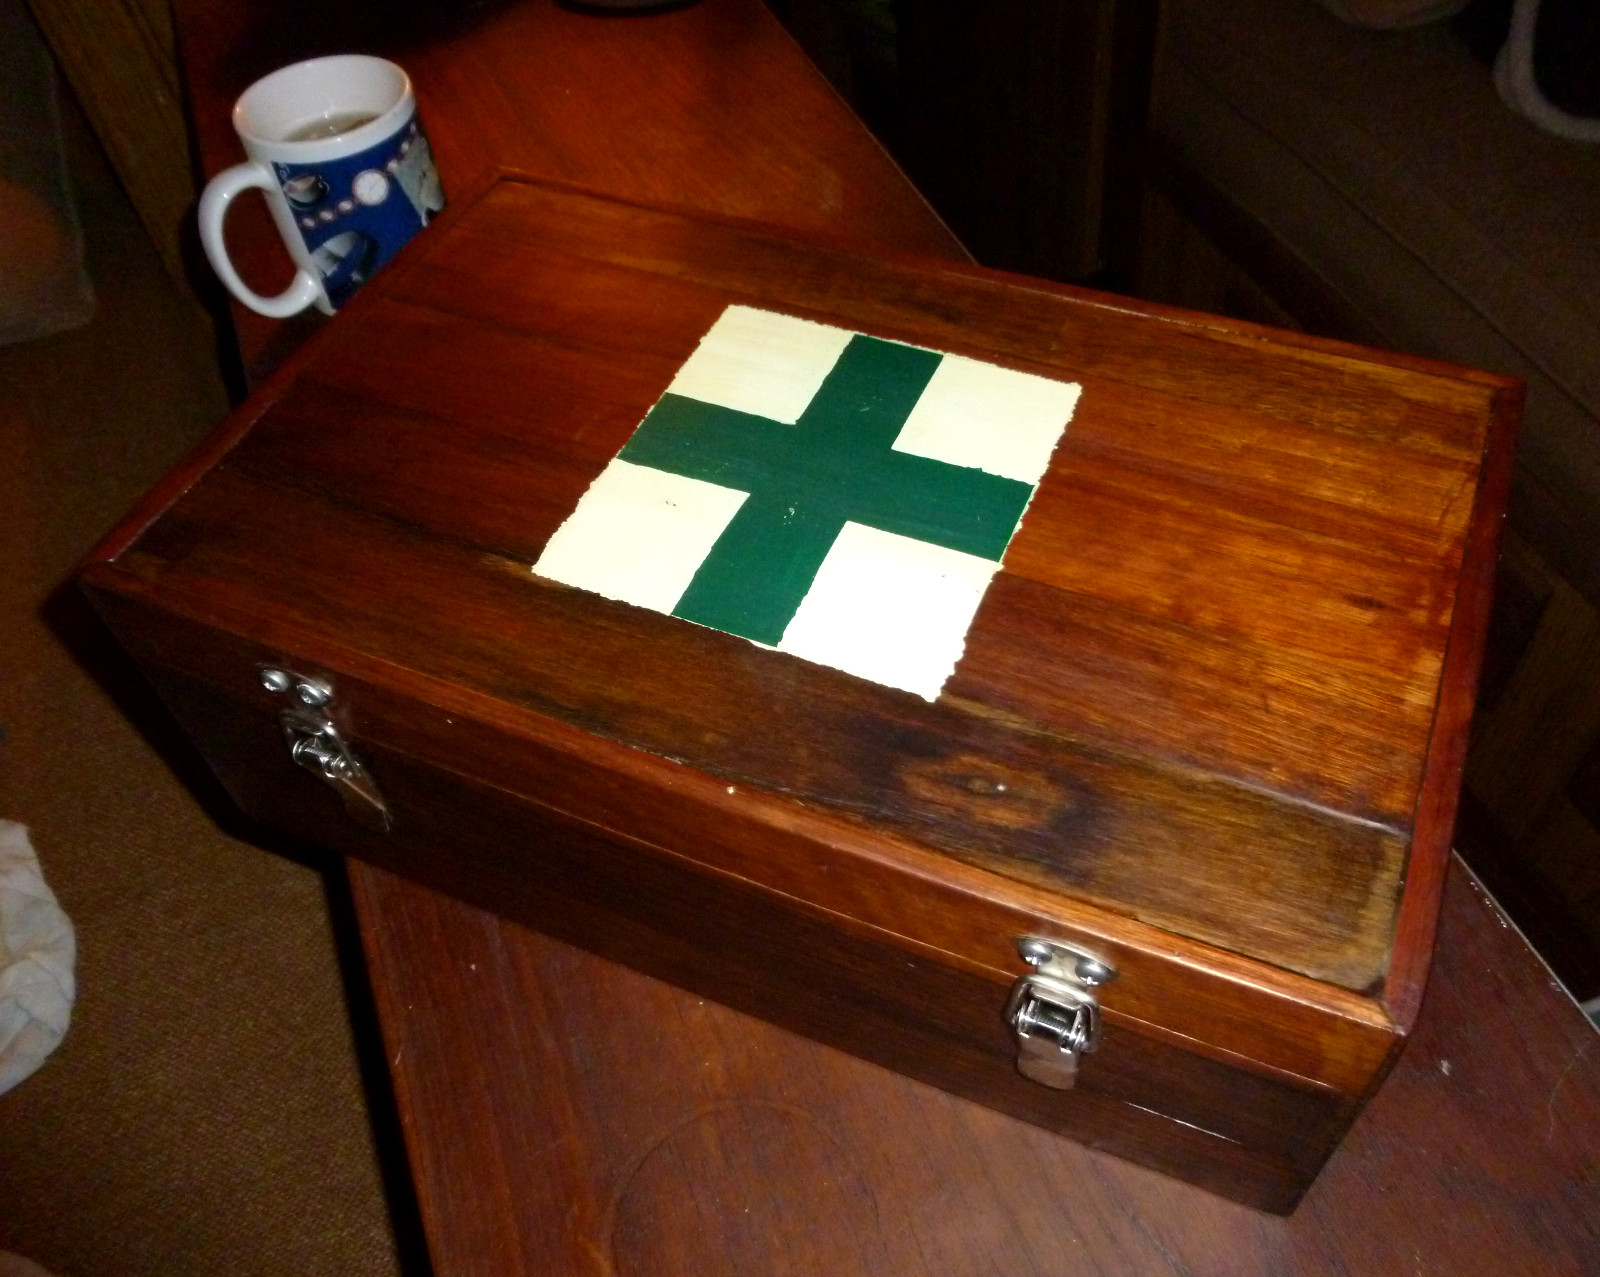 | If you see this green cross on my boat, you have found the first aid kit. |
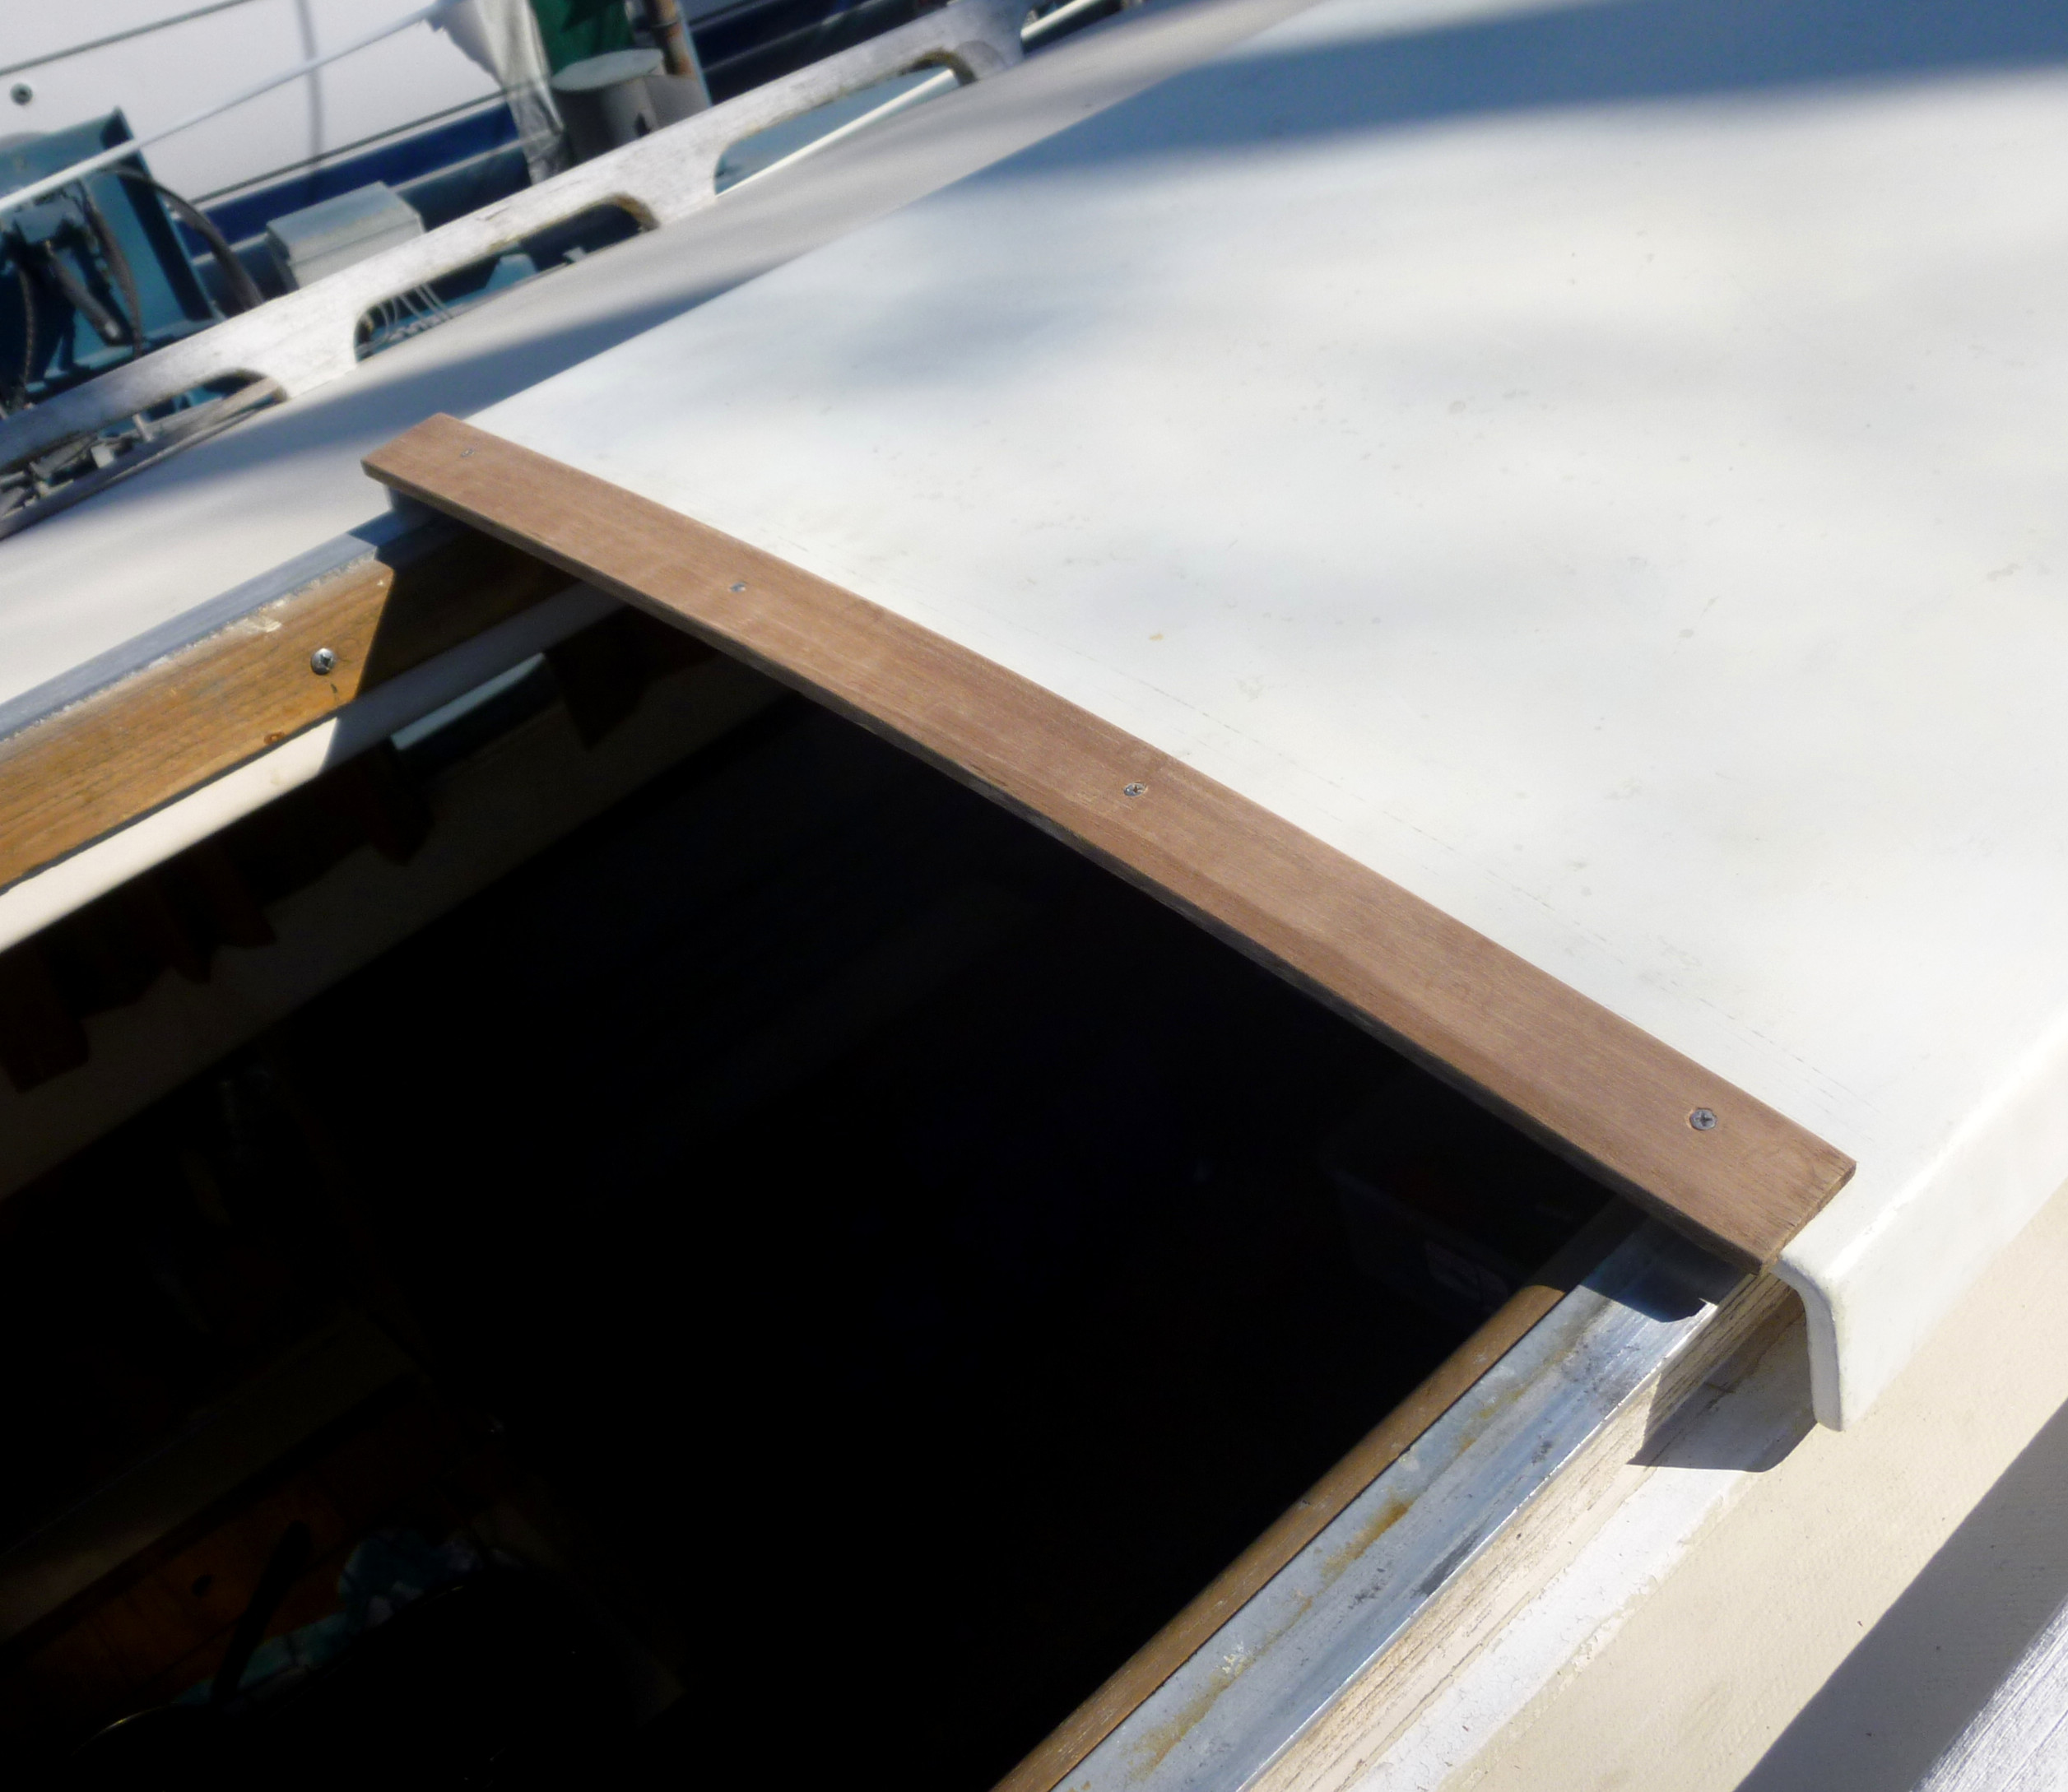 | I applied this small piece of teak trim to the edge of the companionway hatch cover. It provides a finger hold for closing the cover. We made it in the shop in Winston from salvage wood. |
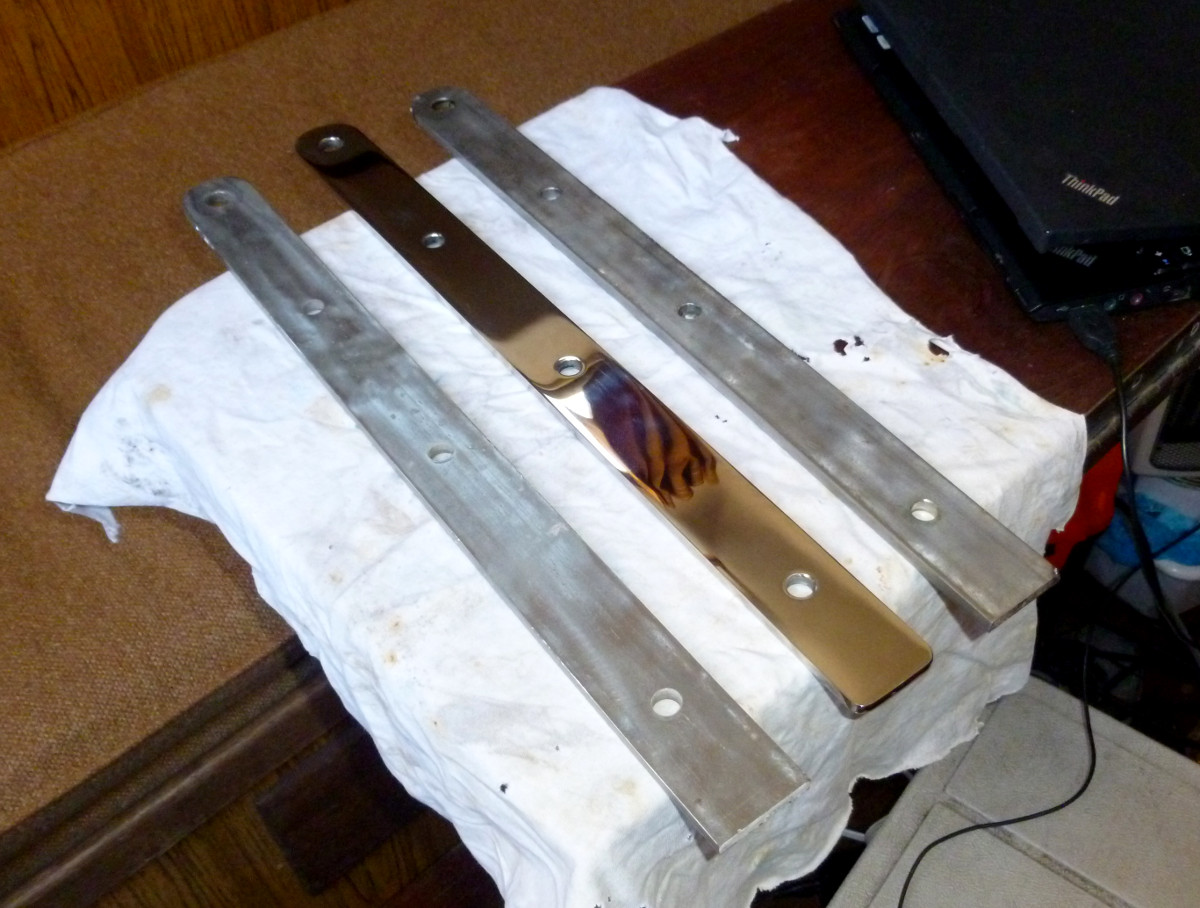 | Alberg 35 chainplates. On my boat, the six for the shrouds are identical. The middle one shown here is one of the new ones that the yard machinist made that will replace an old upper. |
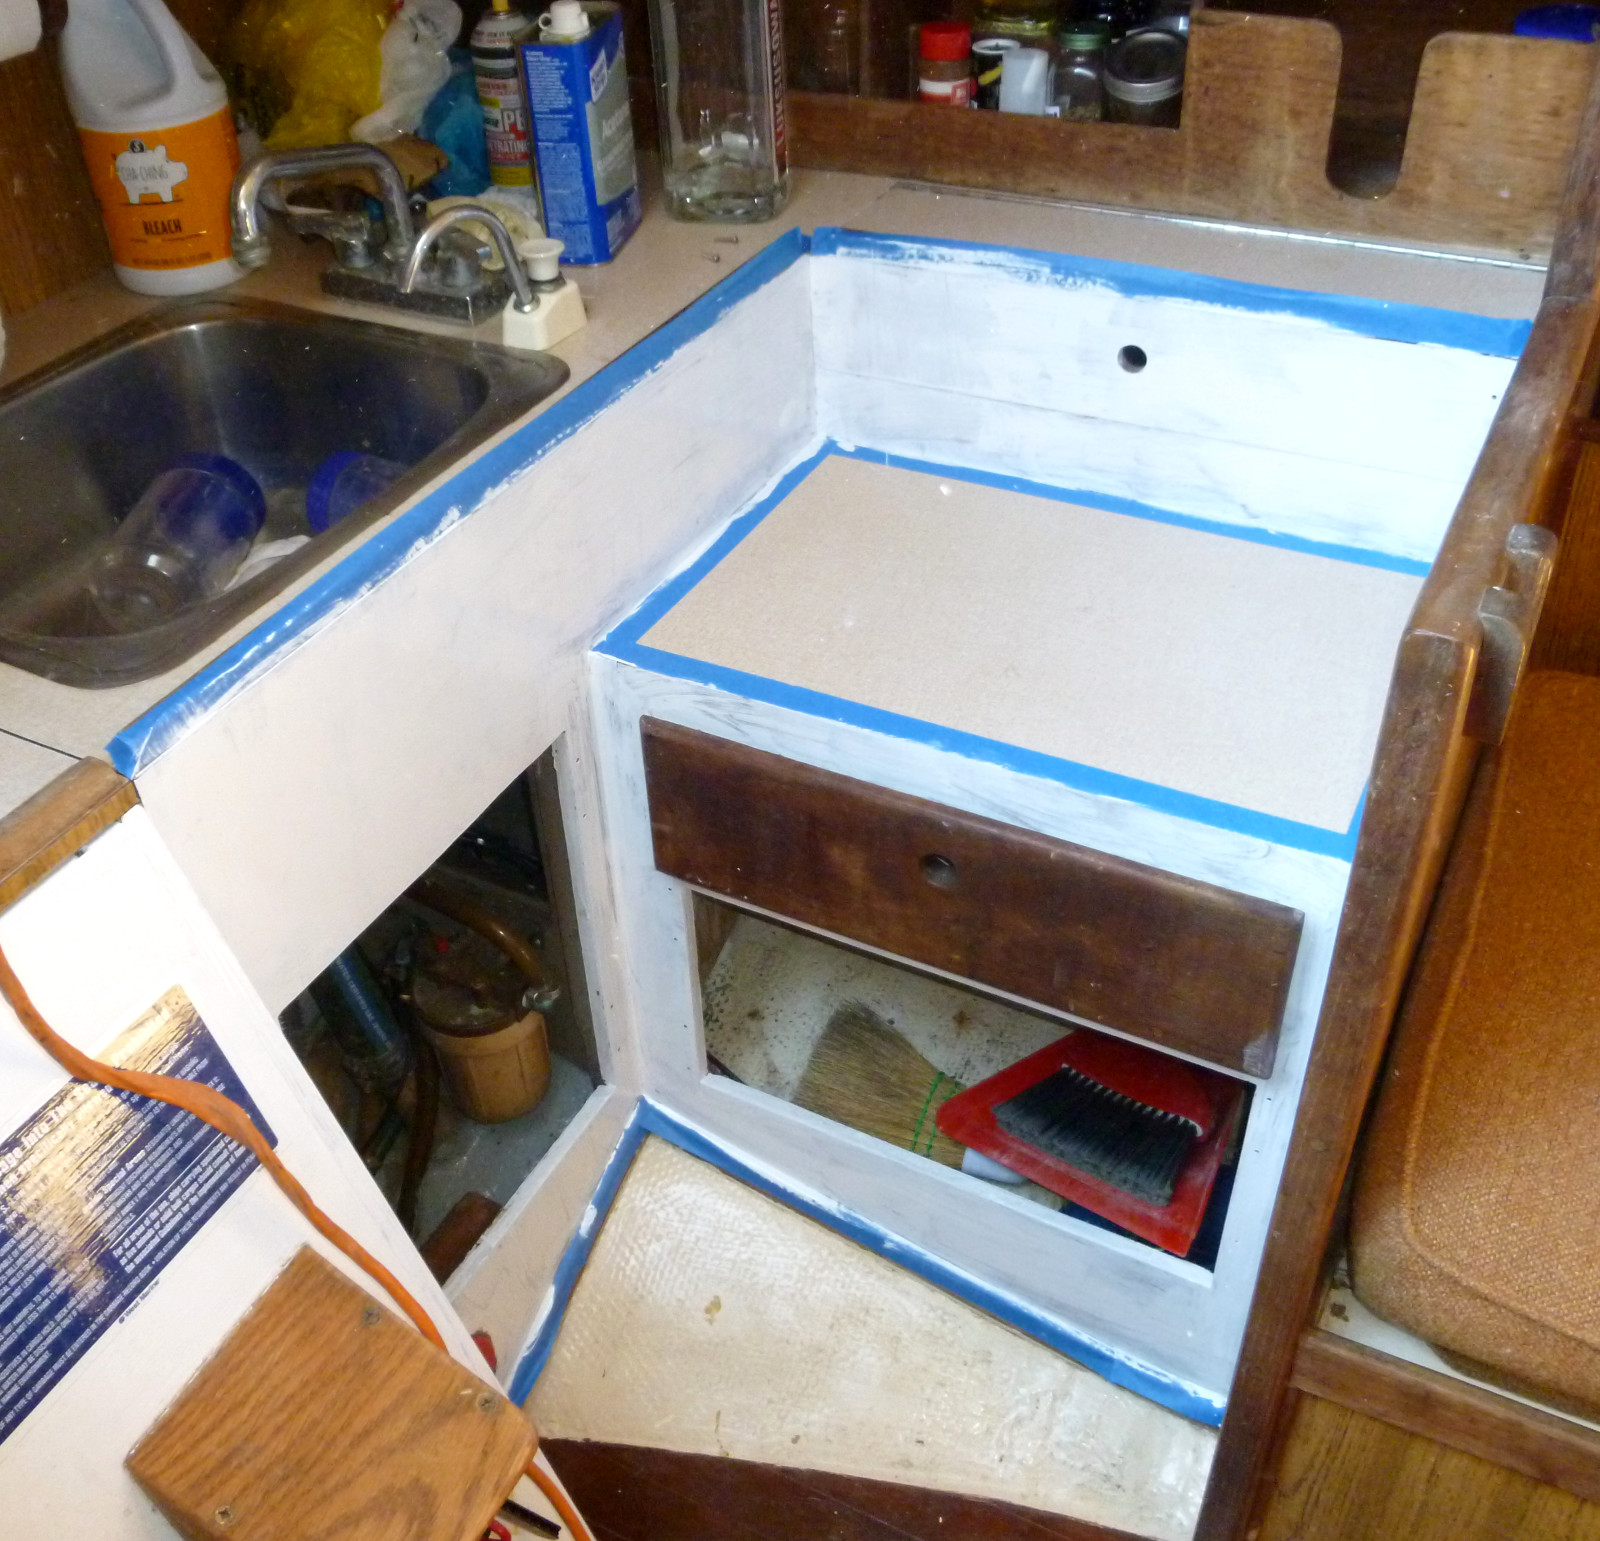 | First coat of "Herreshoff White" goes on in the galley. |
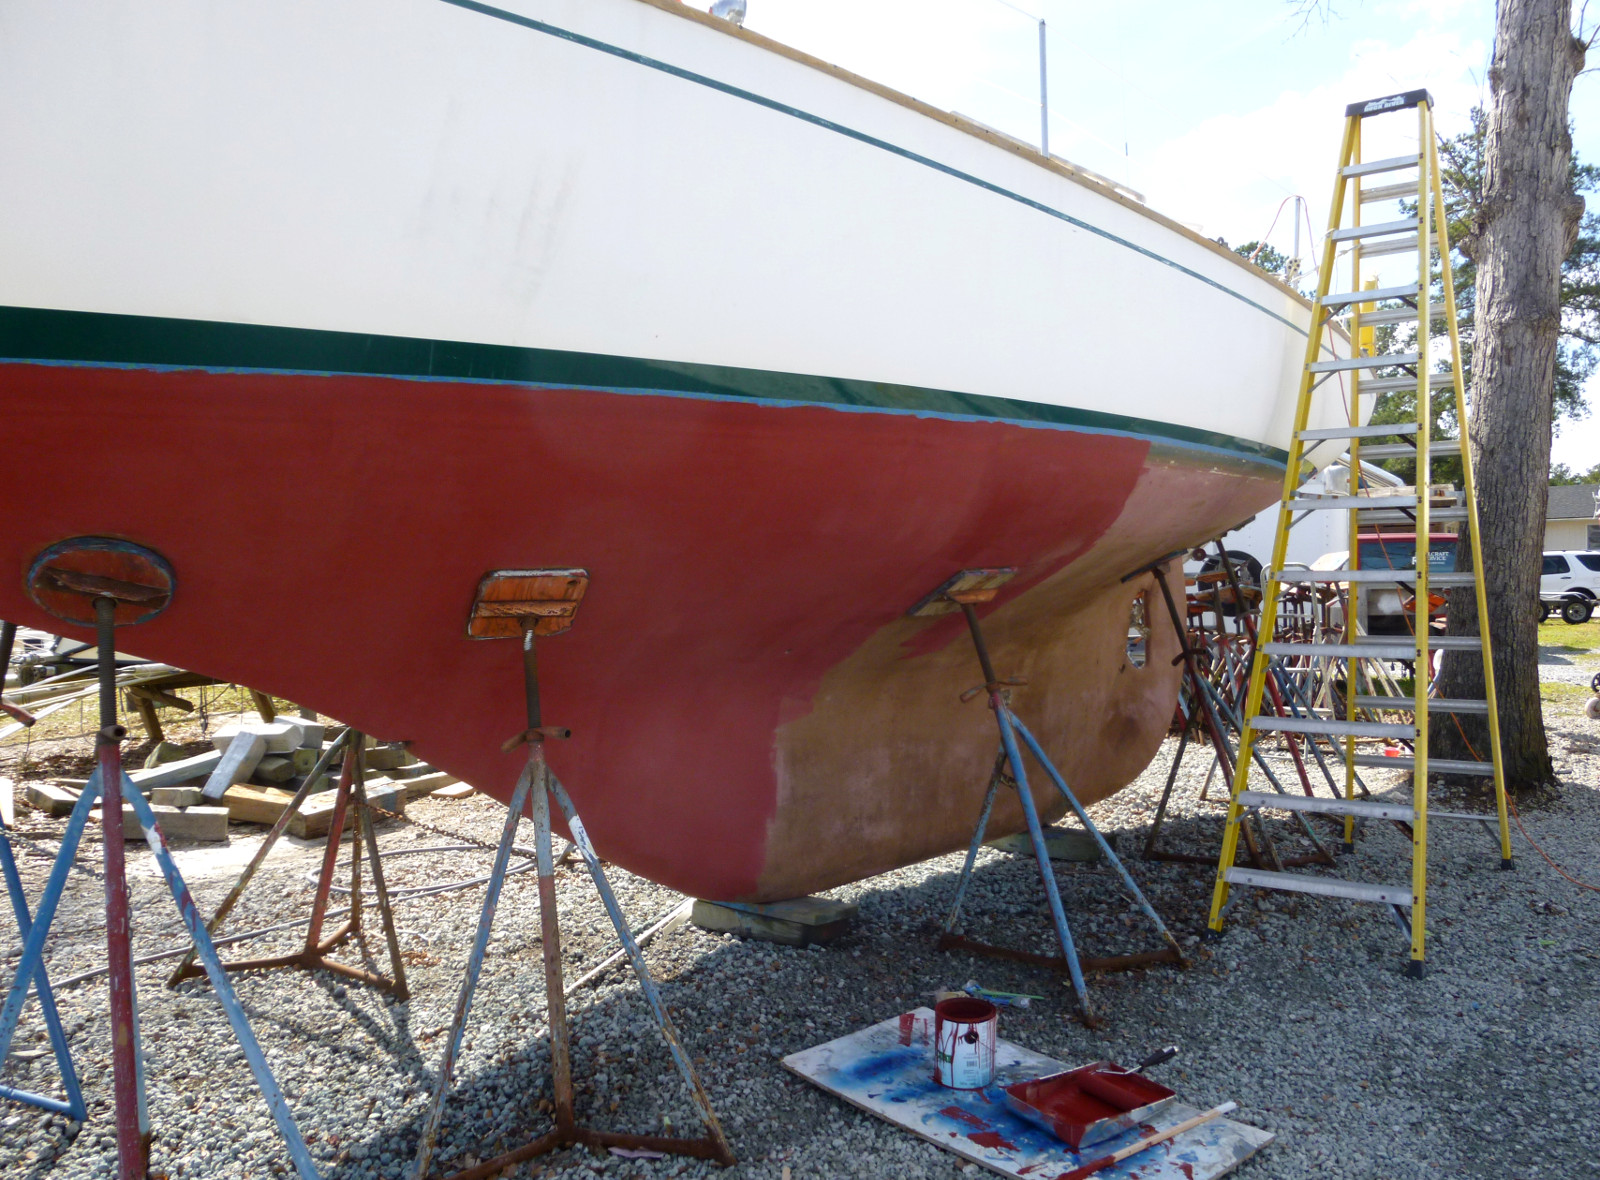 | Here is the boat with the foreward half of the port side painted. I like the Pettit Hydrocoat. It is water-based and very easy to apply, and it is ablative, which keeps the bottom clean if you use the boat regularly. |
 | This is the "football", the lower end of the mast that sits in a corresponding concave fitting bolted to the deck. The standing rigging holds the mast up. |
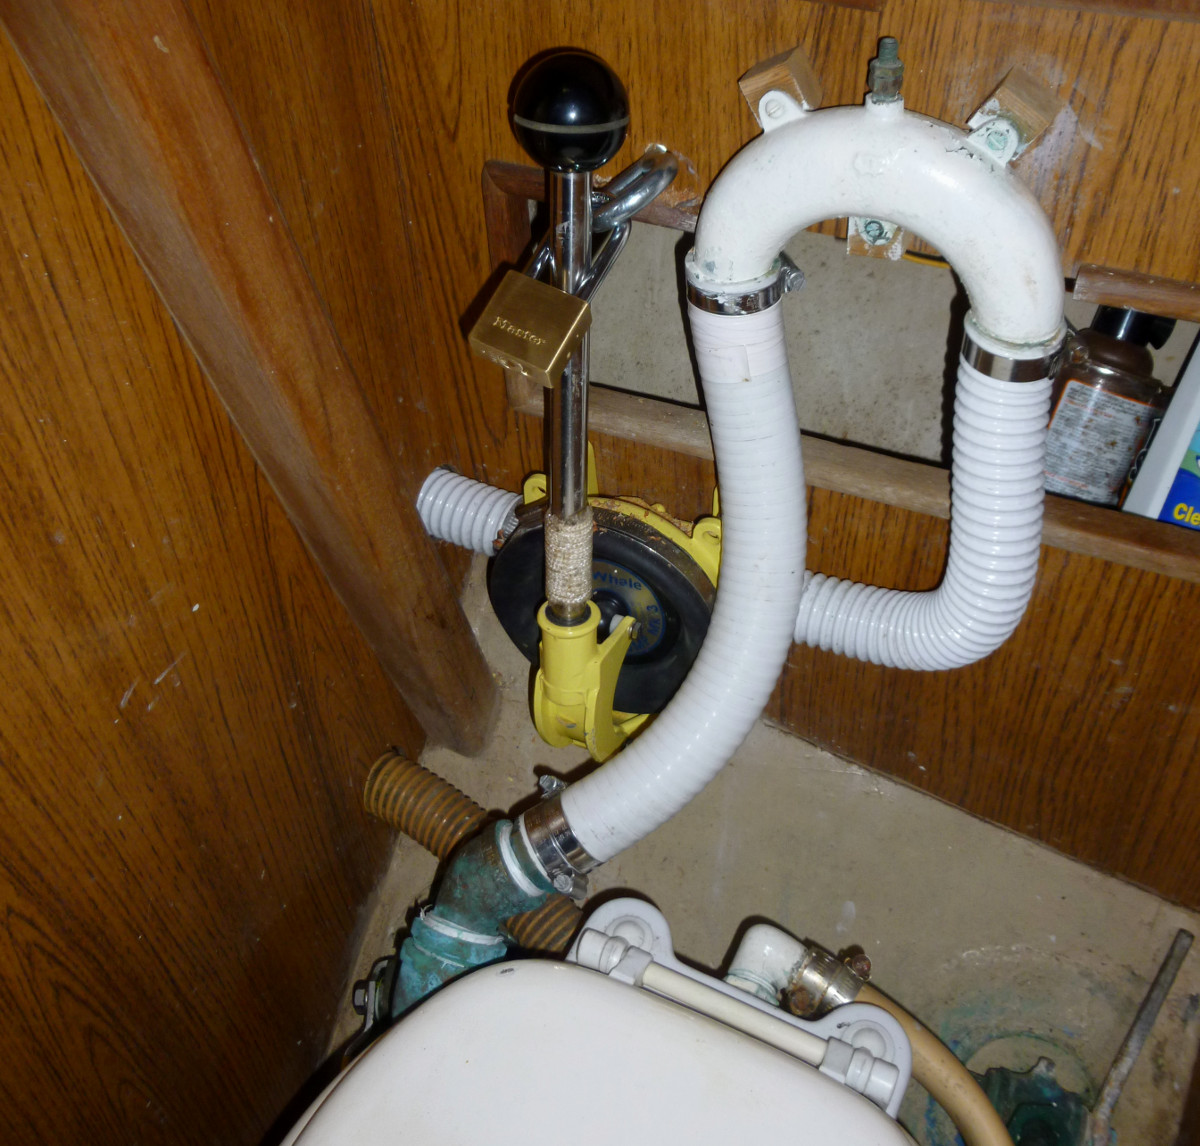 | Padlock on the waste pump so that no crewmember inadvertently discharges sewage inside the three-mile limit. |
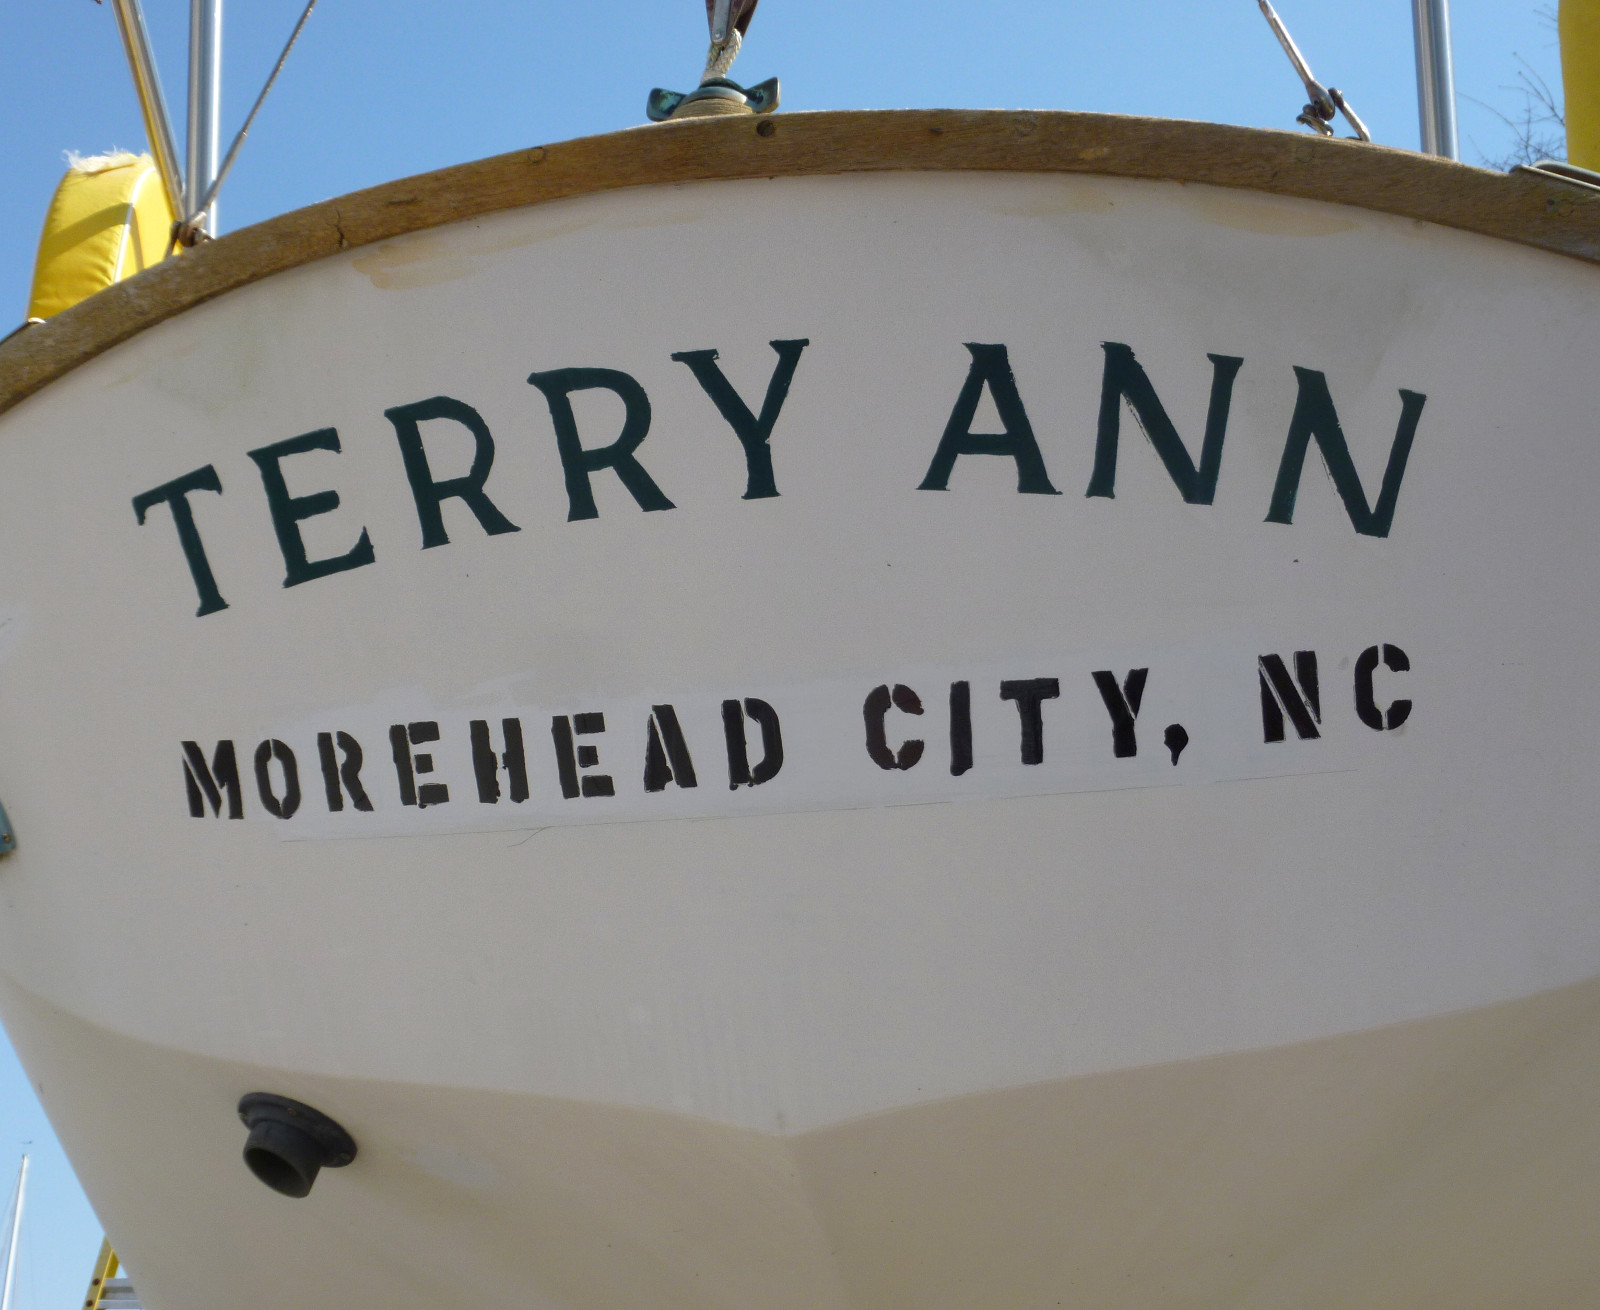 | Here is the new hailing port painted on the stern. Morehead City is a small deepwater port a few miles from the Neuse River. Potash and woodchips are exported, partially-processed steel is imported. |
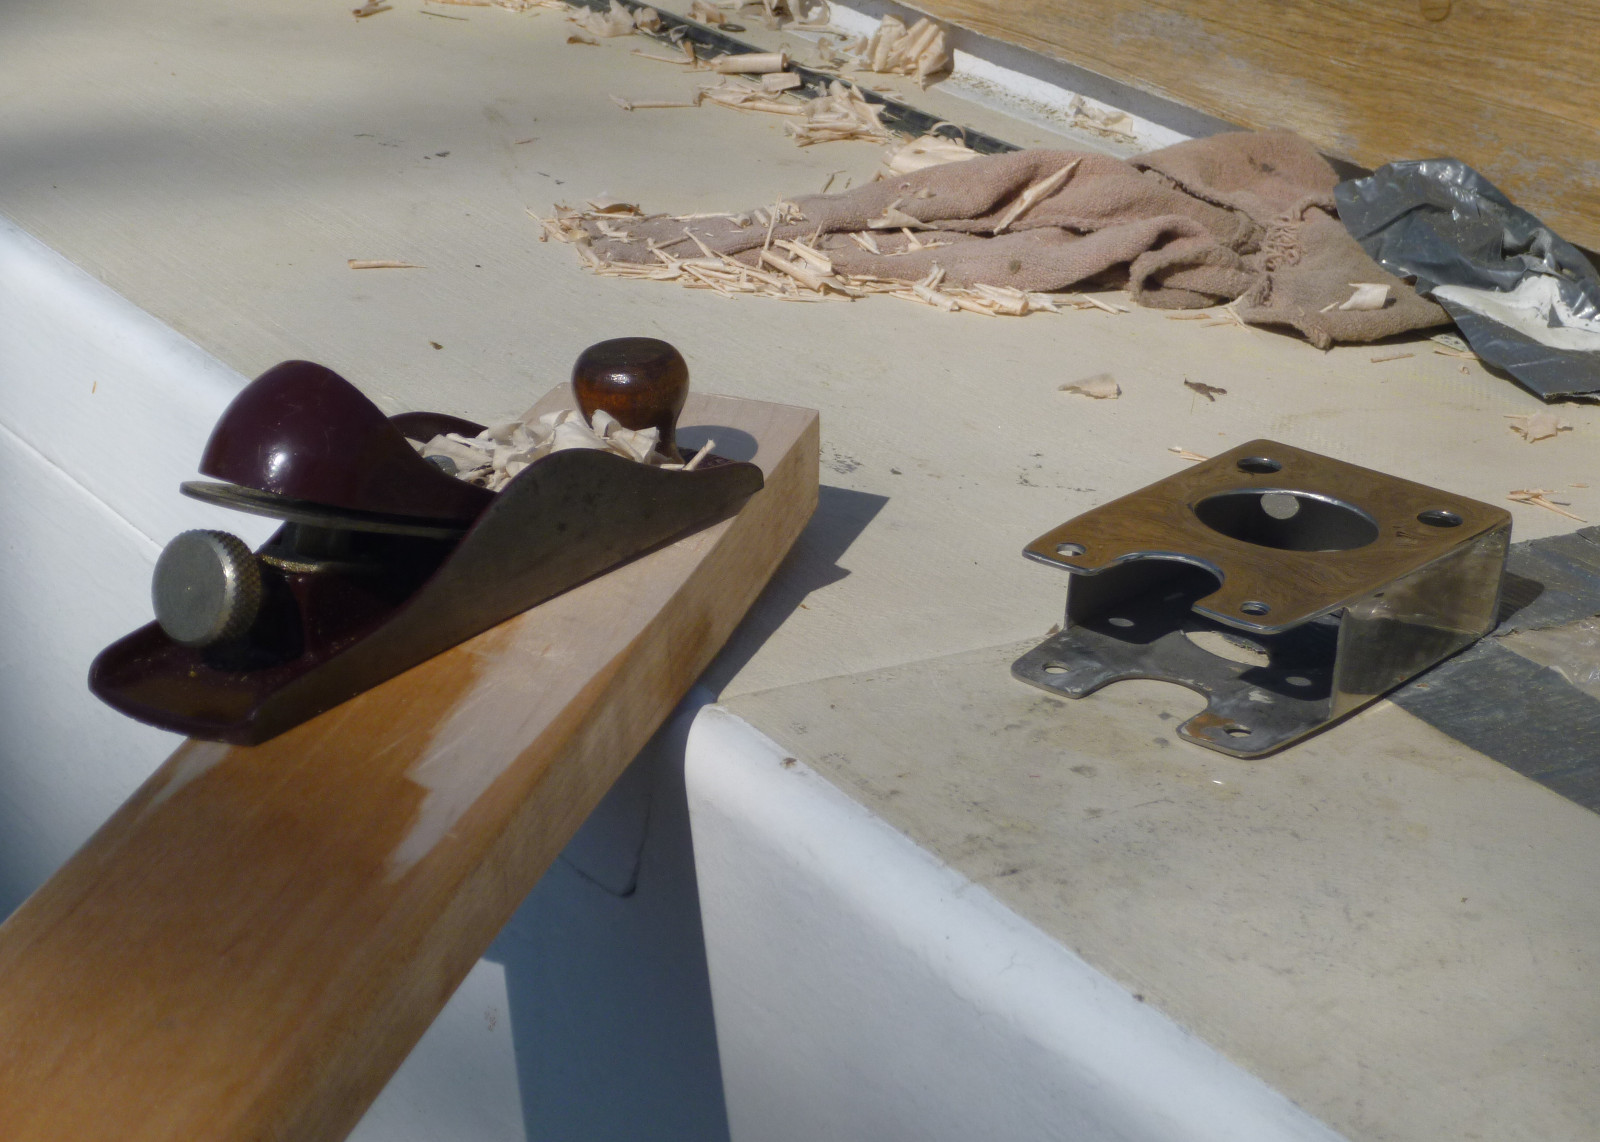 | Maroon Stanleys have a reputation for not being their best planes, but this one performed acceptably at fitting the spreaders to their new hardware. |
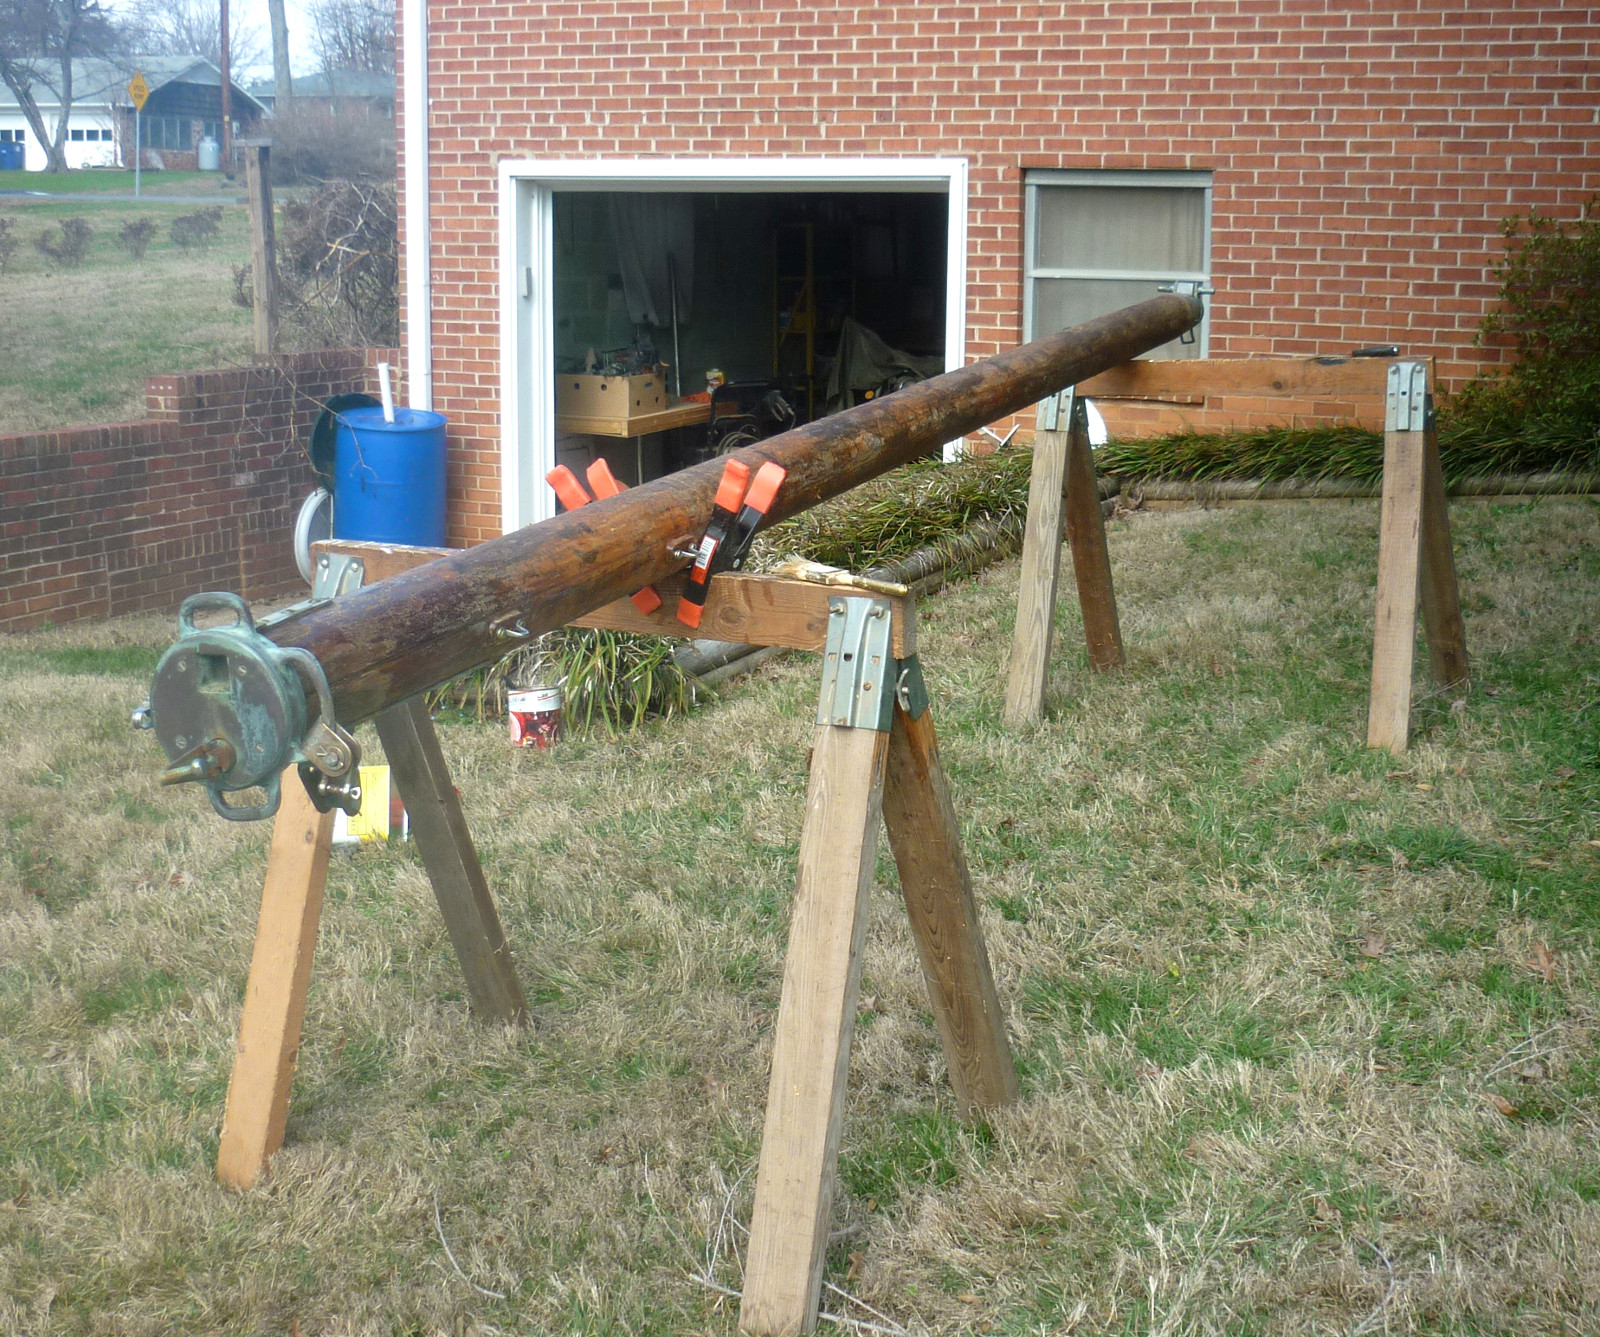
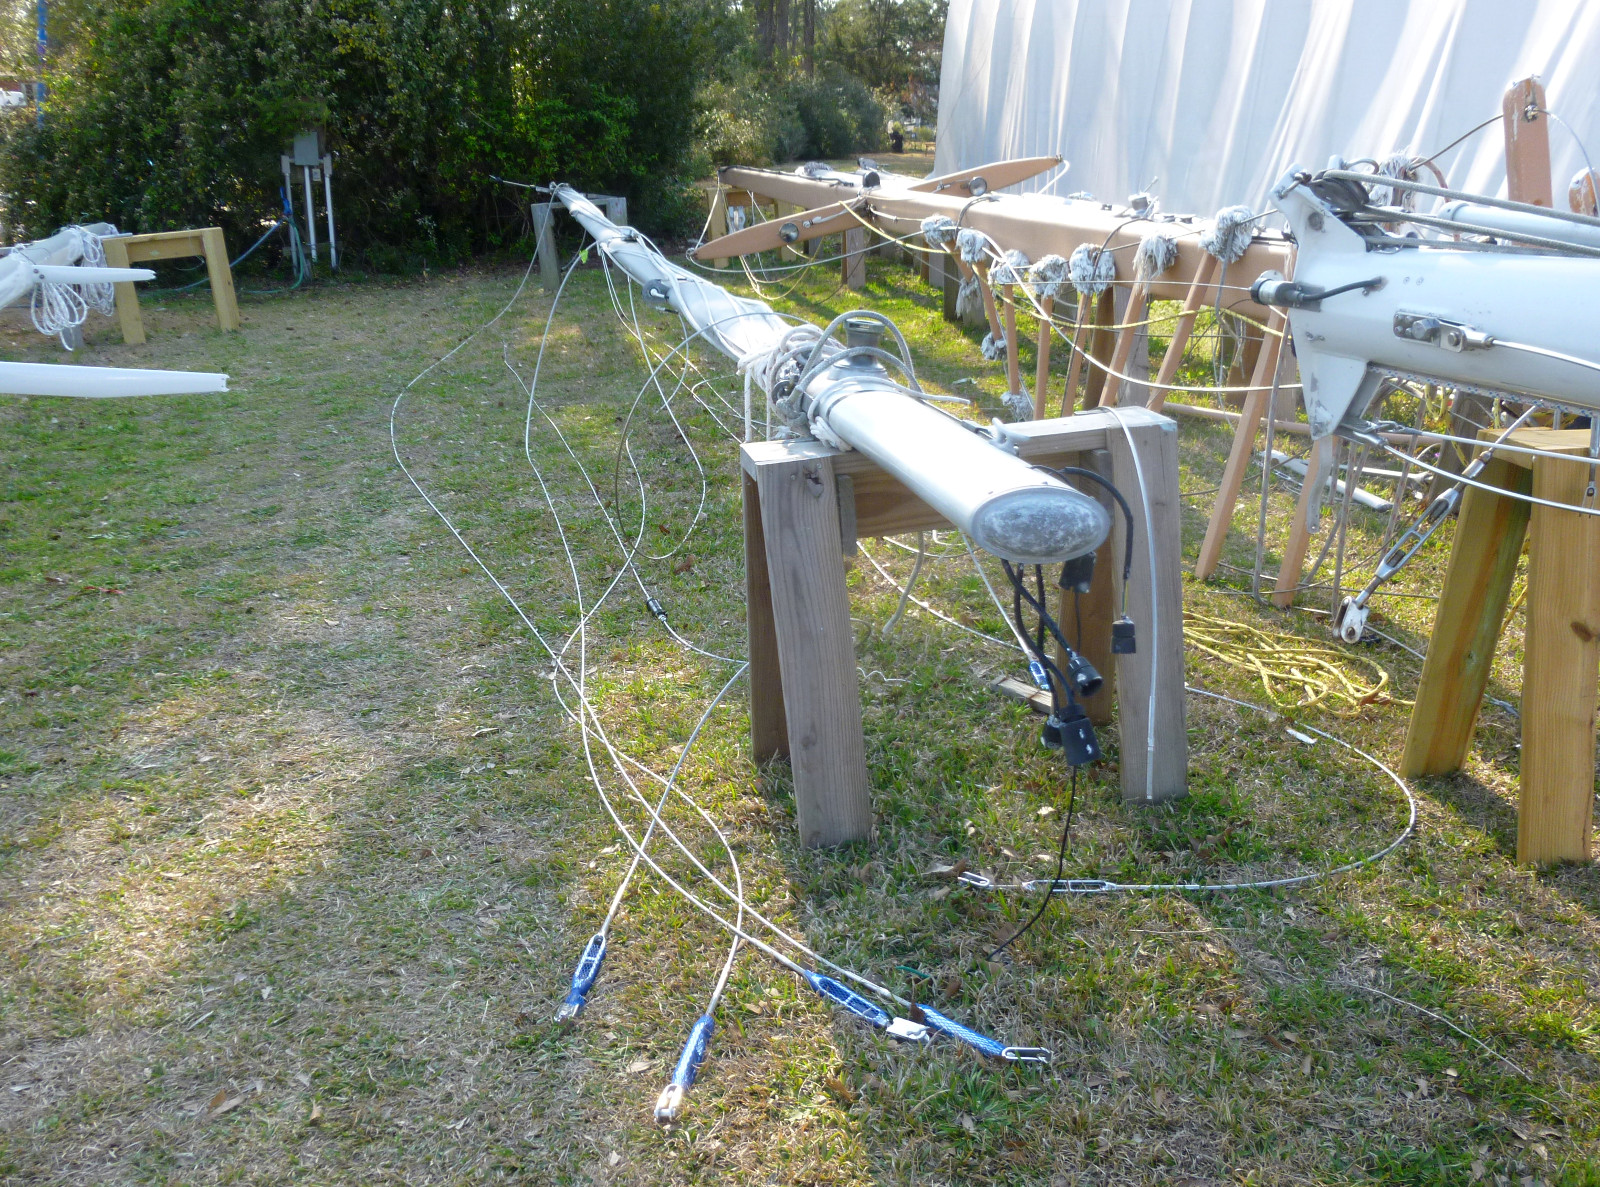 | The mainmast now has all new cables attached. Hopefully, spreaders will go on tomorrow. |
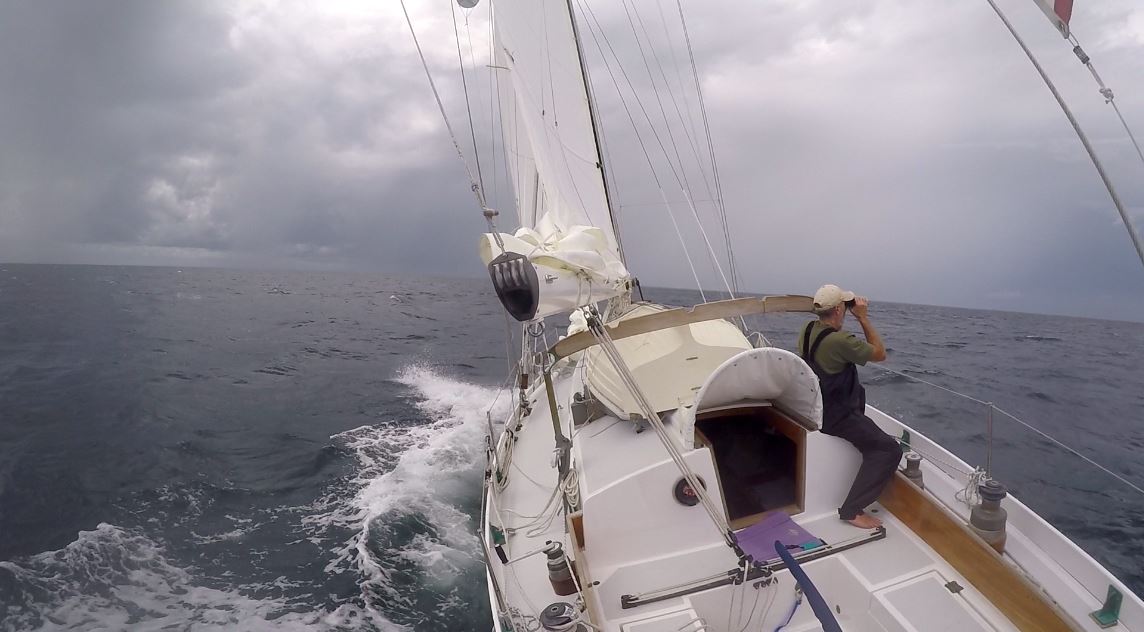 | Just to get an idea what can be done with an old Alberg design, check out this picture of John Stone aboard his Cape Dory 36 Far Reach. The little dodger, just enough to keep the spray out of the companionway, is just the concept I have been looking for. The boom gallows design alongside the aft end of the cabin looks more practical than putting it aft, where it would interfere with the sheeting on Terry Ann. John has Far Reach perfectly balanced as he glasses Cape Lookout Light at the end of a twelve day bluewater passage, in this still from GoPro video he took on the trip. To read about his amazing six-year restoration and refit of Far Reach and subsequent journeys, check out John's website, Far Reach Voyages. This photograph is used with permission of the maker, John Stone. |
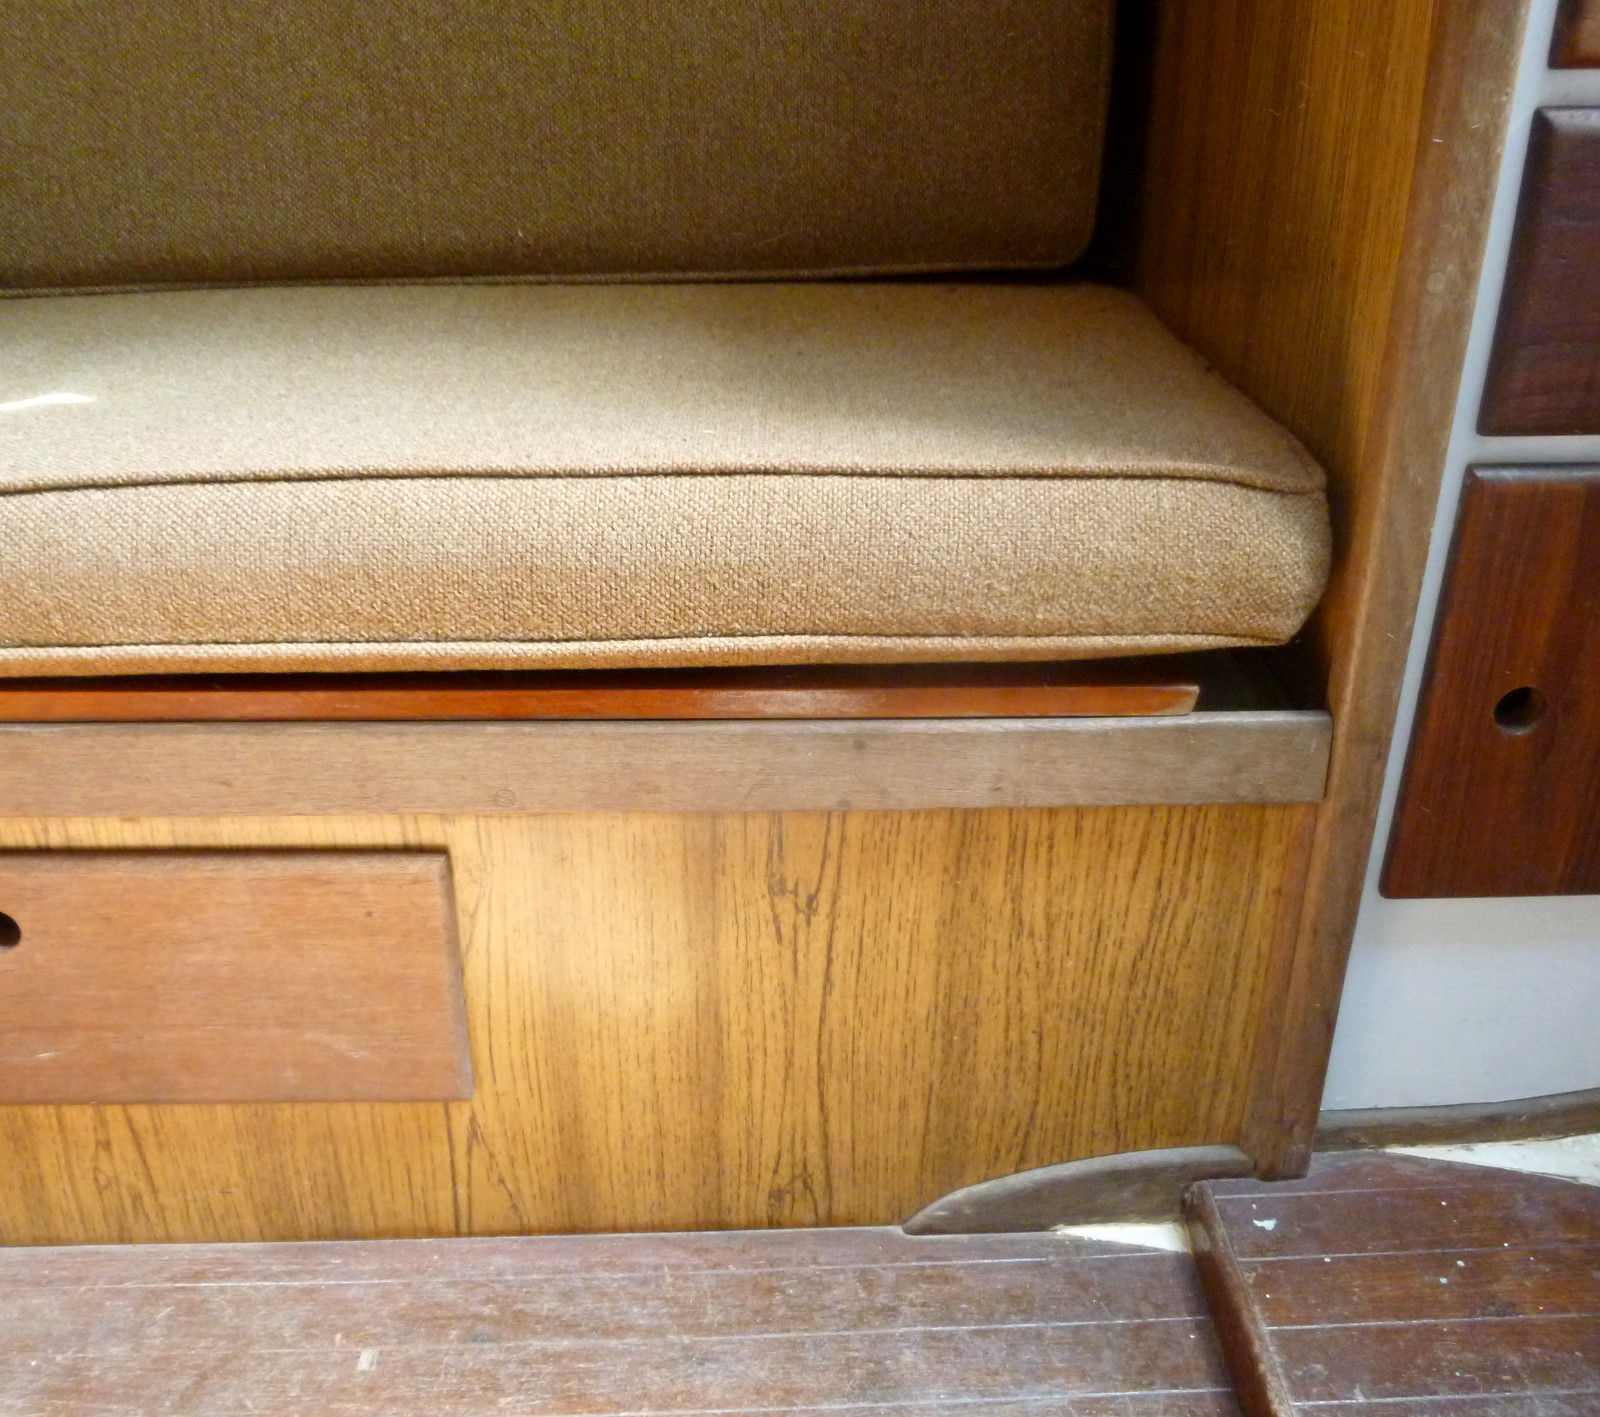
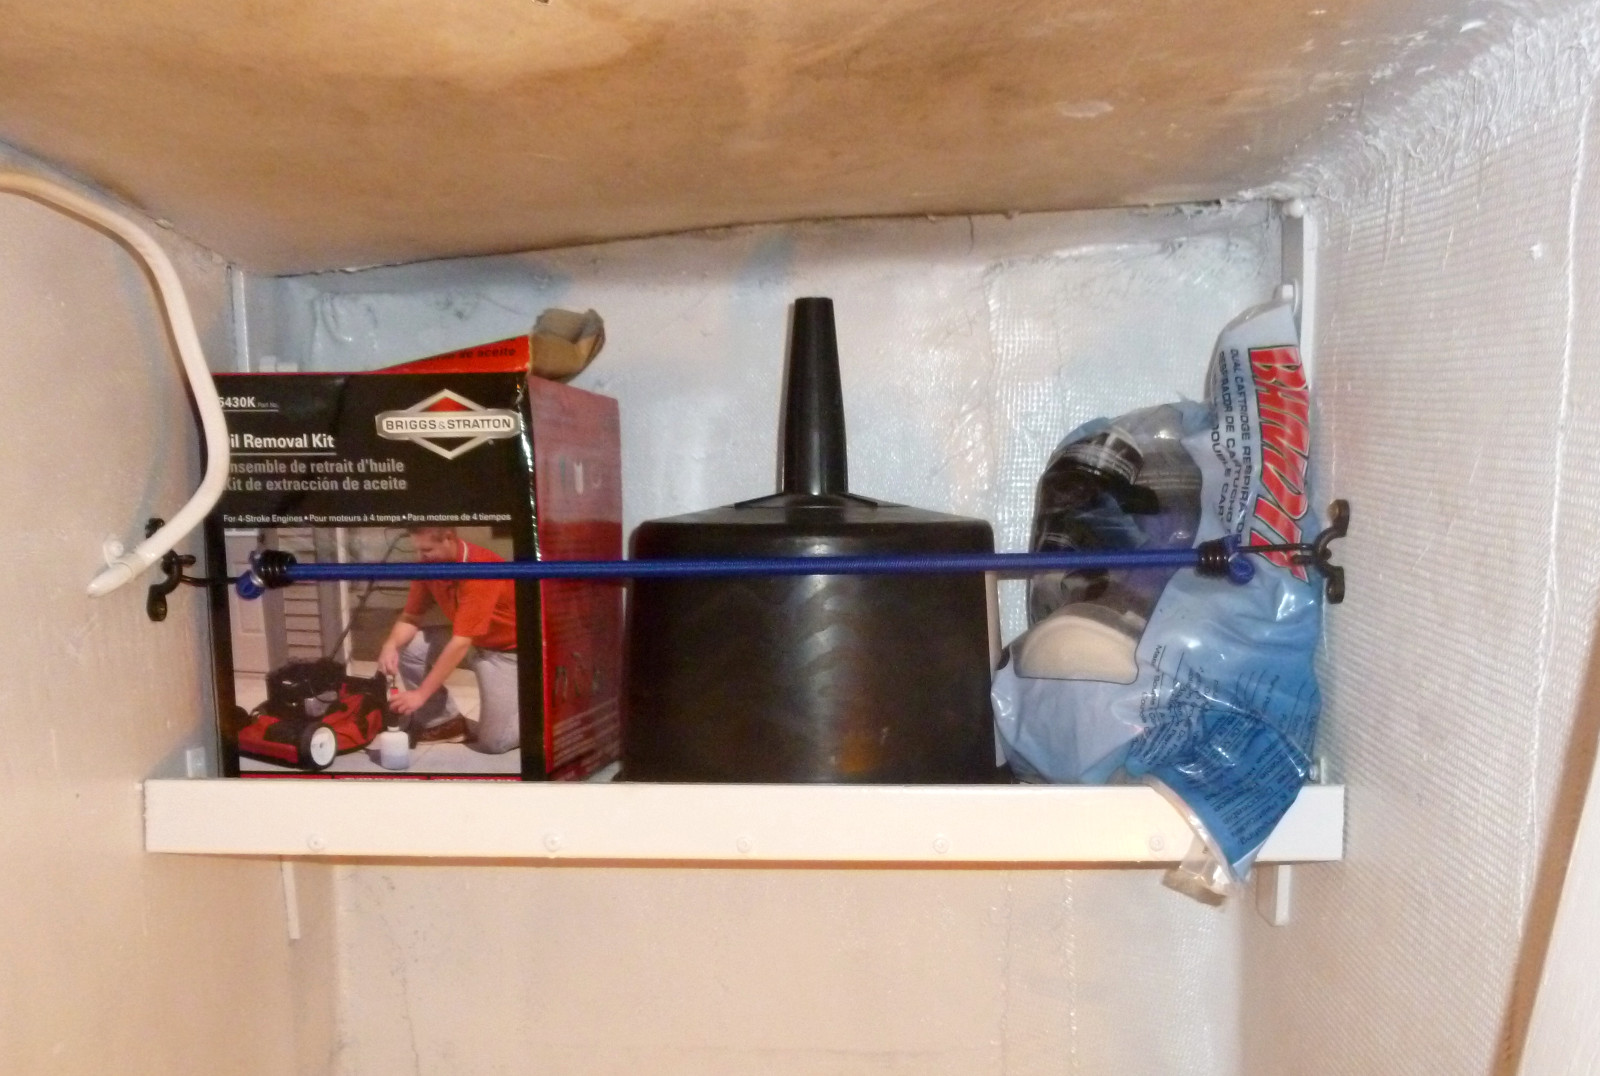 | Shelf in the back of the hanging locker. It's relatively high and outboard, as well as being hard to reach, so I will keep light, bulky items on it that I don't have to access too frequently. |
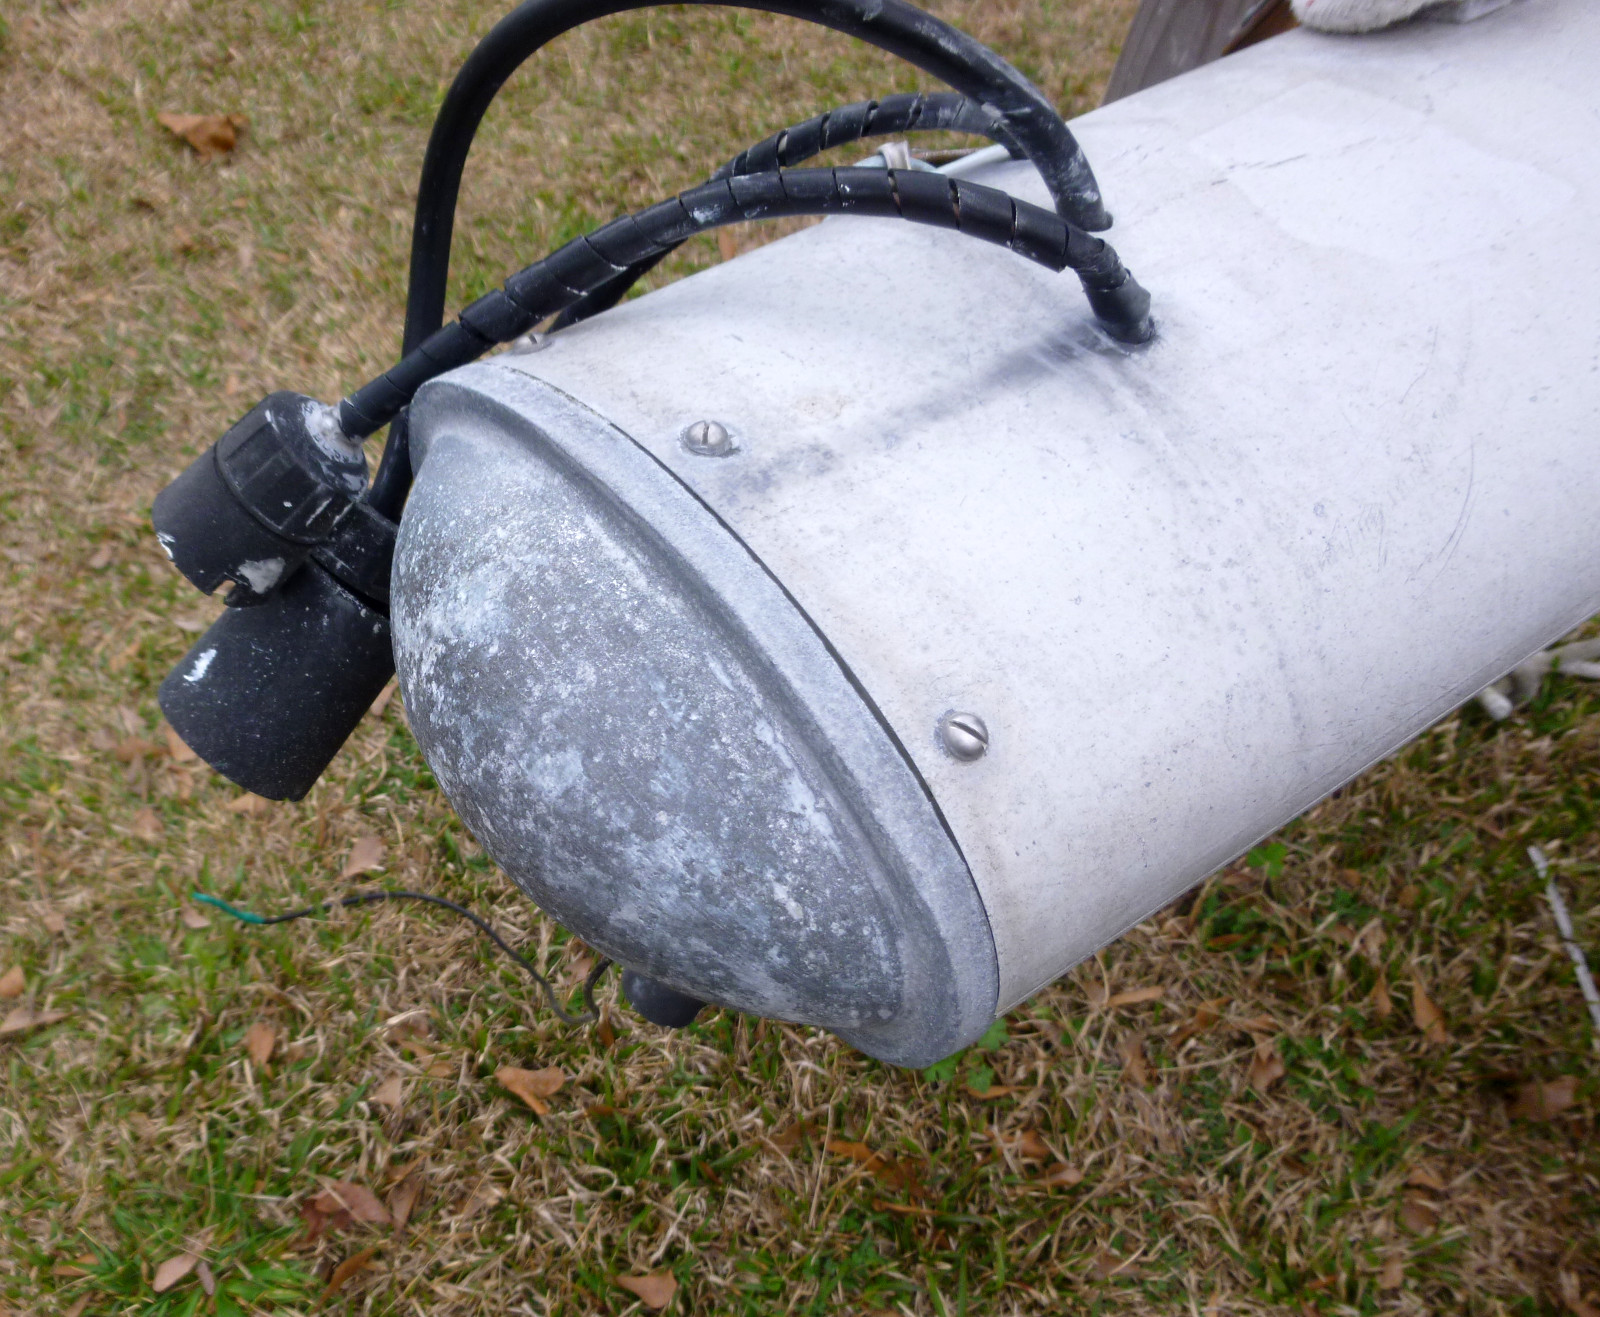
 | Anchor light and Windex fabrication mounted to masthead. |
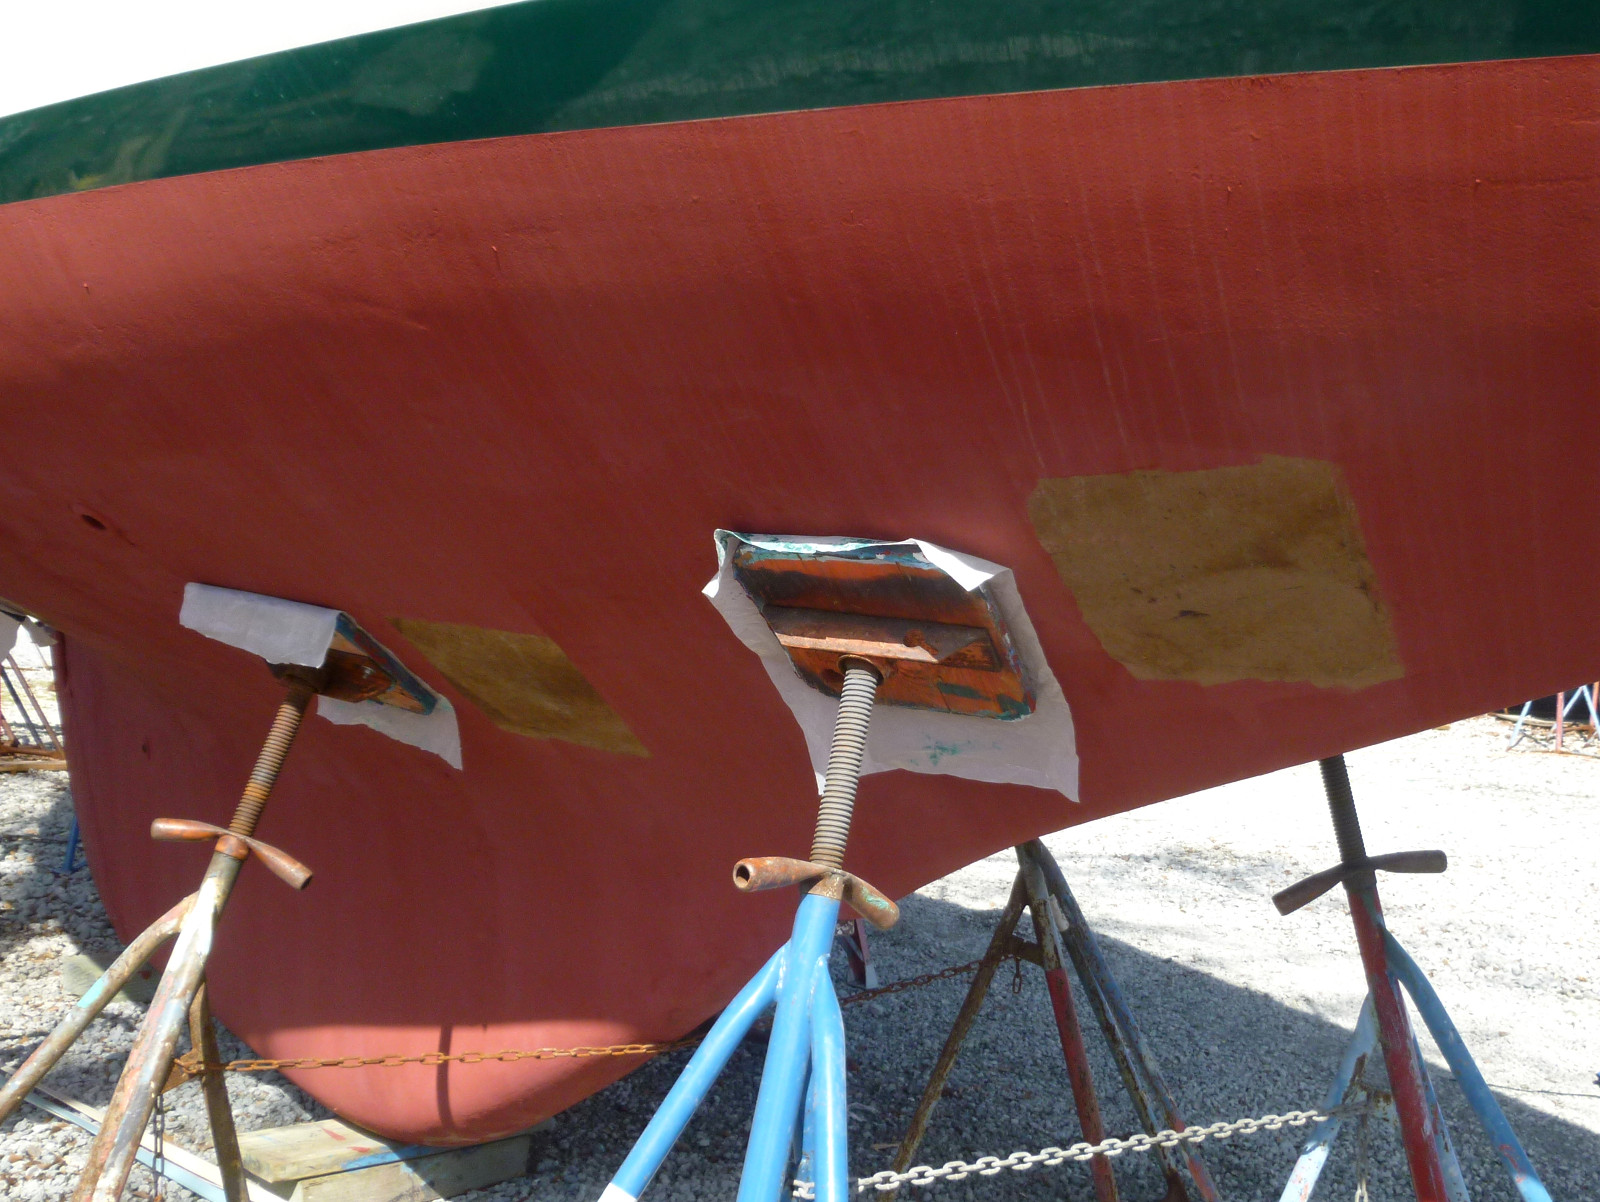
 | Here's the bow damage scraped out with a chisel and awl, sanded and ready to pack with Marine-Tex tomorrow. |
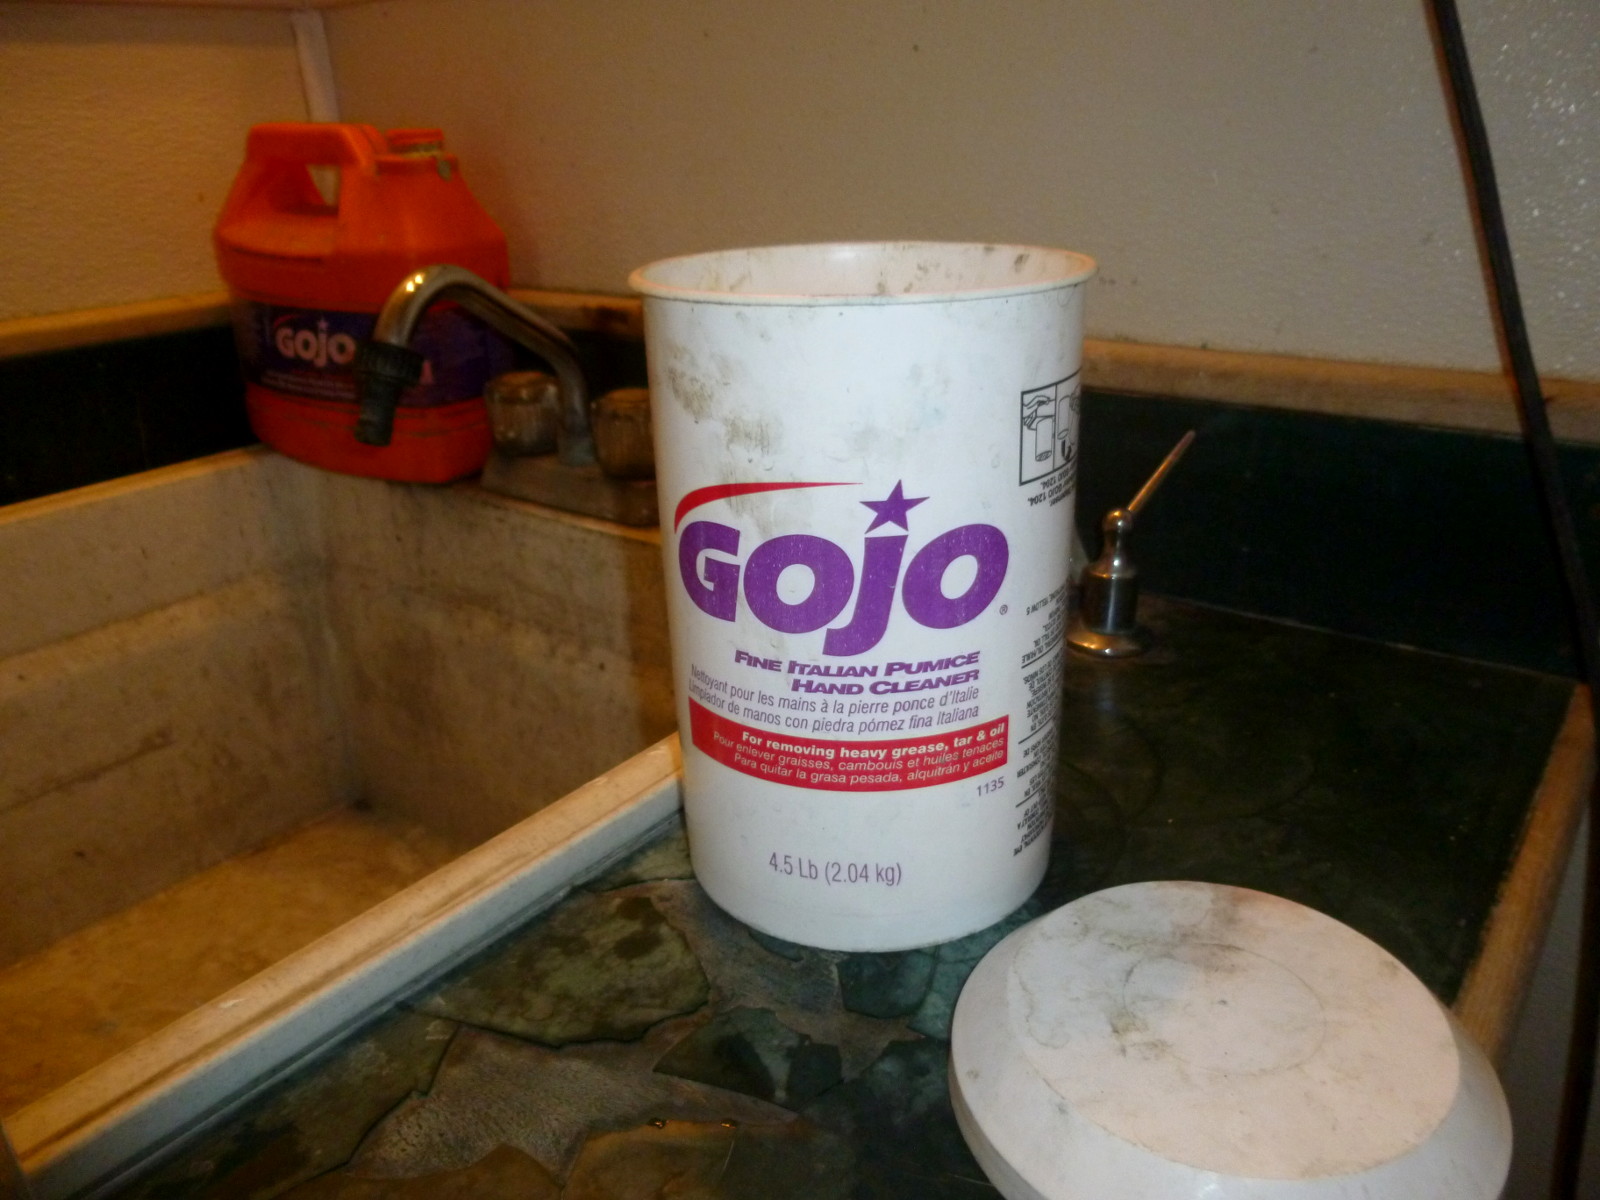 | This fine product can be found in boatyard washrooms and executive suites all over the world. |
 | Two months ago, things were coming apart and now things are going back together. Tomorrow I can safety-wire the cables on the ends and hang a block on the starboard spreader for a flag halyard. |
 | Jackstands moved so I can paint under them. |
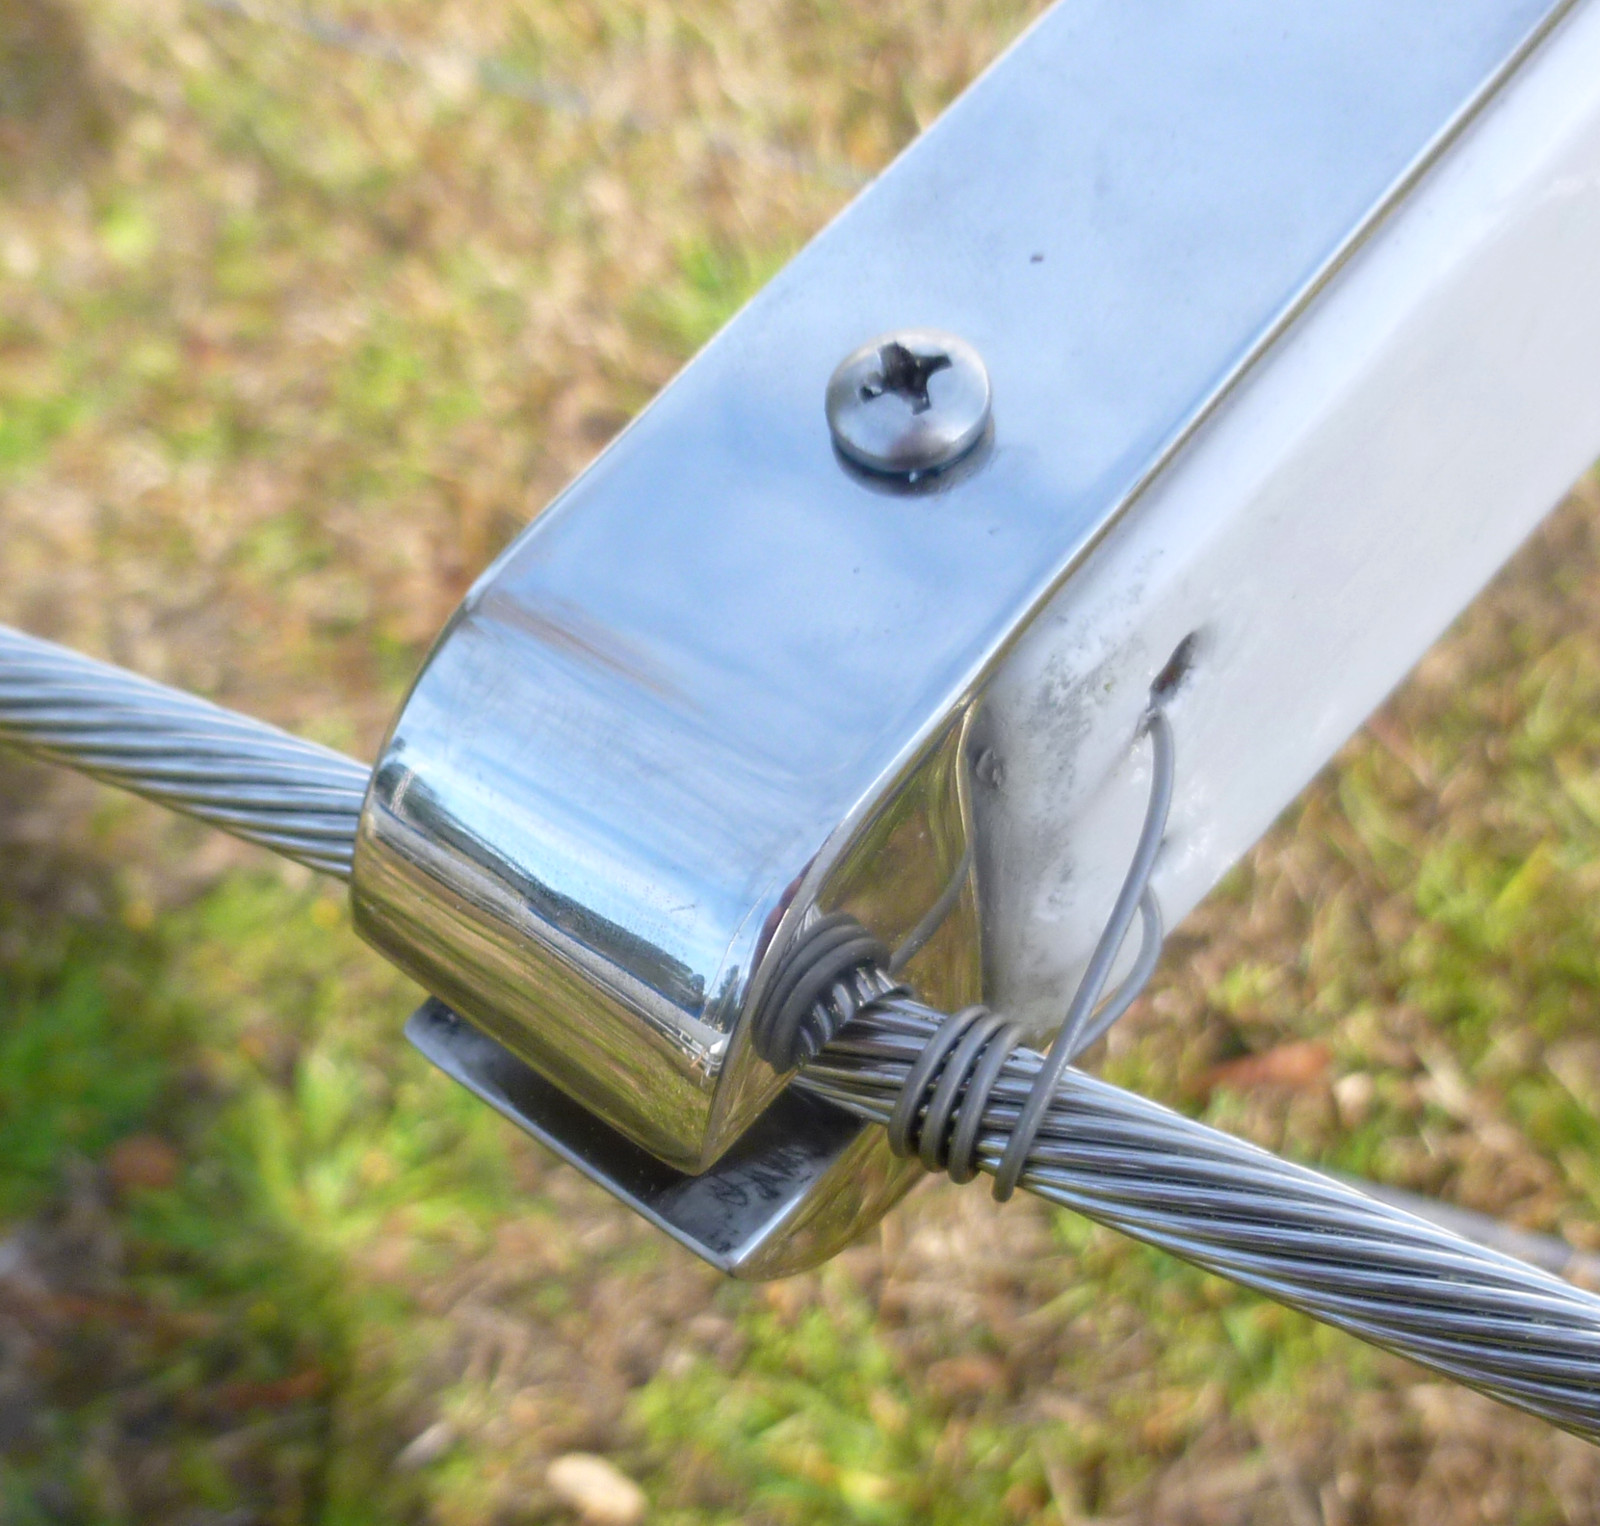 | The uppers are led over the ends of the spreaders and safety-wired into their slots. |
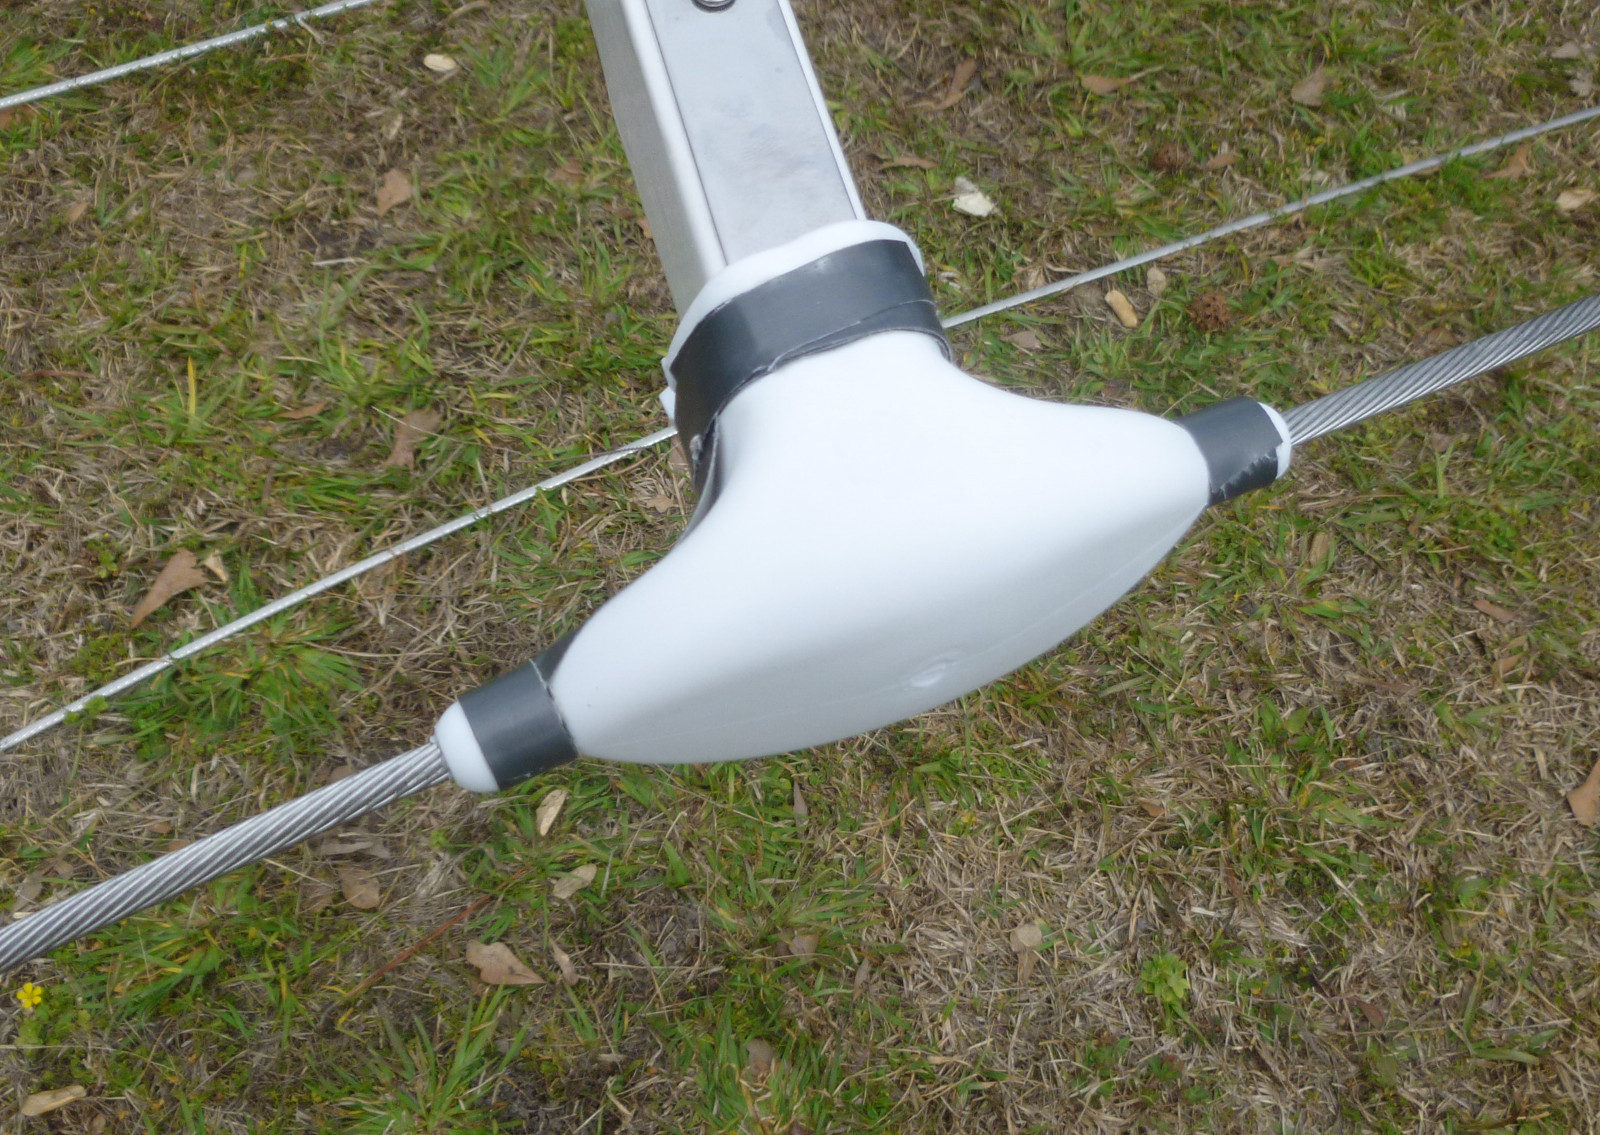 | Rubber boots go over the spreader ends. With this done, the masts are ready to go back into the boat tomorrow - assuming I haven't overlooked something. |
 | The galley area is painted. |
 | Bruce motors Arabella out the channel behind Sailcraft Service on the way to Pecan Grove. |
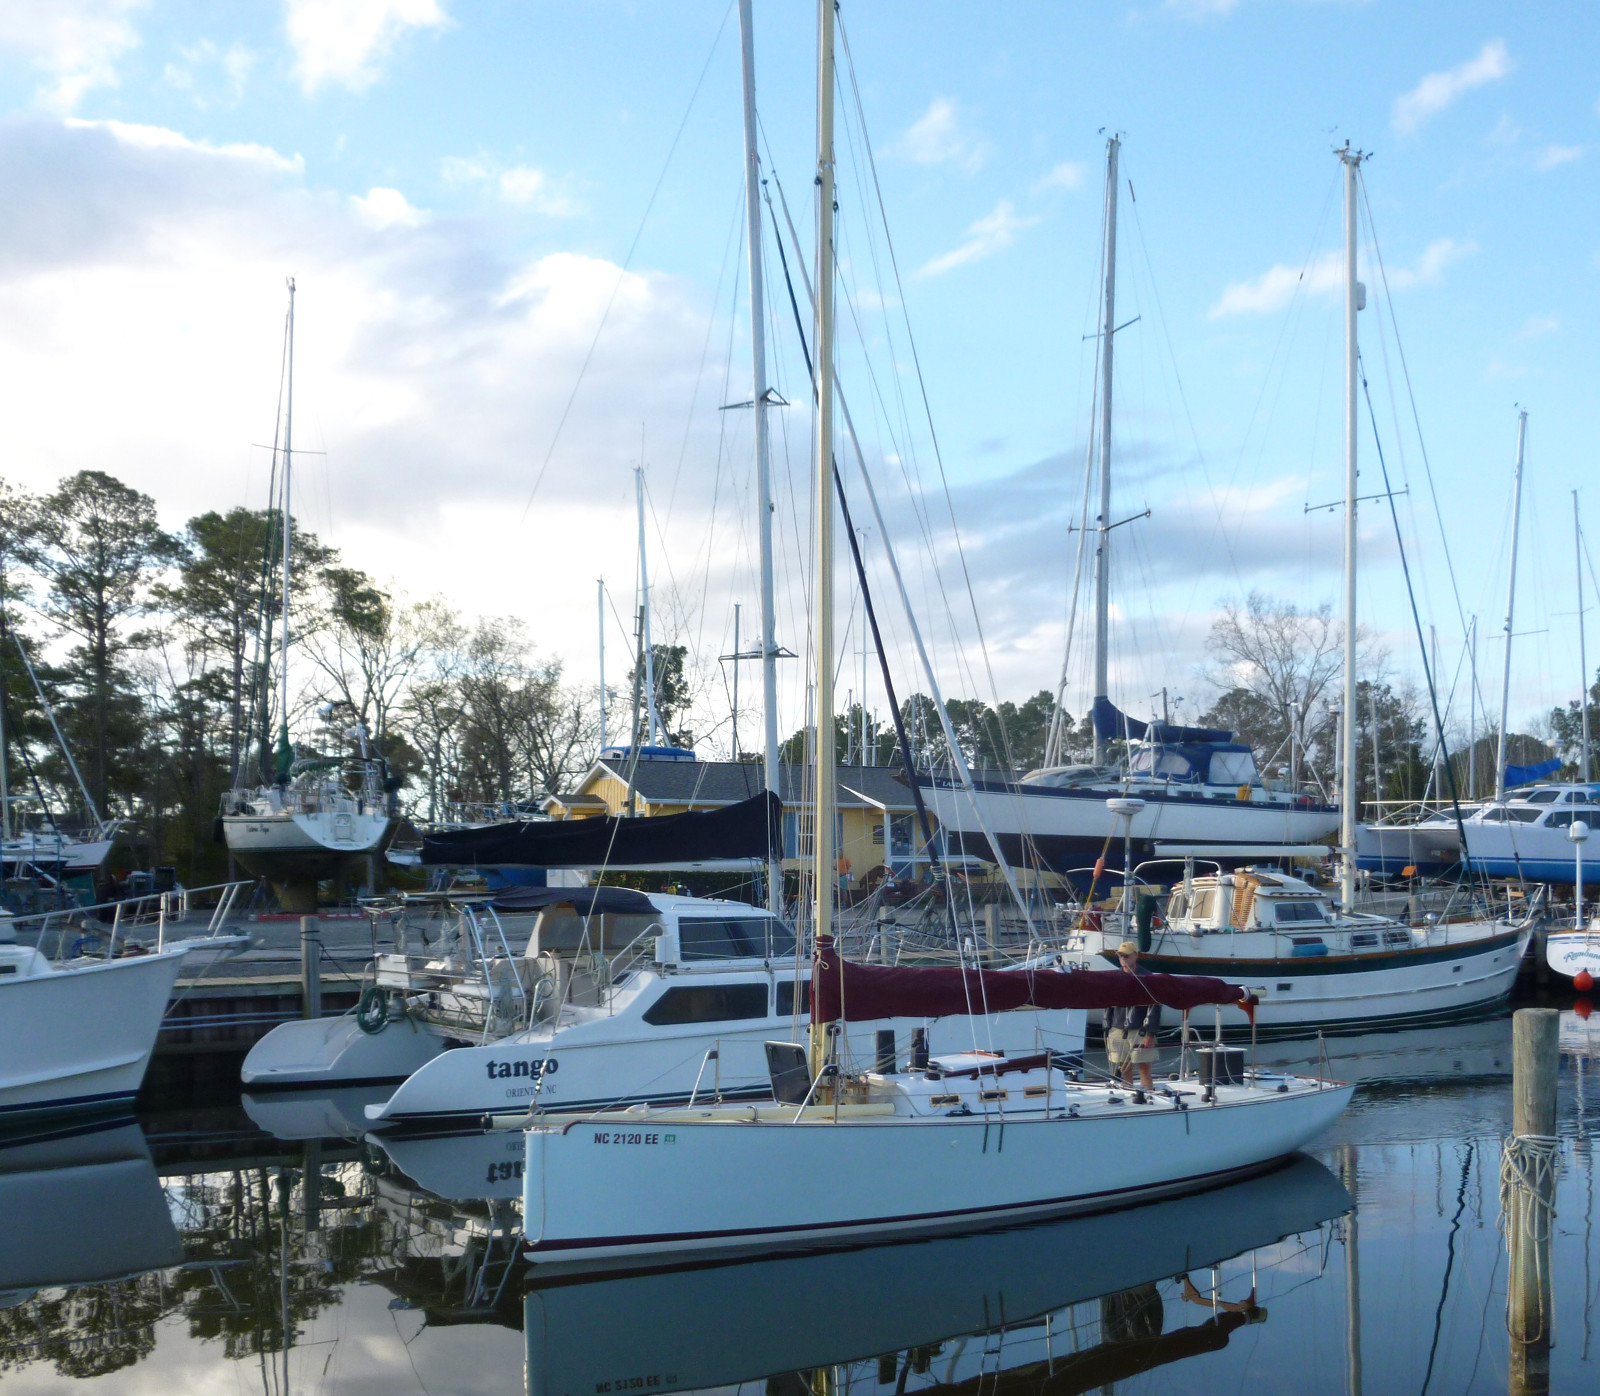
 | After seven weeks, Terry Ann is back in the water. |
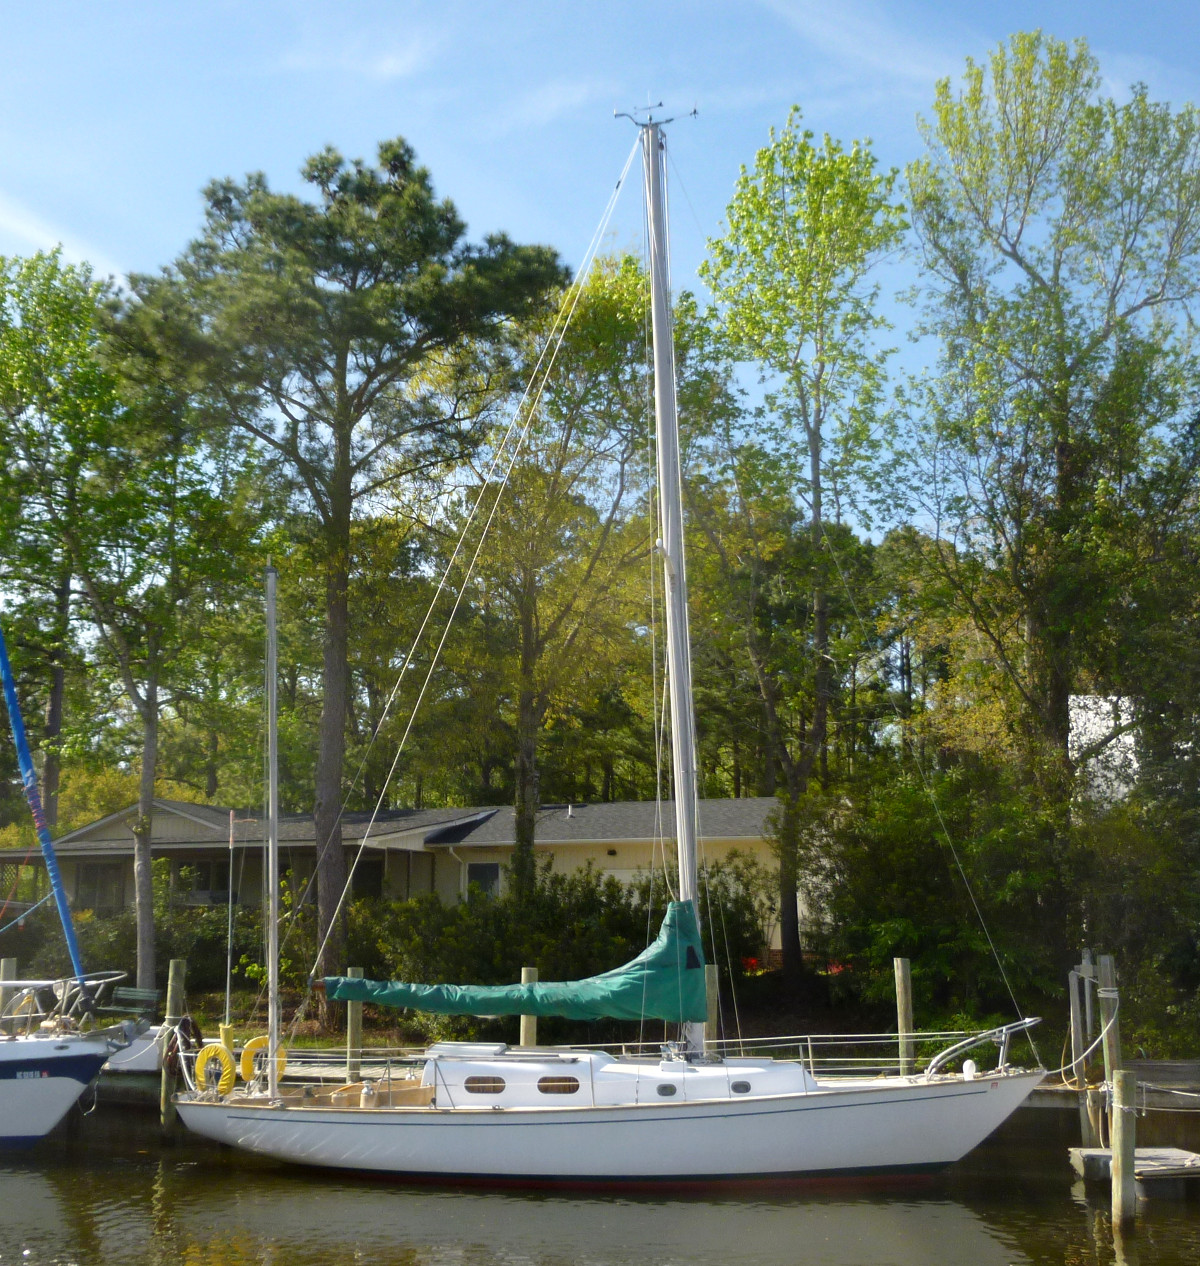 | Just in from her first shakedown sail, Terry Ann rests on the dock behind Sailcraft Service. She doesn't look much different from two months ago, but a lot of work has been done. There much still to do, but she is perfectly seaworthy and ready to cruise, whenever I am. |
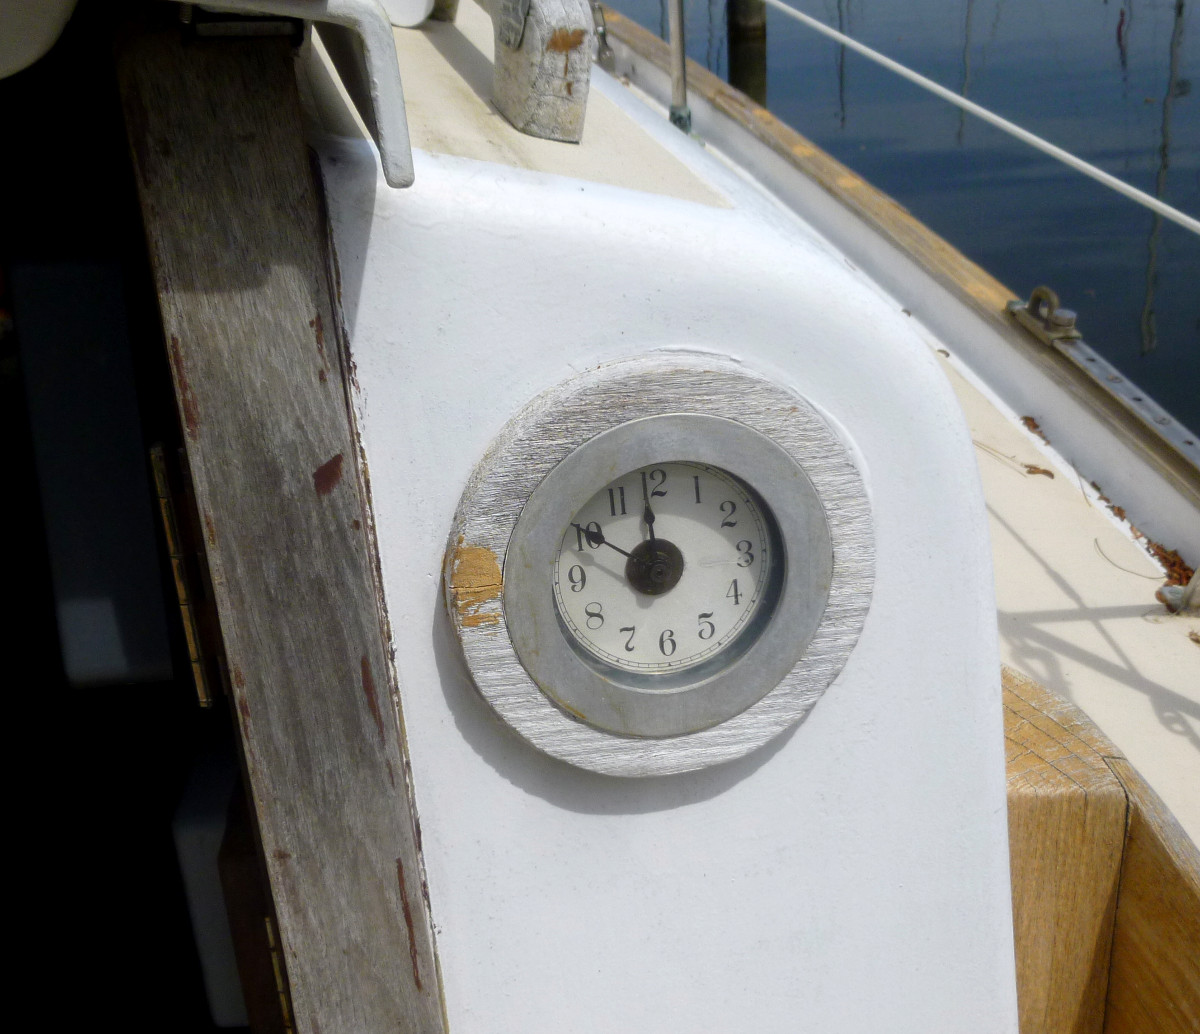 | Not sure why this is here, but it is about to go away. |
 | Here's the clock hole. Notice the lack of core. |
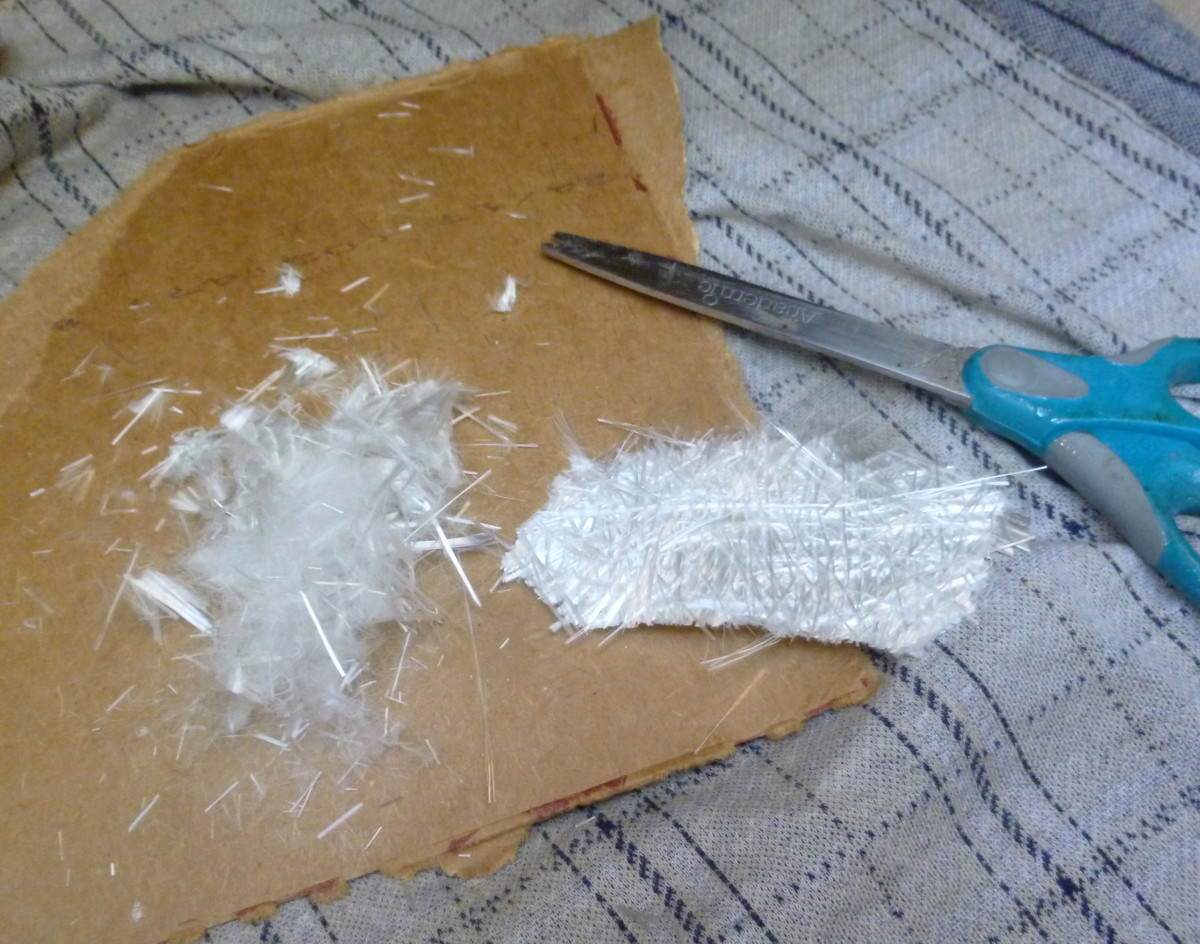 | This is kitty hair. Do not breath it. Mix it with epoxy and use it to fill gaps. |
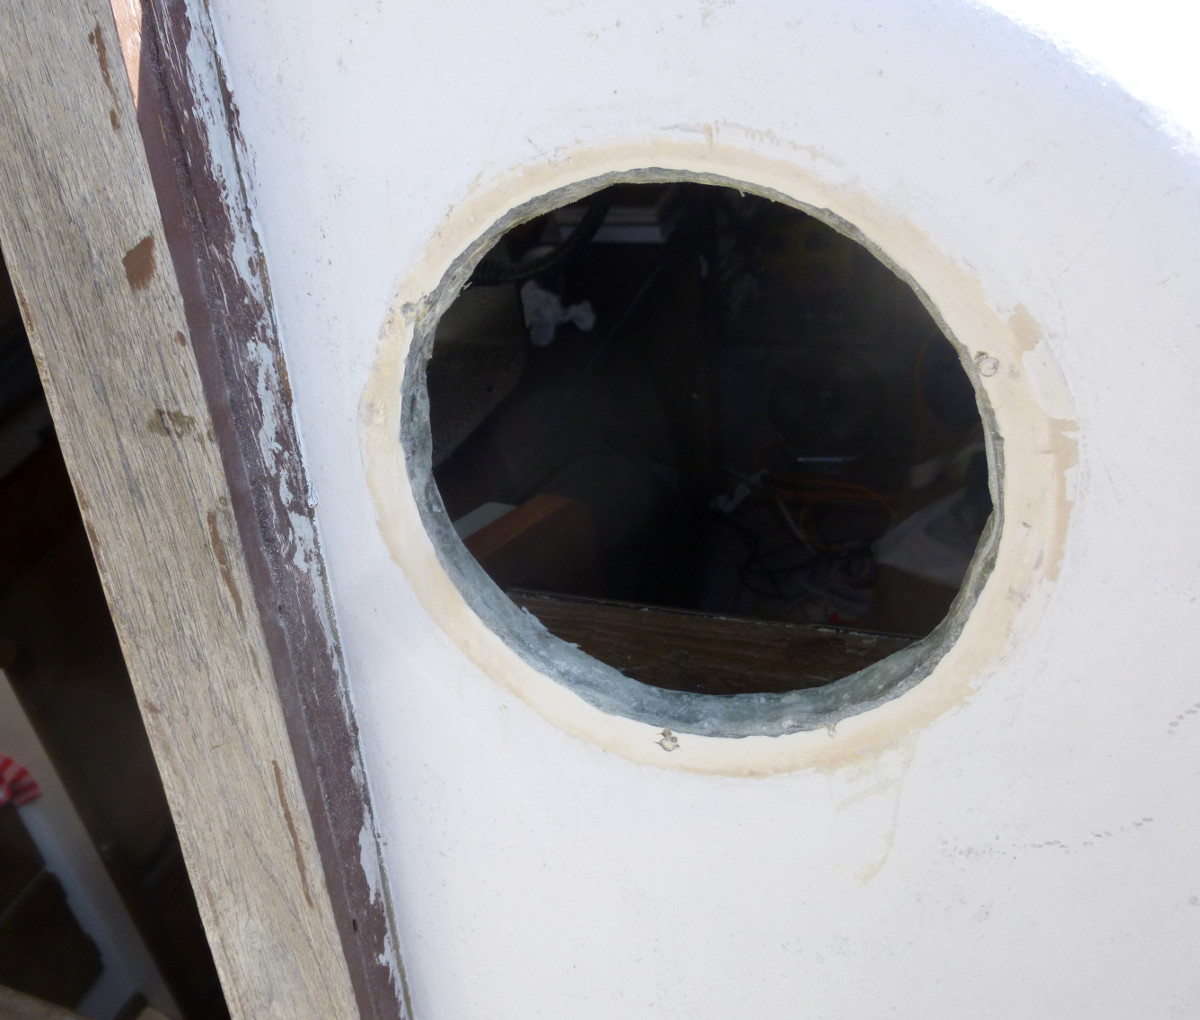 | The clock hole now has all the gaps between the shell and the liner packed with epoxy-kitty hair filler. |
 | Three layers of fiberglass have now sealed off the clock hole forever. It will take several more layers to build it up level. Should be plenty strong. |
 | I wonder what's behind that panel... |
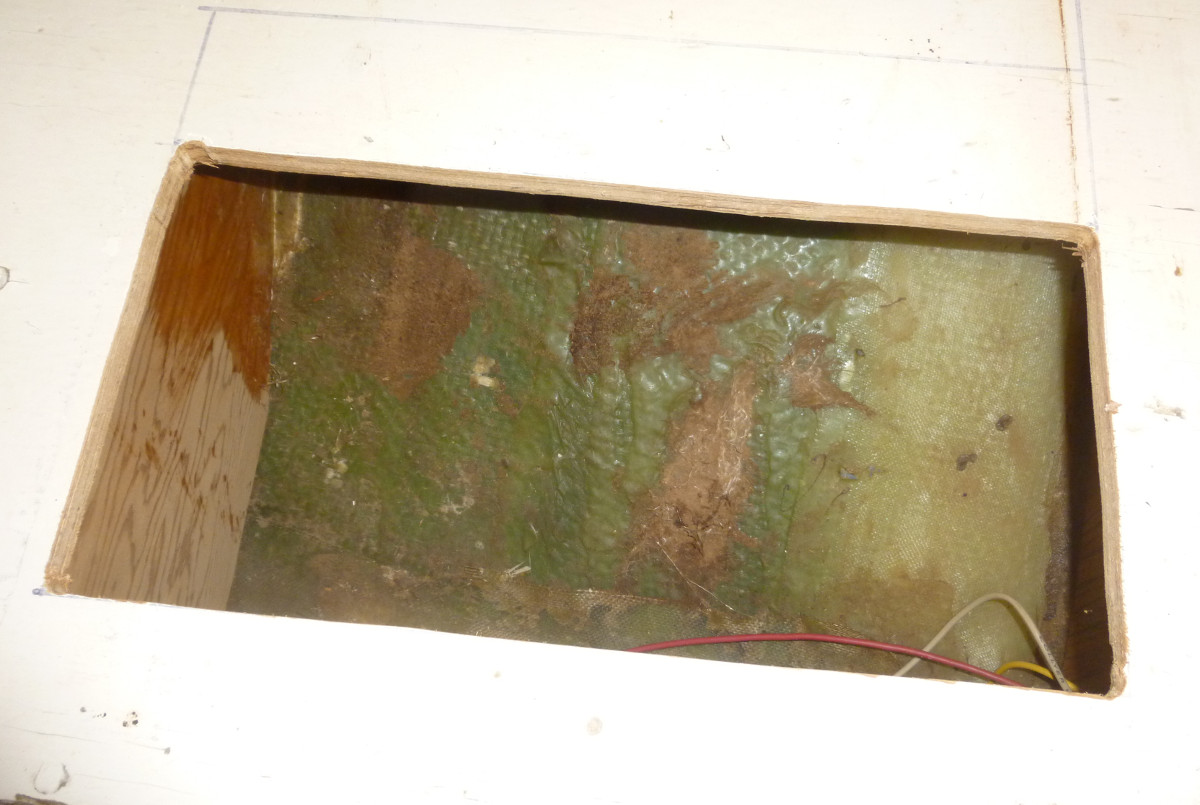 | Just as I suspected - storage space. At least enough for twenty cans of spam and yams, for emergencies. |
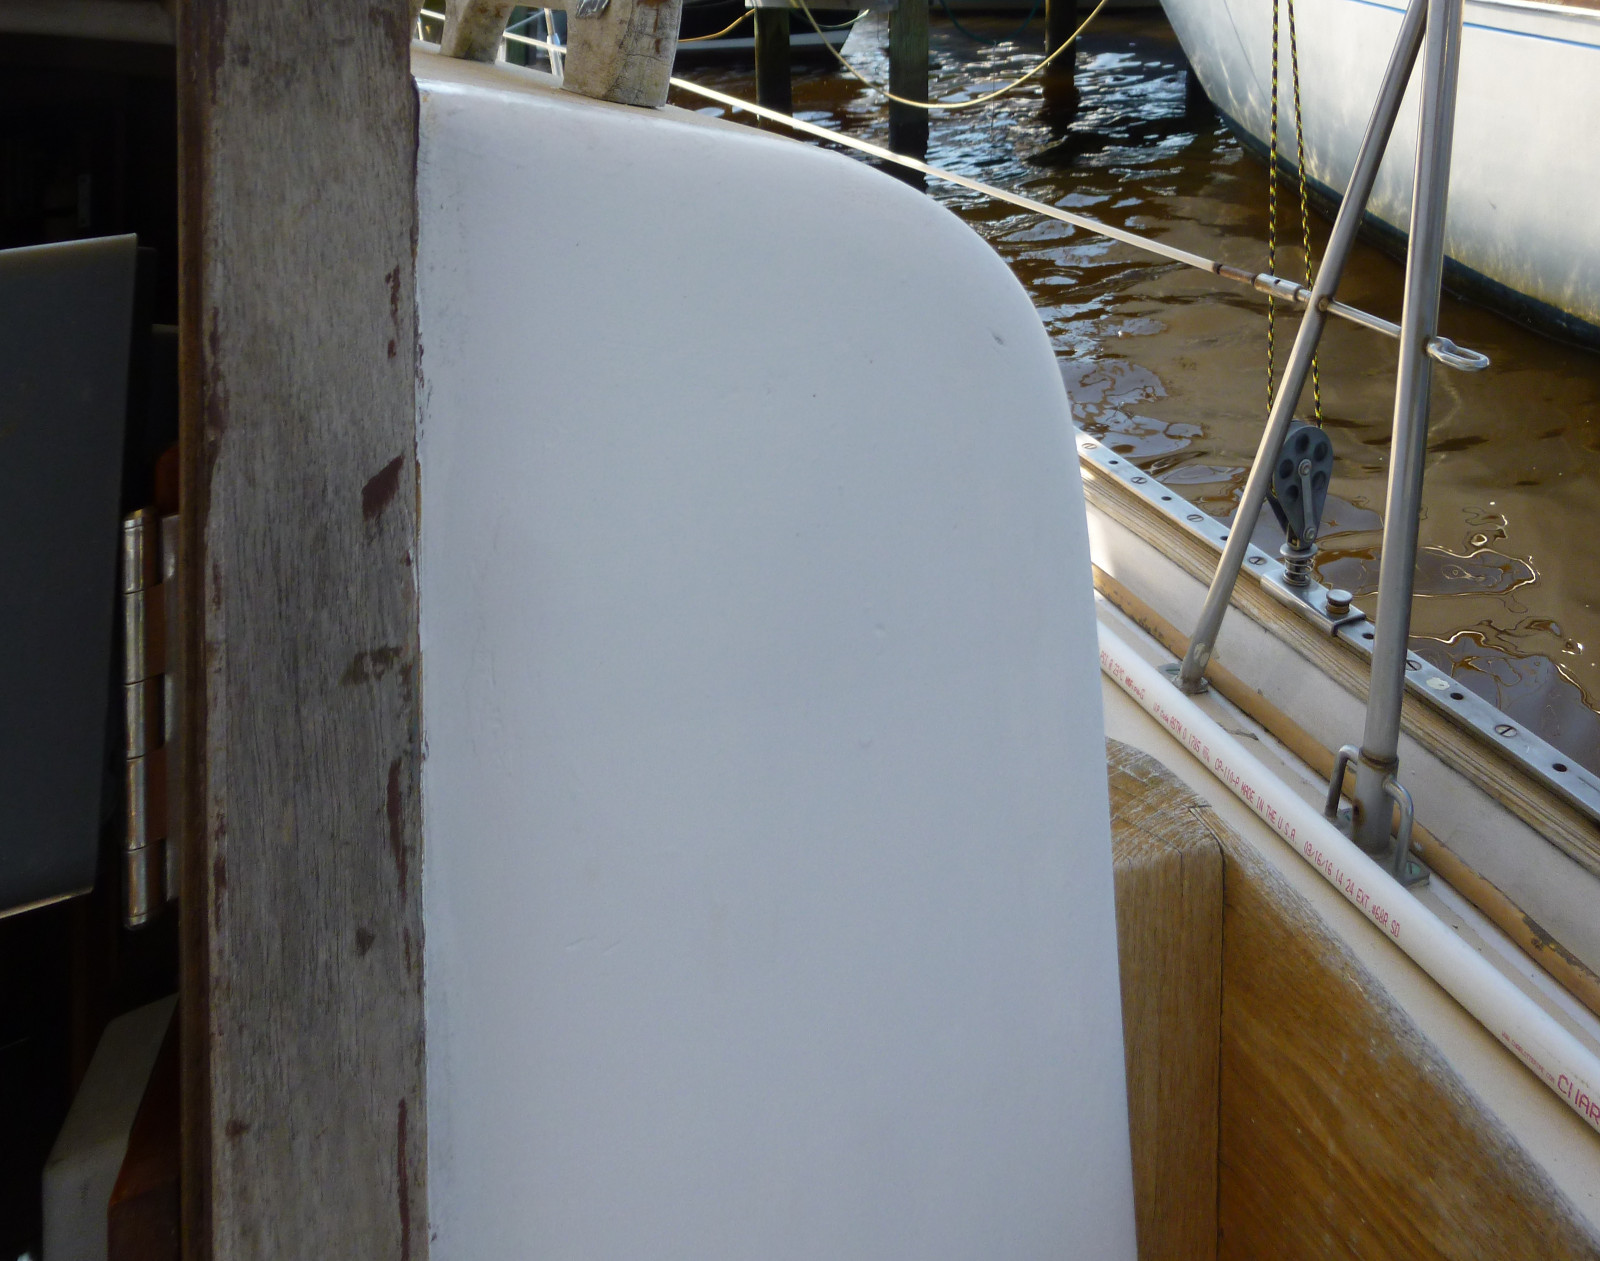 | The clock hole is gone, fiberglassed, faired and painted. | 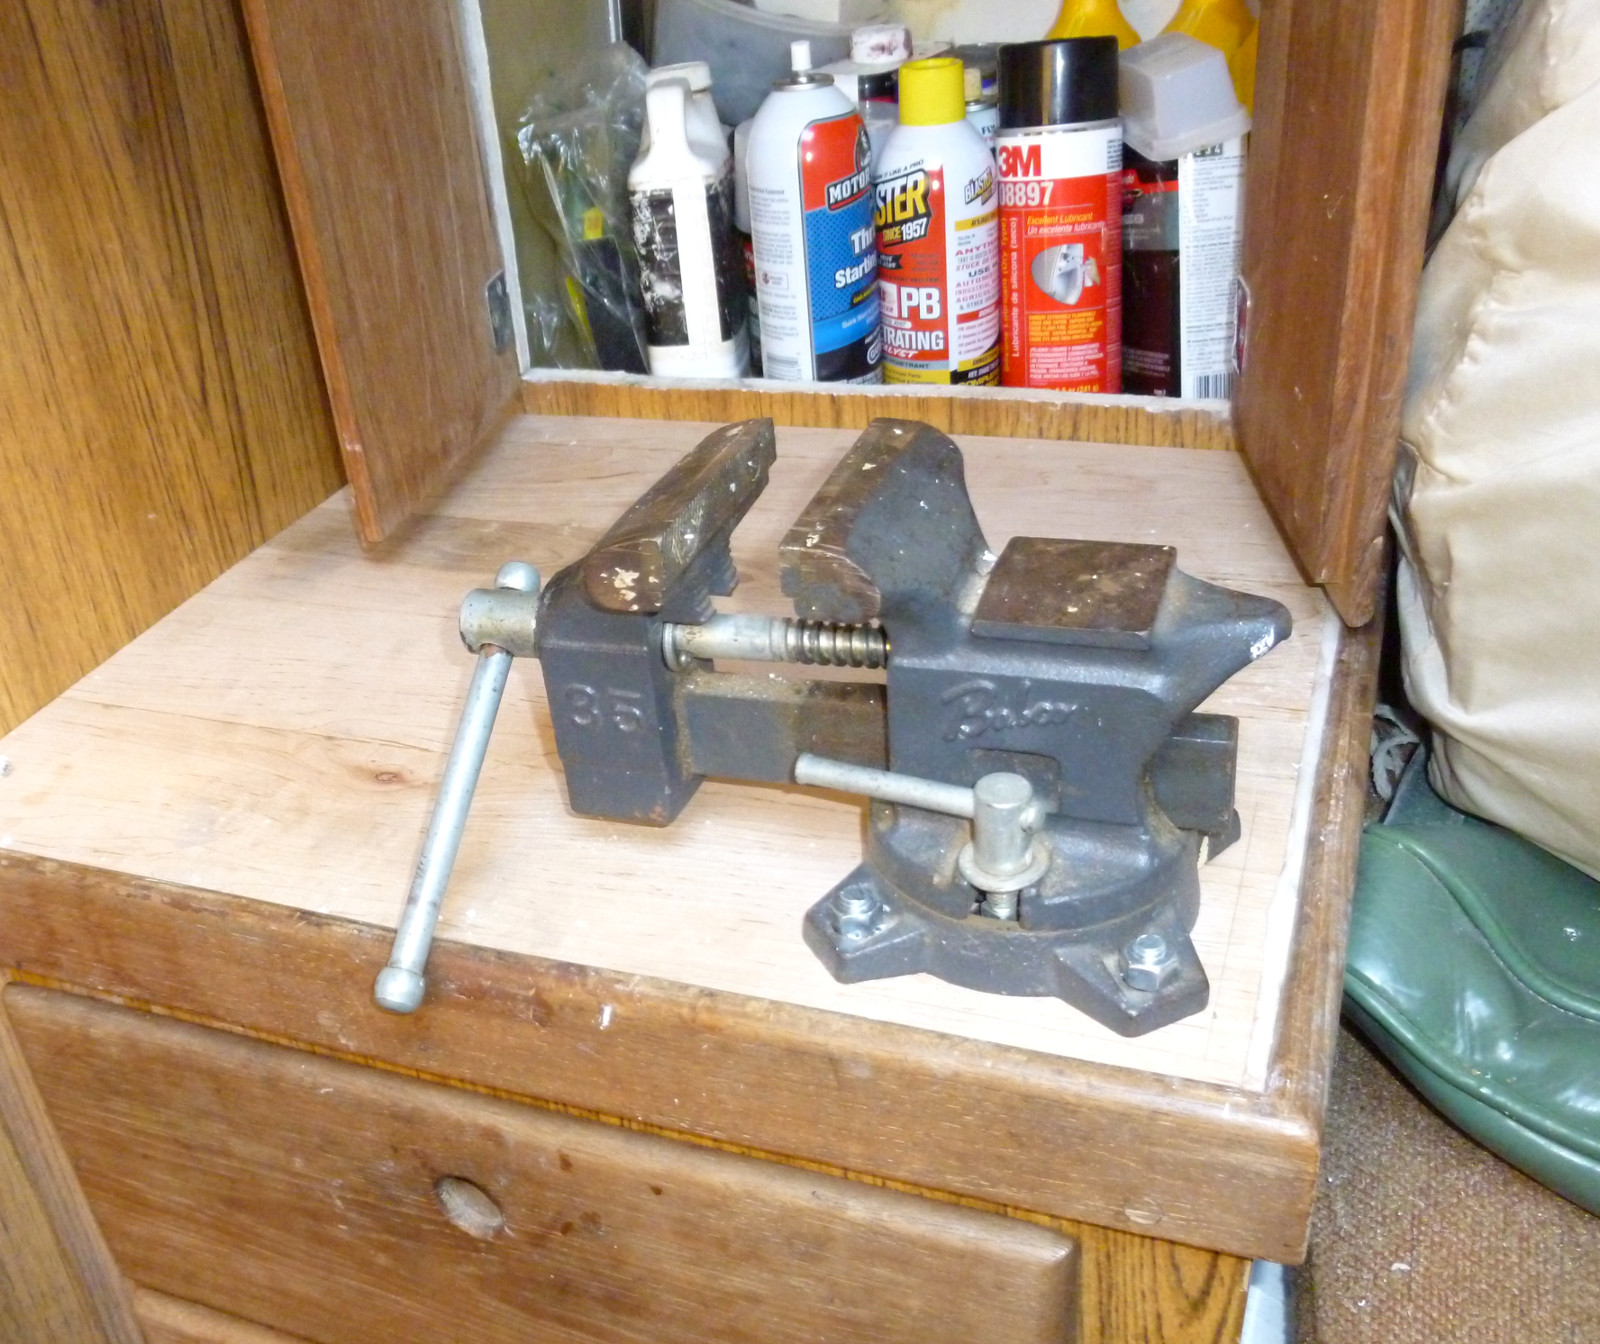 | A good solid workbench and vise for Terry Ann. |
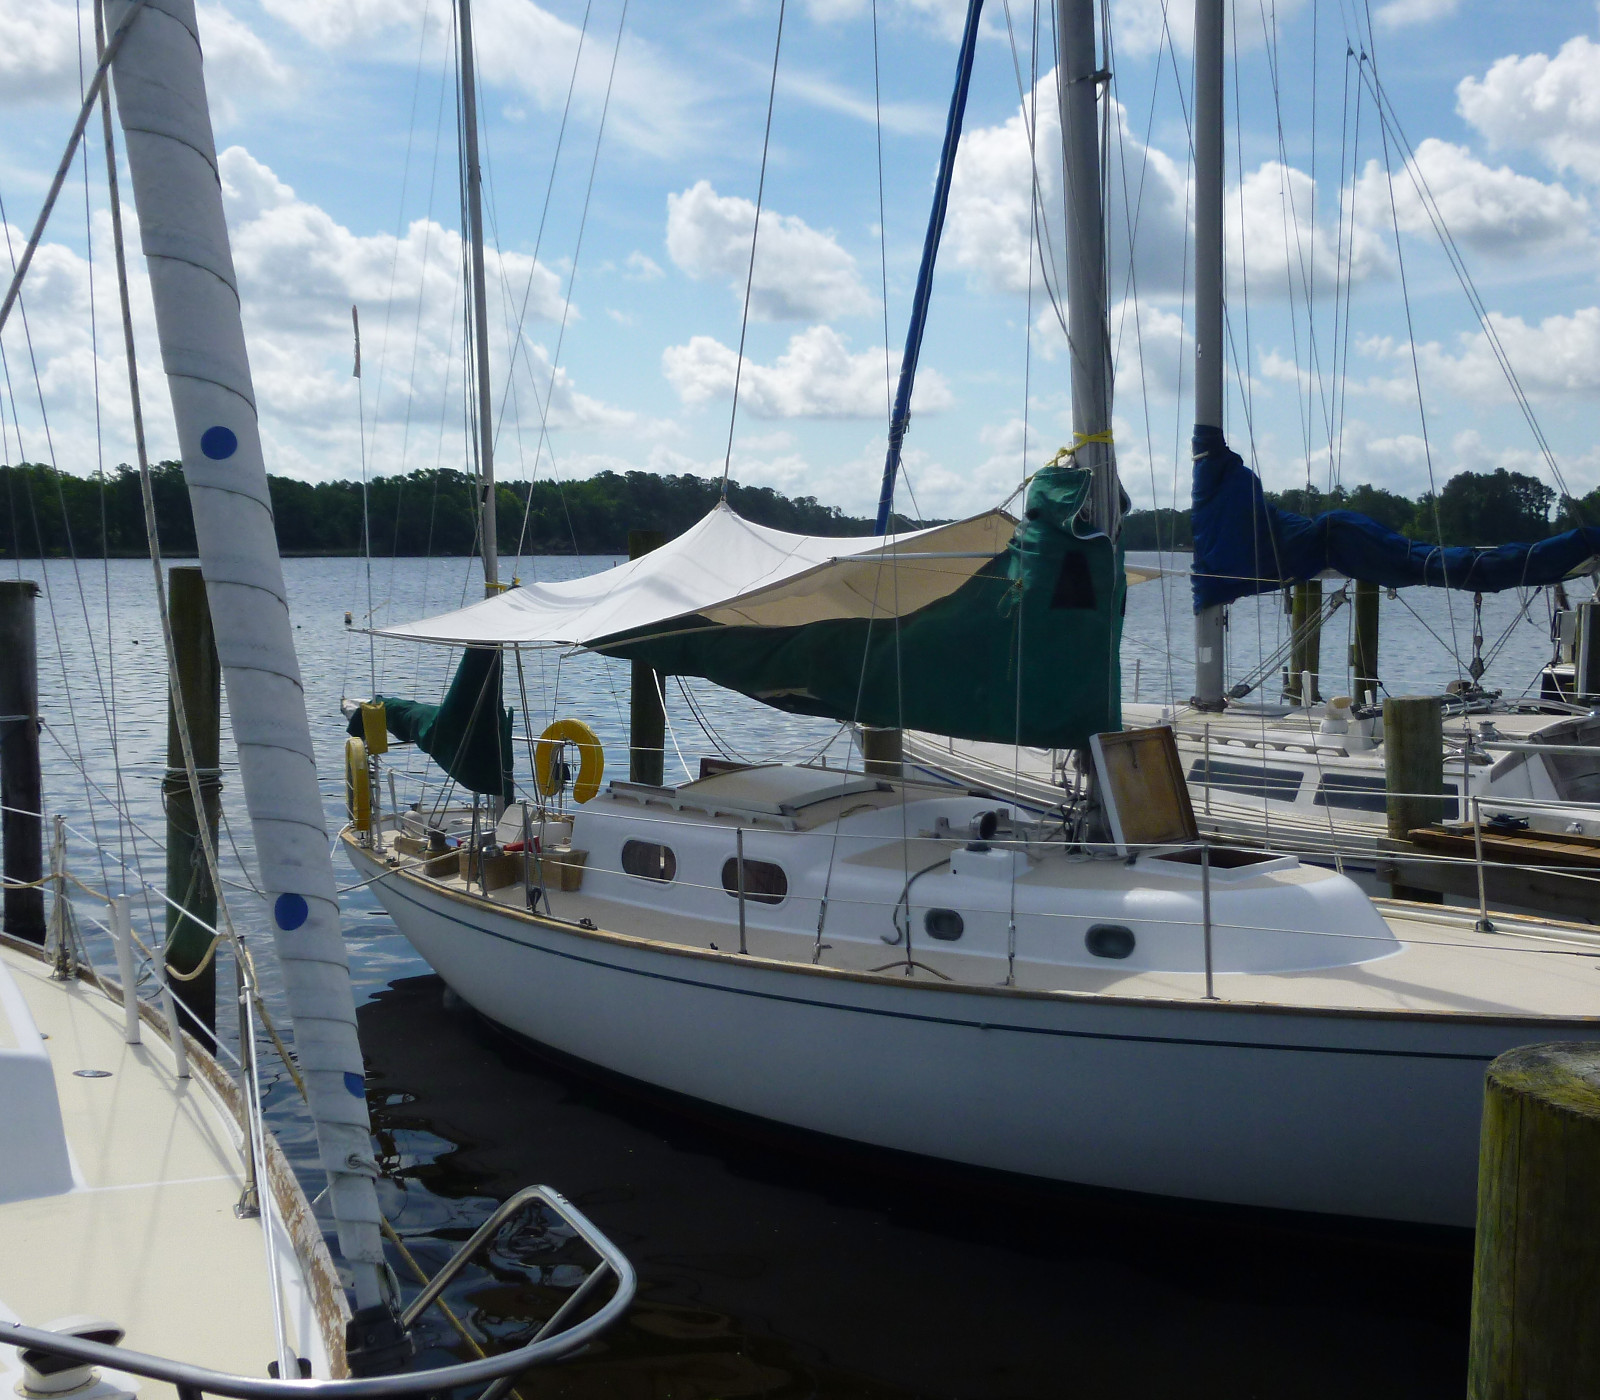 | The awning spans the mainmast to the mizzen, is 12 feet long and 8 feet wide. |